
So I started this post on the August long weekend….clearly I took a break from sewing for a few weeks! Our backyard project finally started the week before the long weekend, so most of August I was focused on that and less so on sewing. Part way through this post I will switch to “present day”…..sorry for any confusion and also for the delay in getting this post published!
Hey everyone!
If you’re in Ottawa, I hope you had a wonderful long weekend! We managed to squeeze in a day at a cottage, a pool and BBQ party, and some official “lazy” time. All in all, it was a quintessential Canadian long weekend. The summer seems to finally be taking hold, with more “sun” days than “rain” days – I hope this lasts well into the fall! (Update: it didn’t.) Our backyard is coming along but it’ll still be a month before it’s completely done, so I hope we have a few good weeks after that to enjoy it. (Update: it’s September 10th and the sunroom and deck haven’t even been started yet. Should be done right in time for winter.)
On the sewing front, I’m finally back to garments! At some point in the near future, I’m going to tell you guys about an incredible book that is guiding me through defining my style and applying it practically to building a wardrobe. In the meantime, with what I know so far, I’m going to try to pick patterns that I think will align with my new wardrobe, although it’s still a little bit hit and miss until I do the next exercise in the book.
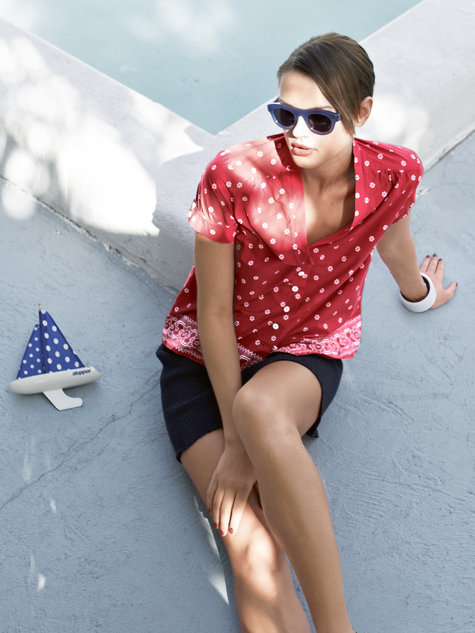
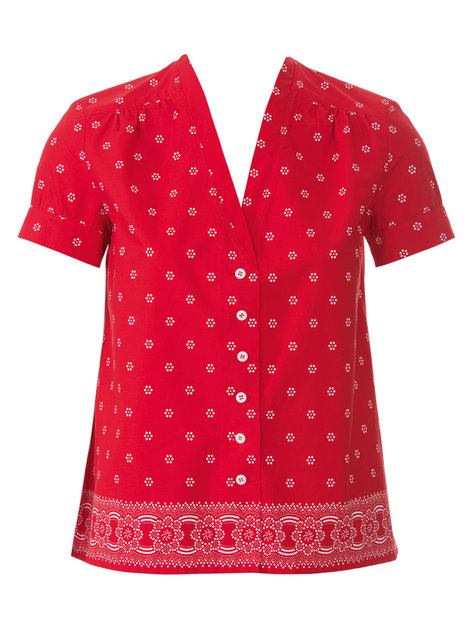
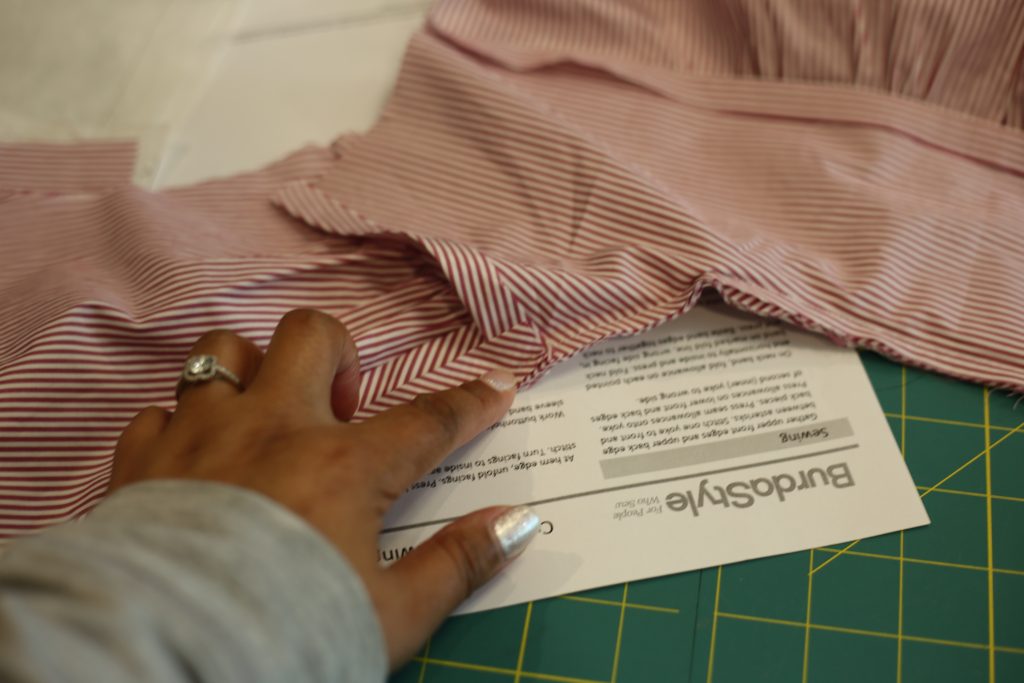
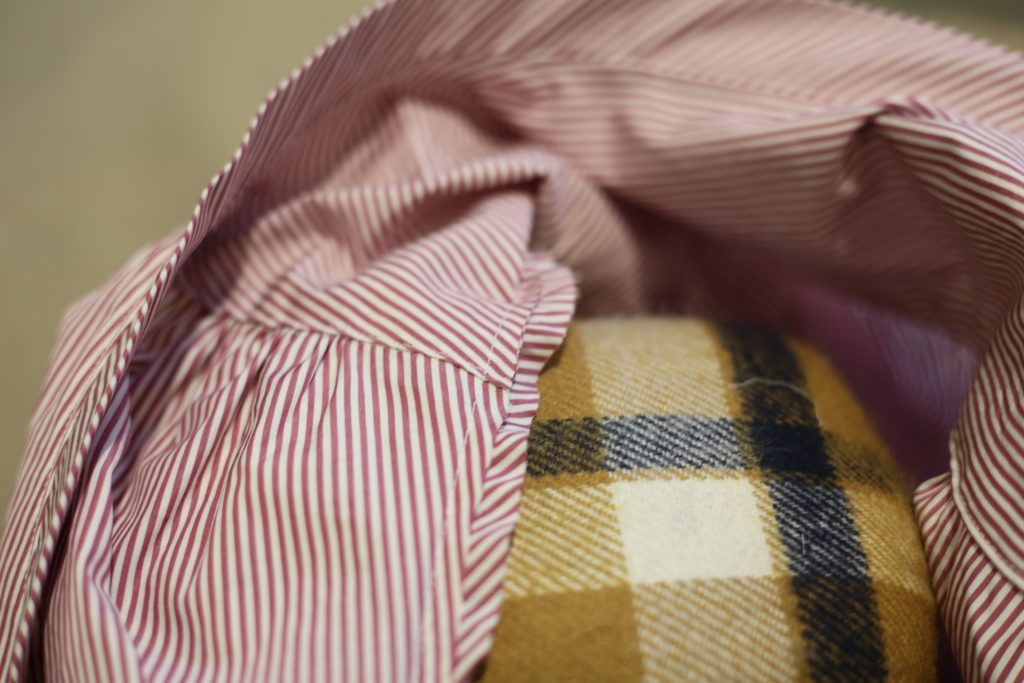
The last couple of tops I have made have been very simple, with cut-on sleeves (i.e. the sleeve is part of the bodice). What I realize when looking at outfits I love is that they always – 99.9% of the time – have set-in sleeves. Set-in sleeves give definition to your shoulder, and tailored garments can almost be defined as having set-in sleeves, so it really makes sense that this appeals to me. I also realized for work, having set-in sleeves gives a little bit of formality to an otherwise casual top and makes me feel slightly more professional. At the same time, I don’t want to wear a dress shirt all the time. I scoured my getting-larger-by-the-minute pattern collection and rediscovered this Burda pattern that was one of the earliest patterns I ever purchased. It is a tailored shirt with set-in sleeves and buttons down the front, but it is collarless, short sleeved and has some fullness thanks to gathers at the yoke. Looks like the perfect balance between casual and dressy:
Oh, in case you are wondering, this is pattern 131B from Burda UK magazine, 05/2014 edition. You can purchase it as a digital pattern on the BurdaStyle website as I did, if you can’t track down the magazine.
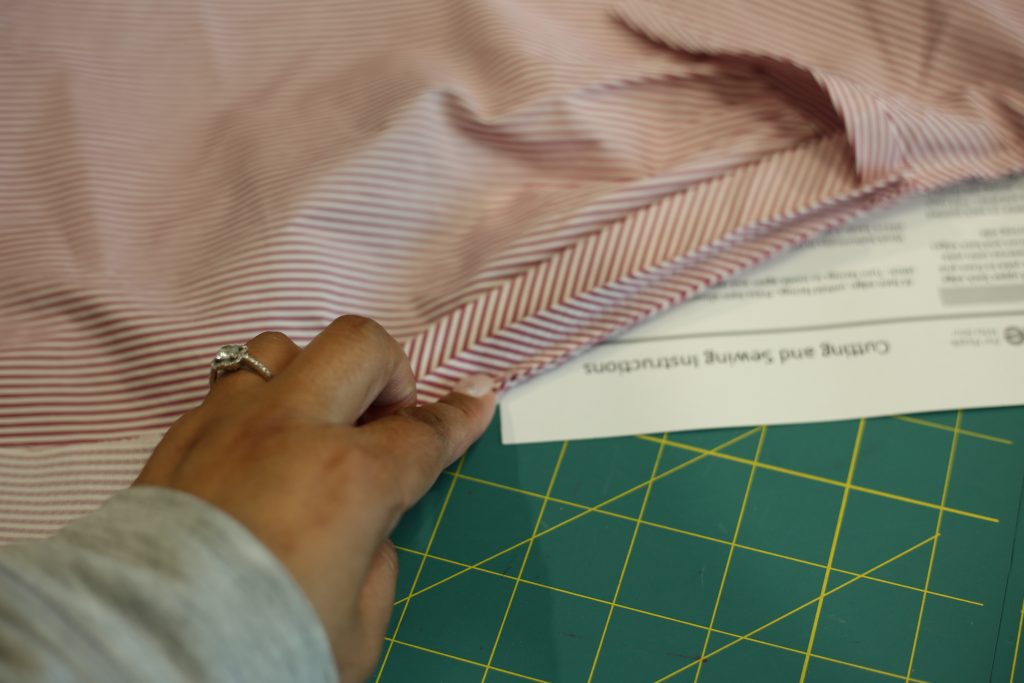
As this is a digital pattern, you have to go through the usual rigamarole of printing the tiled pieces, cutting them to size and taping them together, and blah blah blah. See my Penguin Top blog post for more info on working with digital patterns. The only alteration to the pattern was my usual bodice adjustment of shortening the top by 3 inches at the waist.
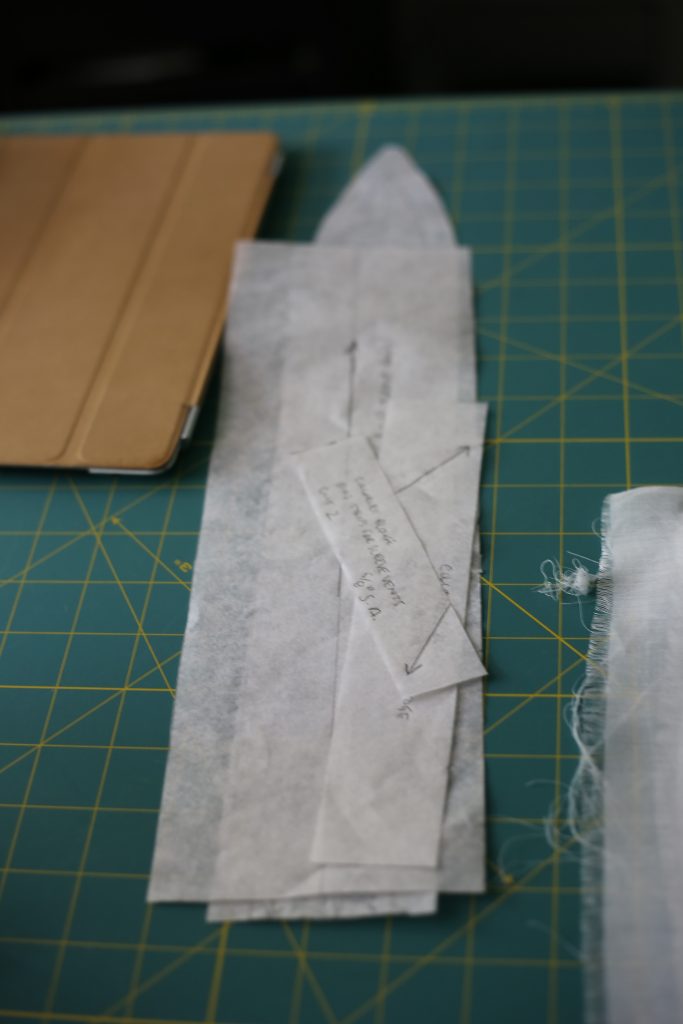
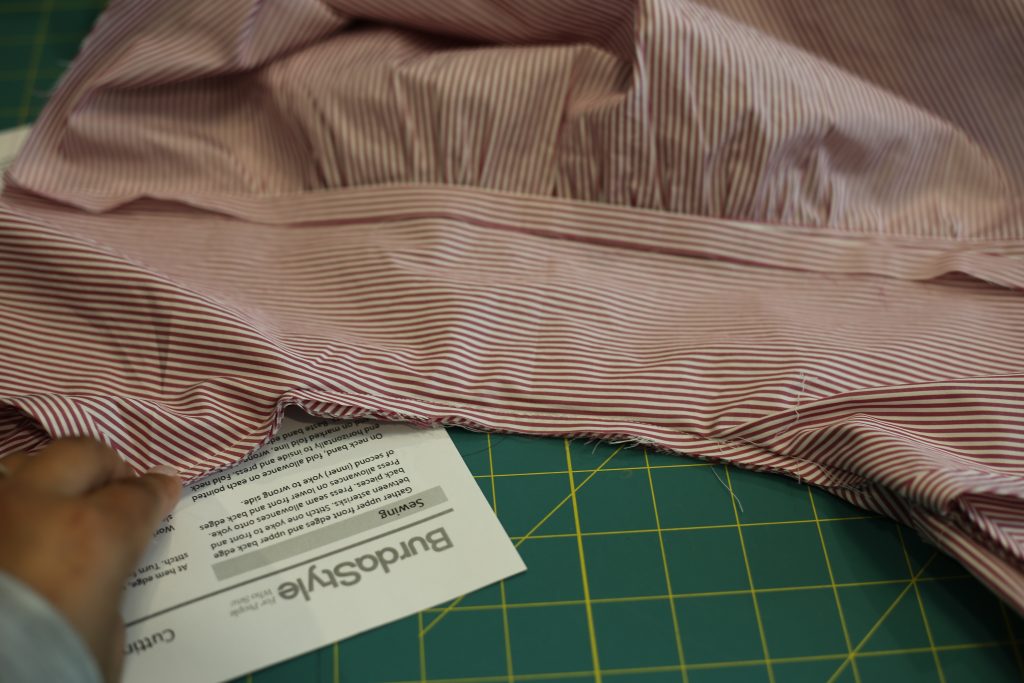
In this pattern, in addition to preparing the included pattern pieces, you also have to draft a few simple pattern pieces yourself. There are two bias strips and the sleeve cuff – basically all three patterns are rectangles. The most important part with drafting these pieces is placing the grain-line arrow in the right place.
As with most garments, I decided to take the time to make a muslin of this top. For this one I used a broadcloth which is a similar weight to shirting material in my stash. It’s important to make a muslin out of similar weight fabric to your intended fashion fabric, so you get a true representation of the fit. In this muslin I skipped the neck band, bias strips and sleeve cuffs in order to save time. Also, I knew I was mostly concerned about the fit of the yoke and the bodice itself.
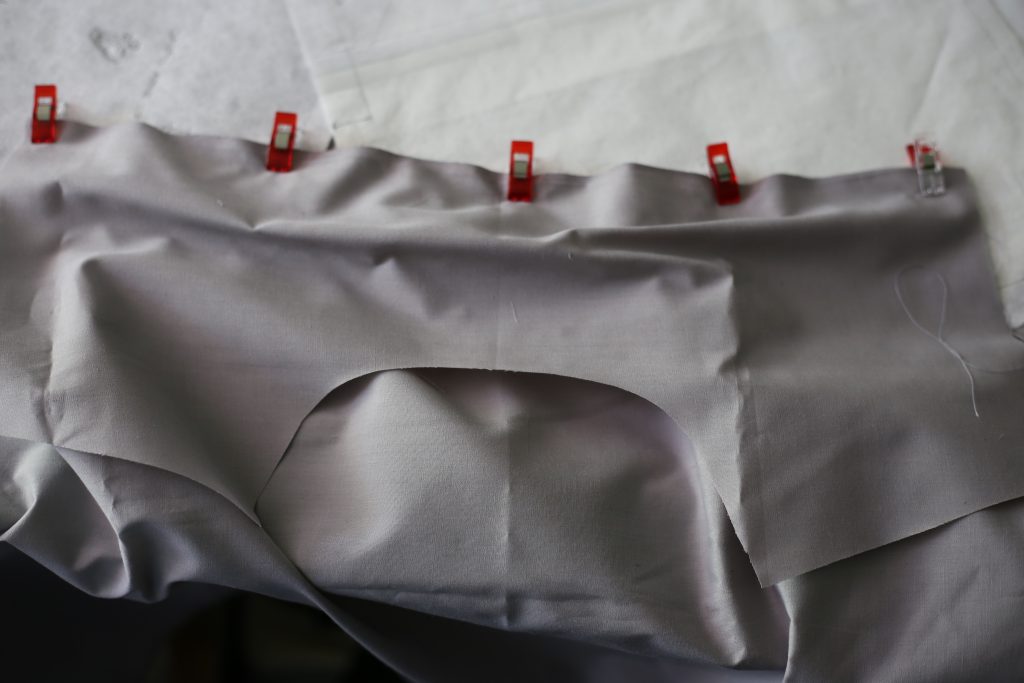
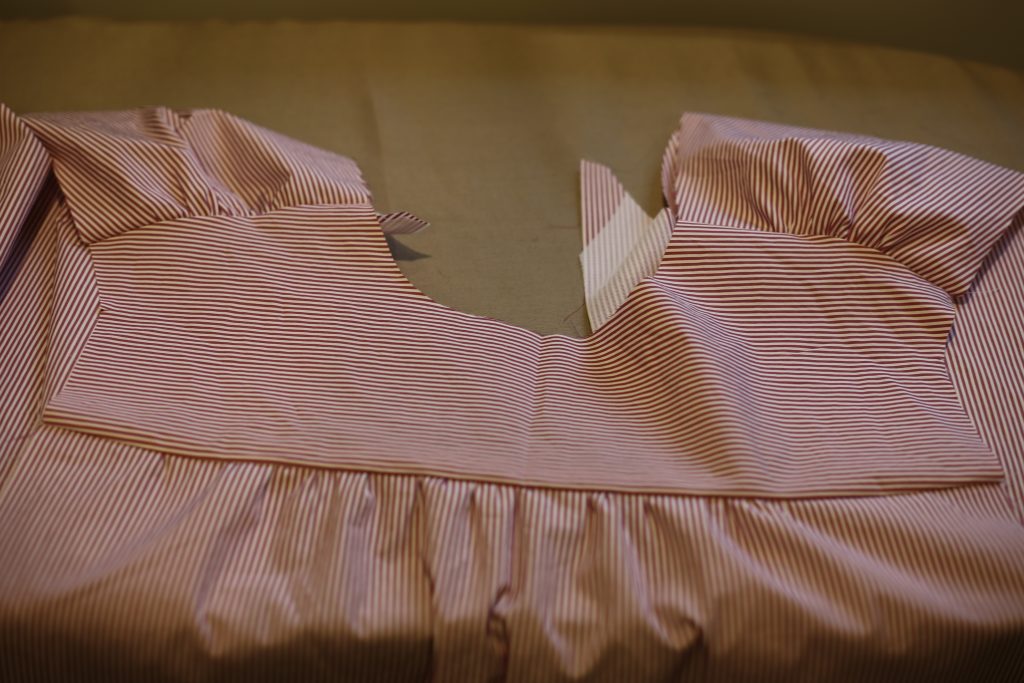
Step one was to put a basting stitch in the back and front pieces to allow me to gather them before attaching to the yoke. Here is the back:
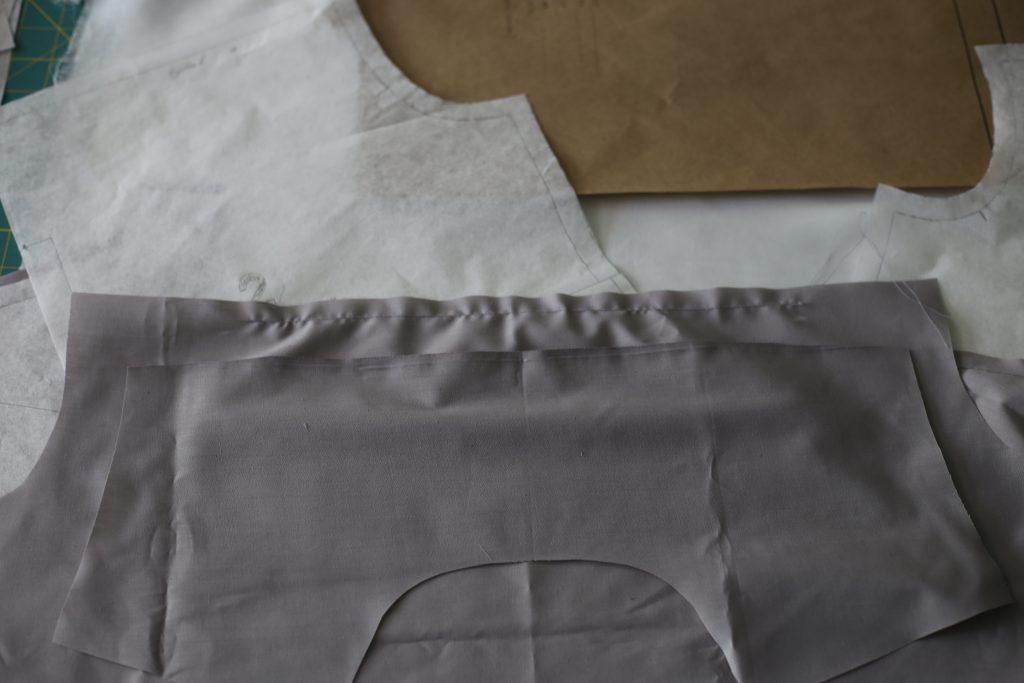
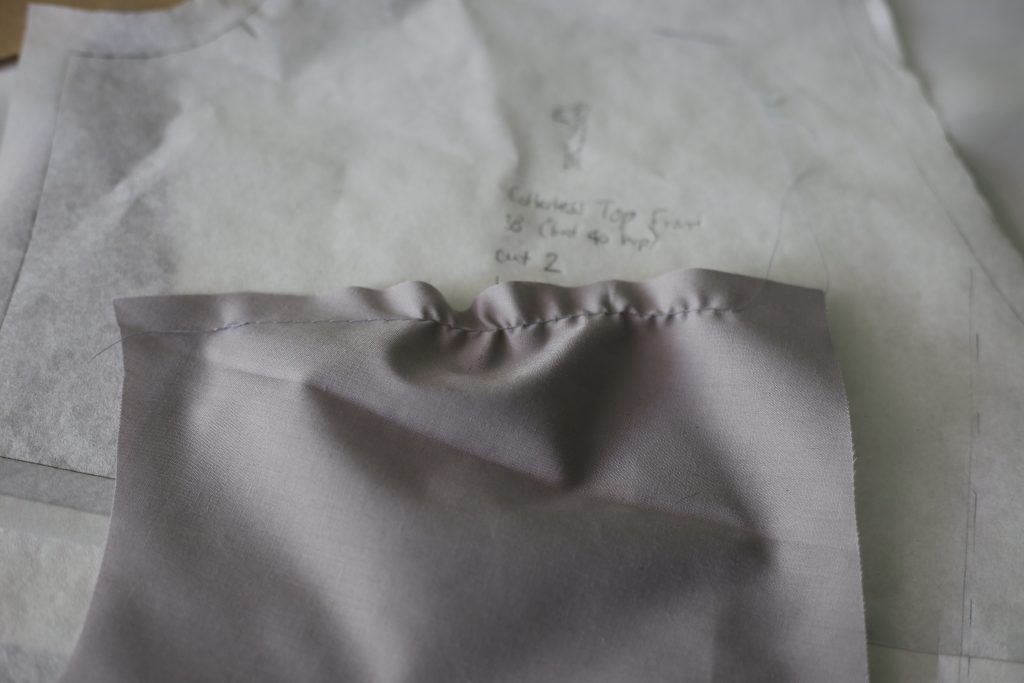
And here is the front:
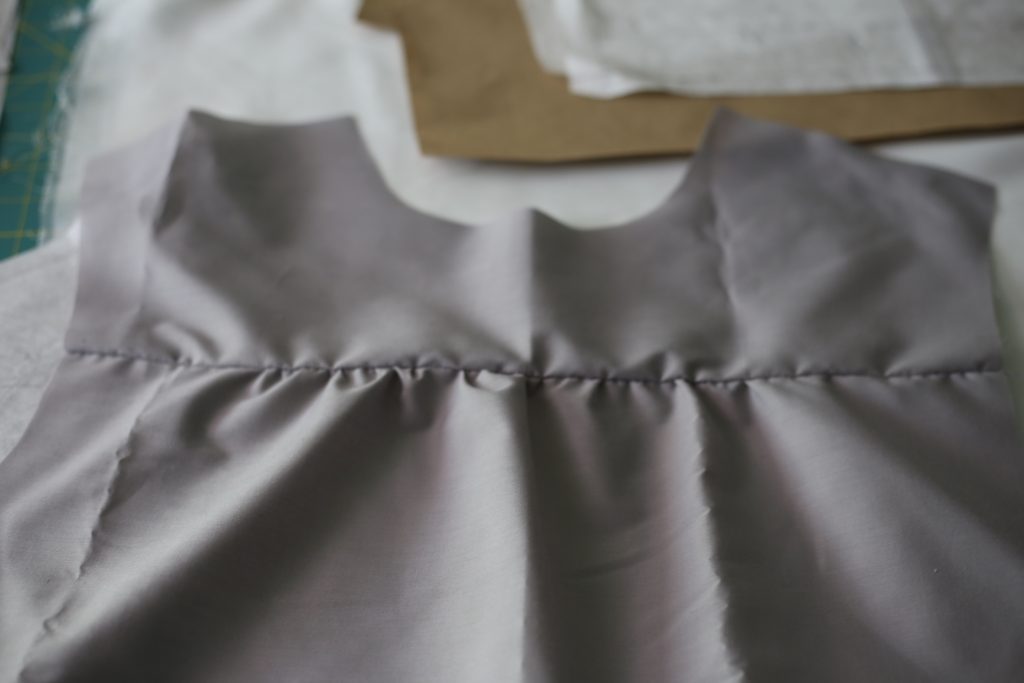
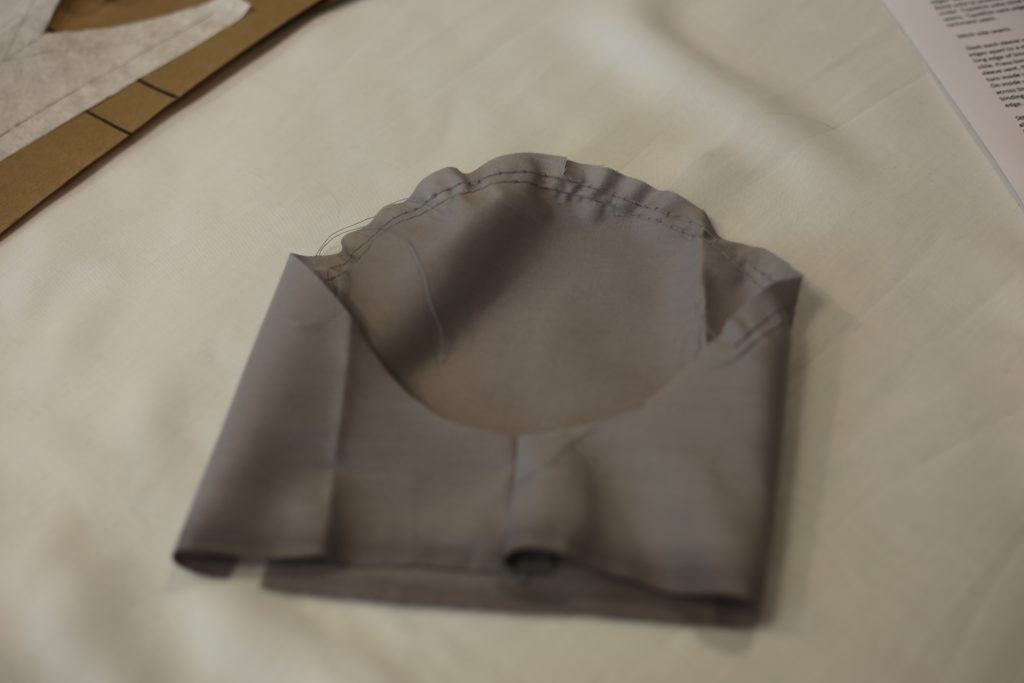
I probably didn’t need to attach the inside yoke piece, but it gives the shirt a more similar drape to the finished product so I did do this step. First I pressed the seam allowances of the yoke:

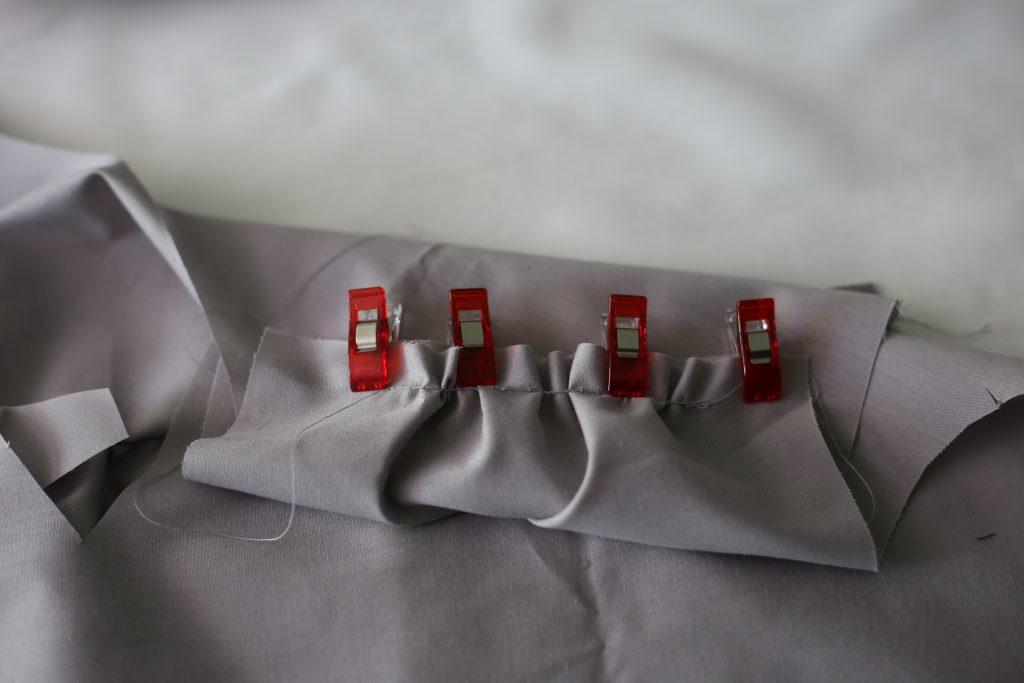
Then I attached it to the shirt. Final step before trying it on was attaching the sleeves. As usual, I put my two rows of gathering stitches in the sleeves before sewing them into tubes:
I didn’t bother to put the sleeve bands onto the sleeves, but I do recommend at least double checking that they will fit – and button – around your bicep.
The last step on the muslin was to tack down the front facing. I don’t normally put closures into a muslin so I didn’t bother with buttons or buttonholes.
And voila! Here was my completed muslin of the top:
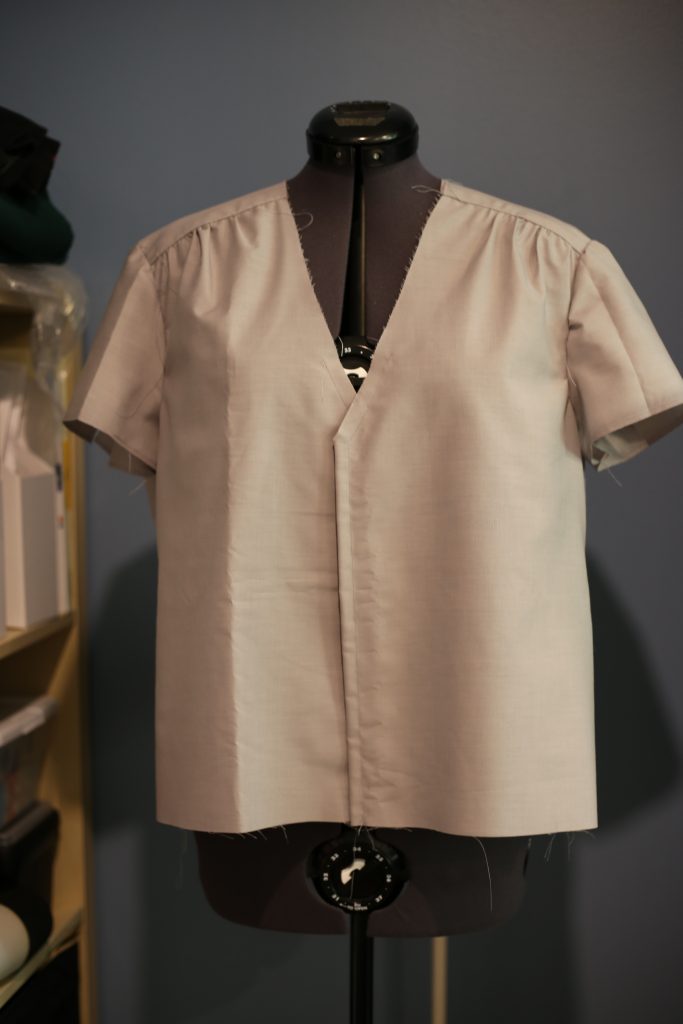
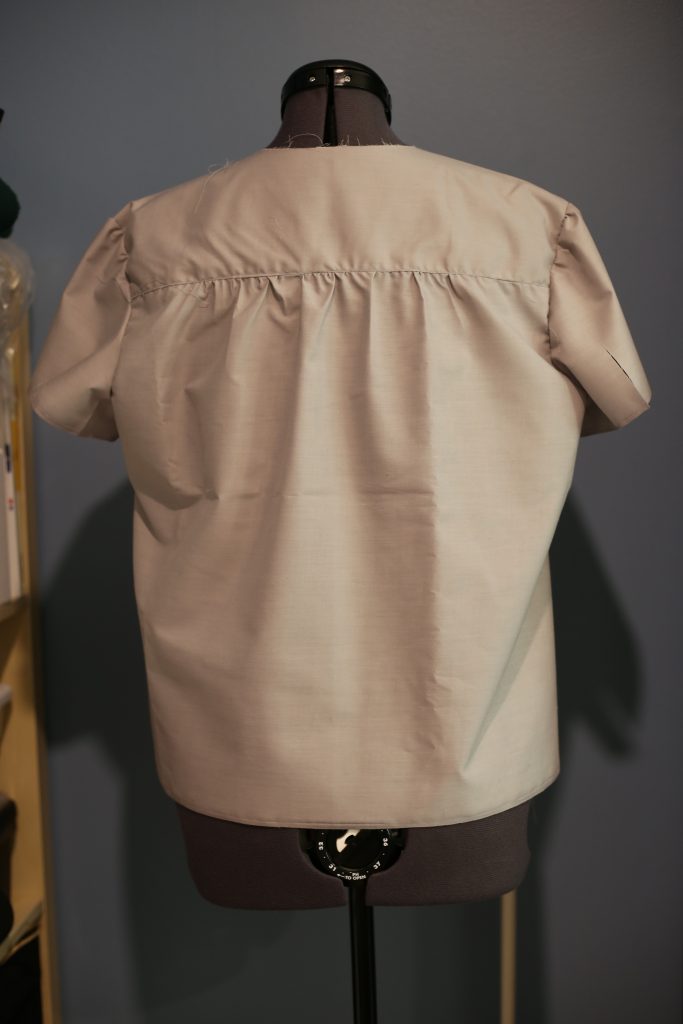
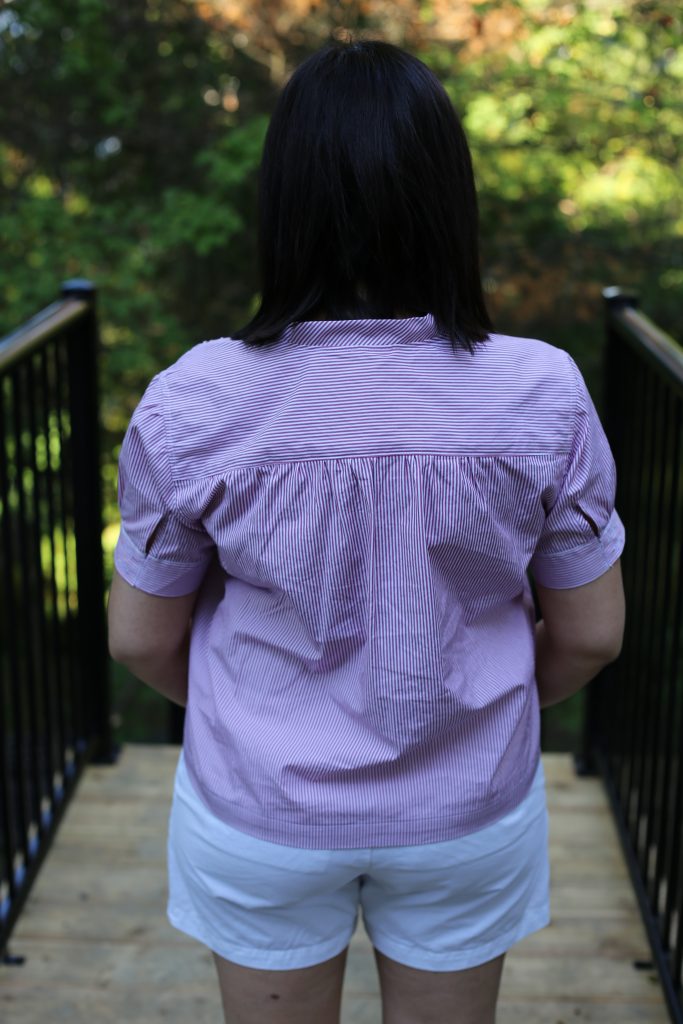
After putting on the muslin, the first thing I noticed was how different this top looks in the Burda picture versus how it looked on me. On the model, the shirt is more fitted and A-line. On me, because I have a much larger bust than the model and a much shorter torso, it ended up looking a bit boxy. I could have taken it in slightly on the side seams near the bustline, but that isn’t really the point of this top. It’s supposed to have a relaxed fit – hence the lack of darts or princess seams, and the gathering on both the front and back at the yoke.
So here is a real learning lesson. At this point the thought went through my head “I’m sure it will look much better out of the fashion fabric”. I have a tendency to do this every time I make a muslin that I’m not entirely happy with. I am making a promise right now – this is the LAST time I do that!! If I make a muslin and I’m not 100% happy with the fit or the look, I need to cut my losses, find a new pattern and move on. At the end of the day I learned some new techniques and got some good practice making this top, but as you will see in my final photos the shape is not materially different in the fashion fabric, so I’m only so-so on this top. I won’t make it again unless somehow I go from a D cup to an A cup. And grow six inches in height. (Yeah…..ain’t gonna happen.)
Moving on. 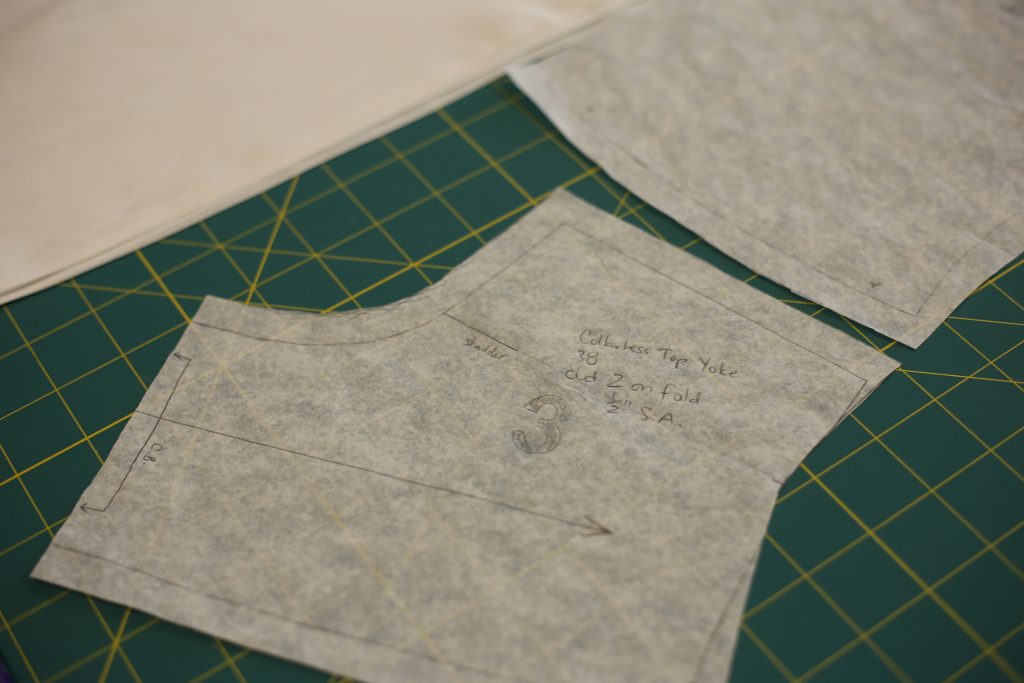
I did notice when I tried on the muslin that the shoulders were sticking out, so I made a small adjustment to the yoke as you will see above. I tapered from the shoulder line down to the yoke front and back, so that I wouldn’t have to make adjustments to the front and back pieces as well. This was the only pattern adjustment I had to make.
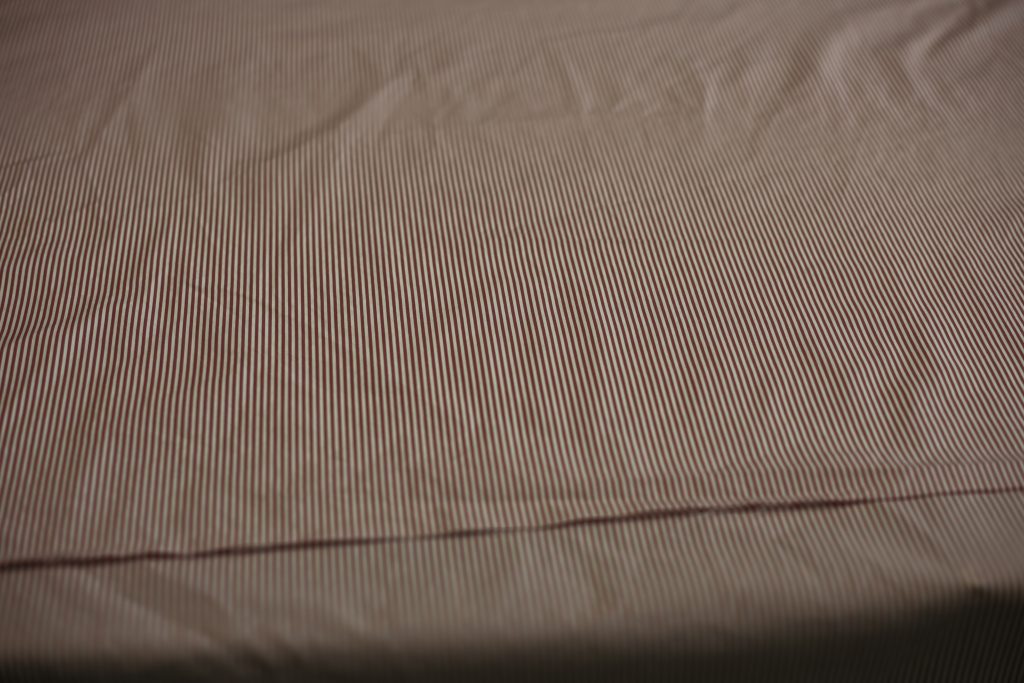
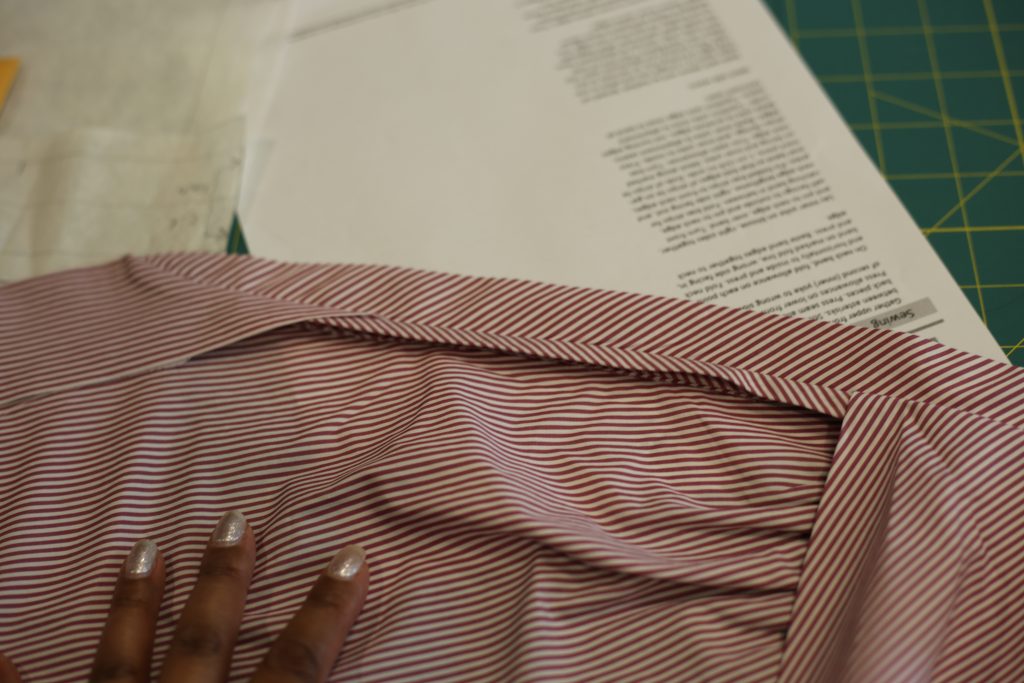
My fabric choice for this project was a cotton shirting from Darrell Thomas Textiles. He routinely has gorgeous Thomas Mason shirting on sale, so I felt it was a good choice since I wasn’t 100% sold on the top yet and didn’t want to cut in to some of my more expensive shirting. I chose this red and white pinstripe because it’s summery and it’s so crisp and vibrant.
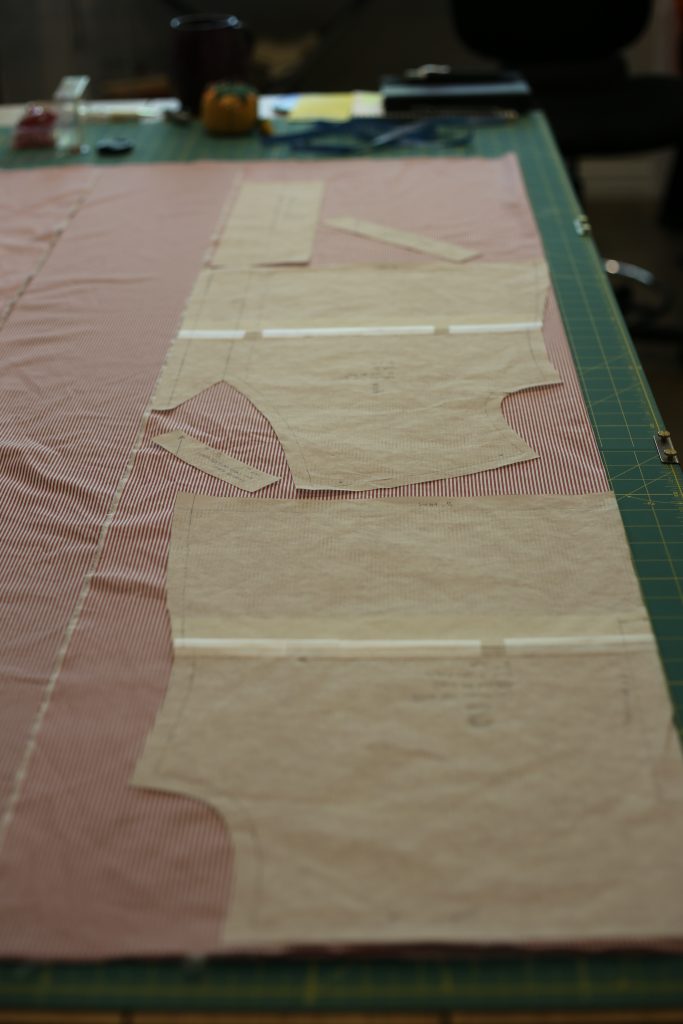
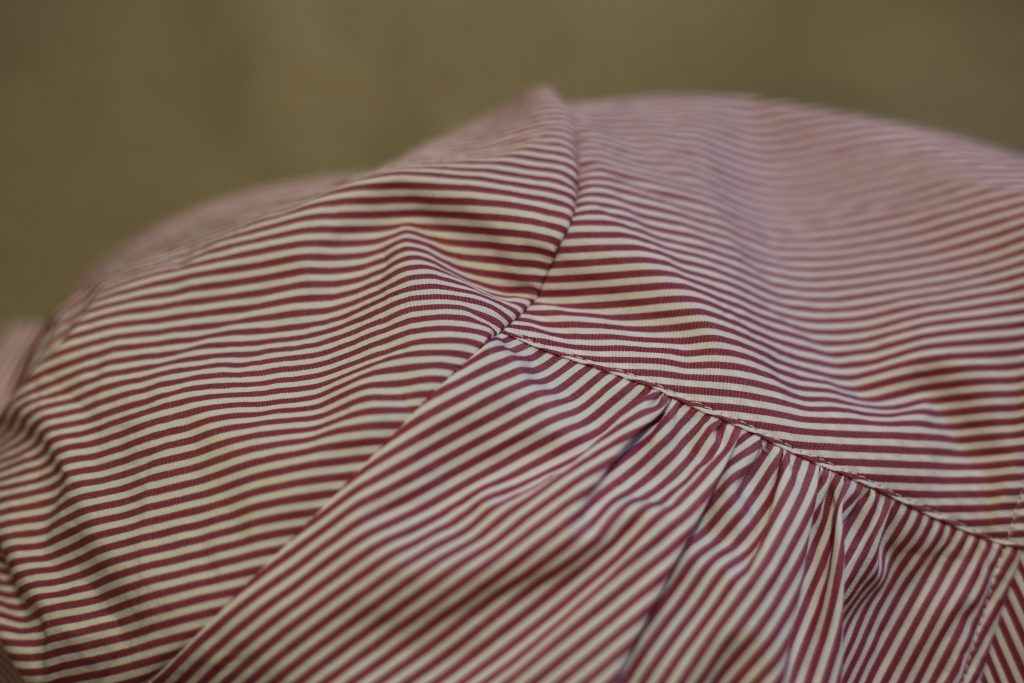
The pattern is based on using a printed fabric with a border (see the pictures at the beginning of this post). Since the border is typically printed on the selvedges, the pattern’s grainline orientation is based on this assumption. If I had followed the grainline on the pattern, I would have ended up with horizontal stripes on my shirt so instead I rotated the front, back and sleeve pattern pieces to have the stripes running vertically. I also changed the yoke and sleeve head orientation so the stripes would be horizontal instead of vertical. Aesthetically, I think this turned out to be a great decision (as you will see). The neck band was to be cut on the bias which I did, but I do find it looks a bit funny with the stripes running in that direction. In hindsight, I should have split the neck band into a right and left, then I could have oriented the stripes to be mirror images. Oh well, whatevs.
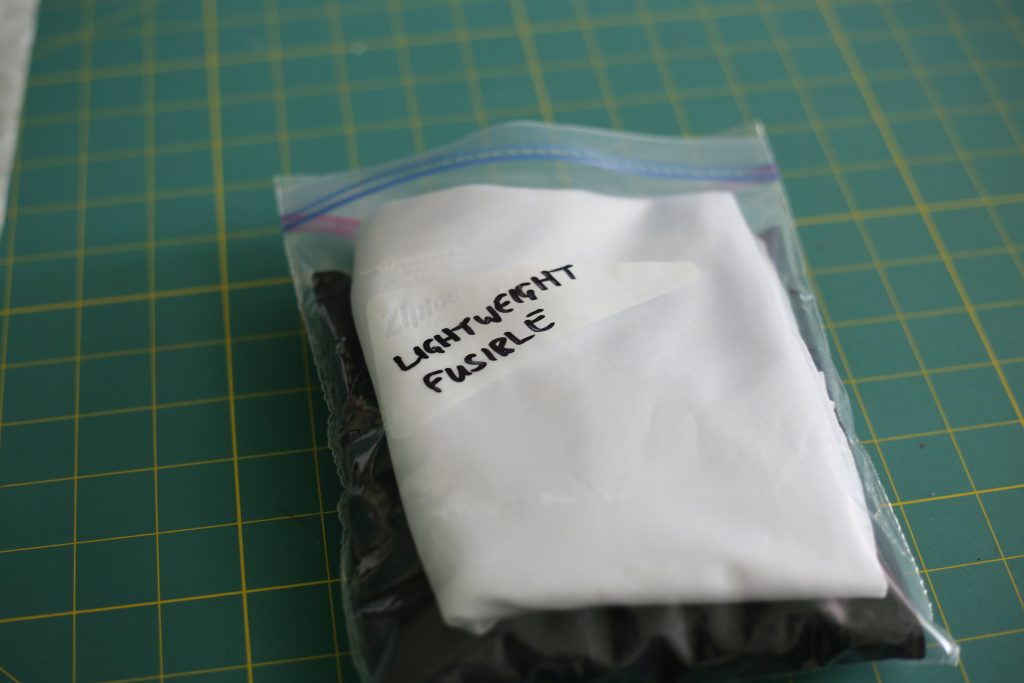
In addition to cutting the fabric, you also need to cut interfacing for the front facings, neckband and sleeve bands. I always keep fusible interfacing in my stash, both black and white of each weight, so I don’t have to run to the store for every project. I use Ziploc bags and label them with the weight of fusible, then I throw all the Ziplocs into one box:
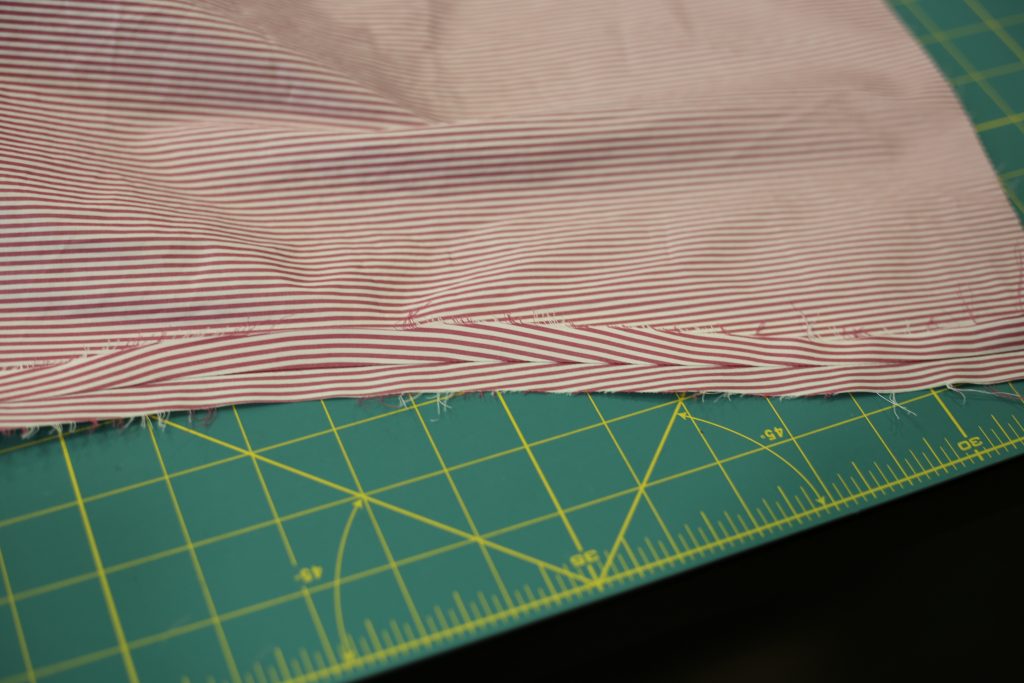
Usually after putting on the interfacing, my next step is to deal with my fabric raw edges by serging all of my pieces. I decided for this shirt that I wanted to do flat-felled seams, as I would normally do on dress shirts. When you do flat-felled seams, you don’t need to finish your edges as all of the raw edges will be hidden inside the seams. I took a moment to think about each seam. Sleeve edges would be bound in the sleeve bands so that wasn’t an issue. Neck edges would be bound partly by the yoke and partly by the bias neck facings, so that was also not an issue. Side seams and arm scythes would be flat-felled, and the bottom hem would be double-folded and topstitched. That left only the front facing and sleeve seam to worry about. Since the sleeve seam is SO short (just the distance from the armpit to the sleeve band) I cheated and serged it instead of flat-felling. The front facing I also cheated. One side was cut on the selvedge, and as you know selvedges are finished by their nature, so I literally did nothing to this edge. The other facing edge was a cut edge but since I didn’t do anything to the other side, I wanted this side to be inconspicuous so I zig-zagged very narrowly instead of serging (which is much more obvious). I think it all worked out. Note that the pattern does not give you any advice on finishing your raw edges, so put on your thinking caps and pull out your Vogue Guide to Sewing or other reference book! (Or just do what I did.) 😉
Step one was (as with the muslin) to gather the front and back pieces at the yoke attachment seams, then sew the outer yoke to those pieces right sides together.
The next step was to do the neckline. One thing I hate about Burda digital and magazine patterns is that they don’t provide pictures to go along with the instructions. It’s fine if you have done the steps or techniques before, but I found the instructions relatively confusing for the neckline. I did figure it out of course, but there were definitely some moments. (Just FYI, Burda printed patterns are fine…those instructions are illustrated as you would expect with most printed patterns.)
First, you fold and press the neckband in half lengthwise, wrong sides together. Then you pin and baste it to the neck edge, matching notches. That part was easy. (Sorry, I don’t have a photo for that.)
Next, you take the inner yoke and pin it over the neck band, right sides together:
Next, you take the “neck facing” which is one of the bias strip patterns you were asked to draft and cut, and you pin it on top of the neckband where the yoke ends (one bias strip on each side). One end will be over the front facing, and the other end goes over the folded seam allowance on the yoke:
When you fold everything to the right side you should see the bias strip folded over the raw edges of the neckband, and the raw ends of the bias strip are hidden under the front facing and the inner yoke, as in this picture:
To secure the inner yoke, baste it and then top-stitch really close to the yoke attachment seam, on the yoke side, using a narrow stitch length. It will look like this (ignore the sleeve as that comes later!):
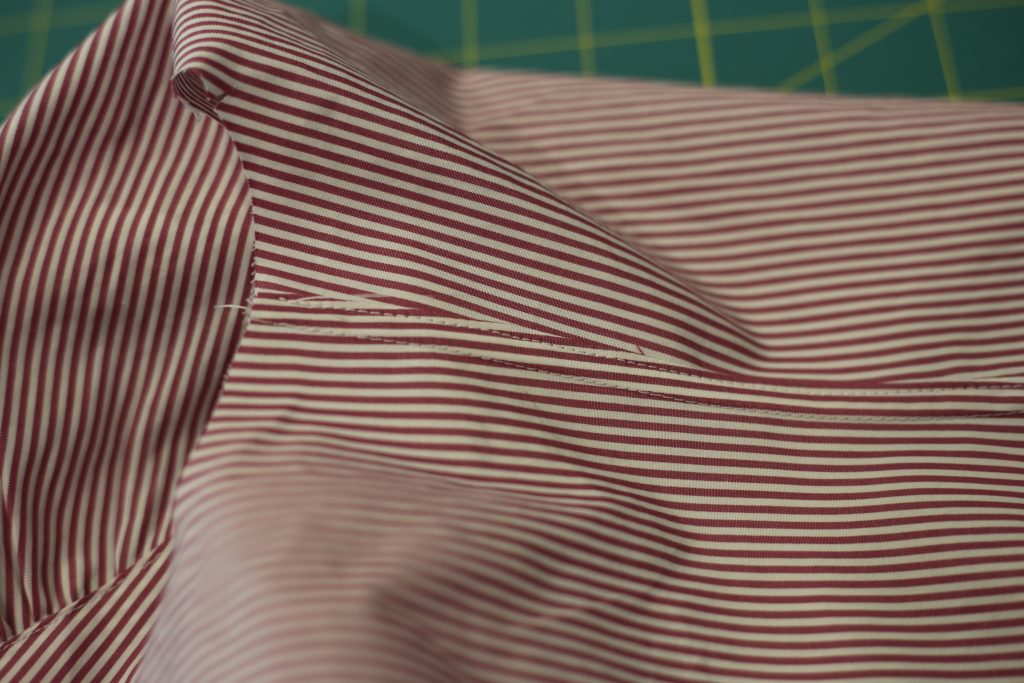
The final step for the neck is to top-stitch around the whole neckband. Here is what the neckband looks like from the back, before the top-stitching:
Here you can see the inner yoke once it is sewn down by the top-stitching and (if you squint!) the top-stitching all the way around the neck band on the body of the top: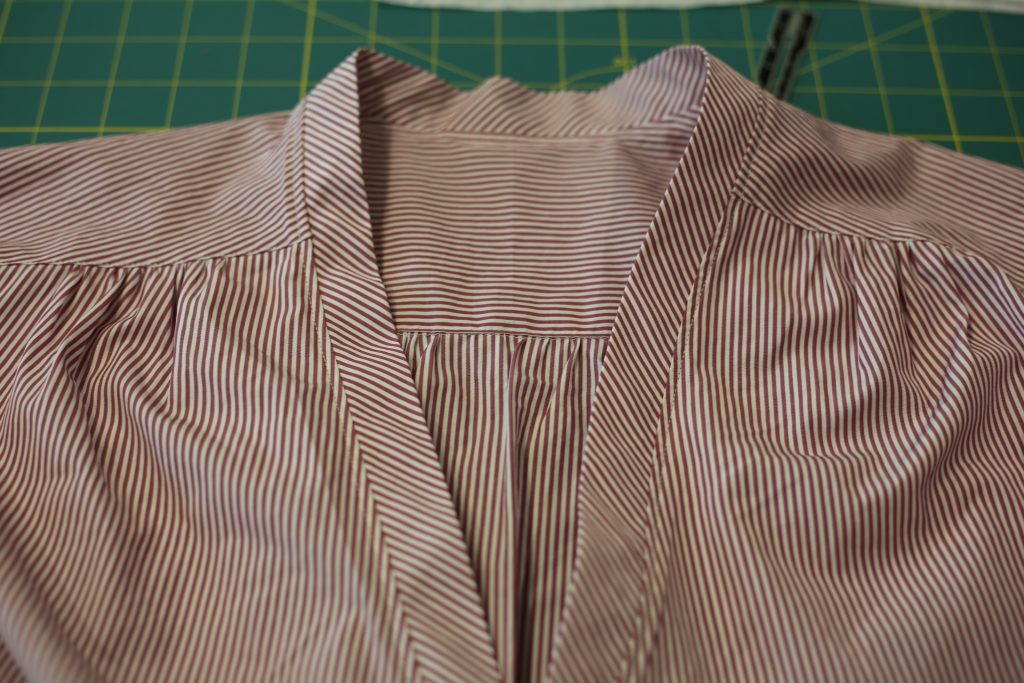 And voila! You have a completed neckline:
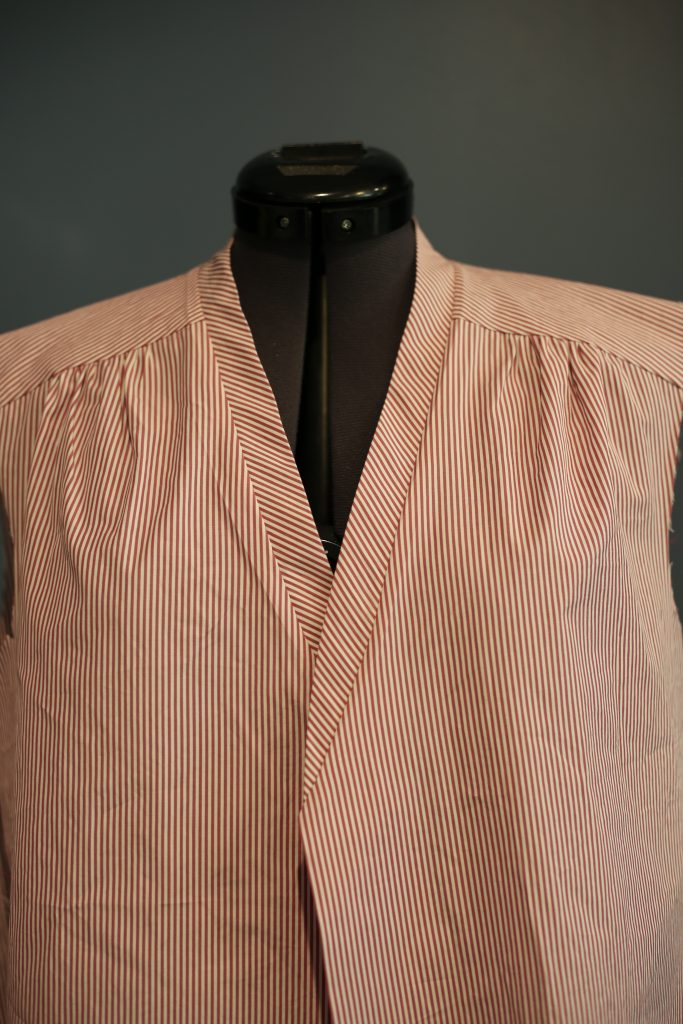
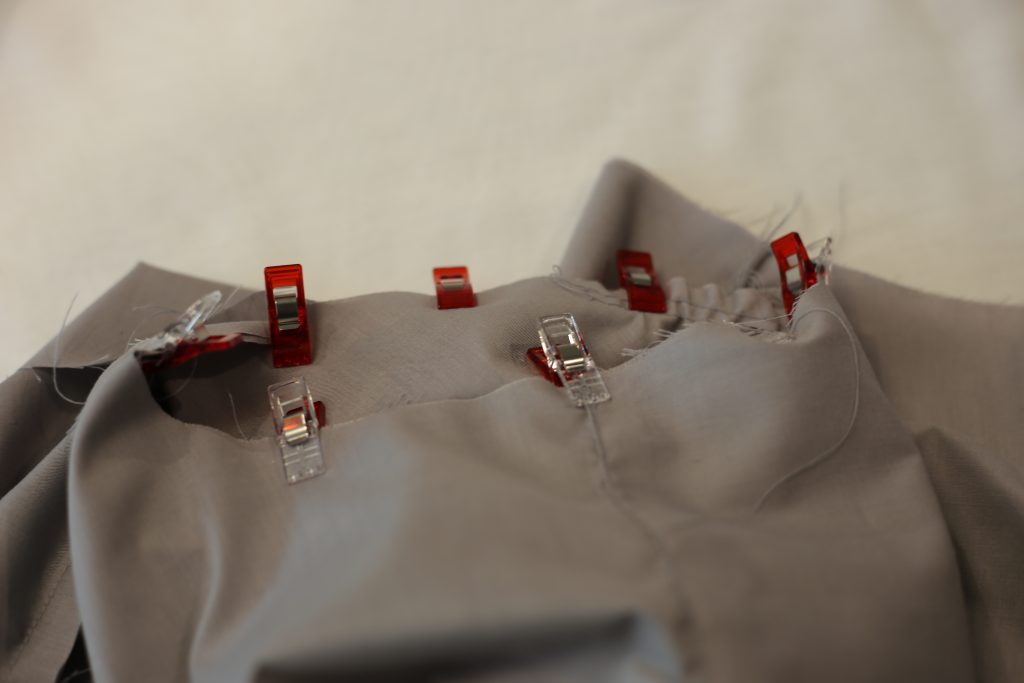
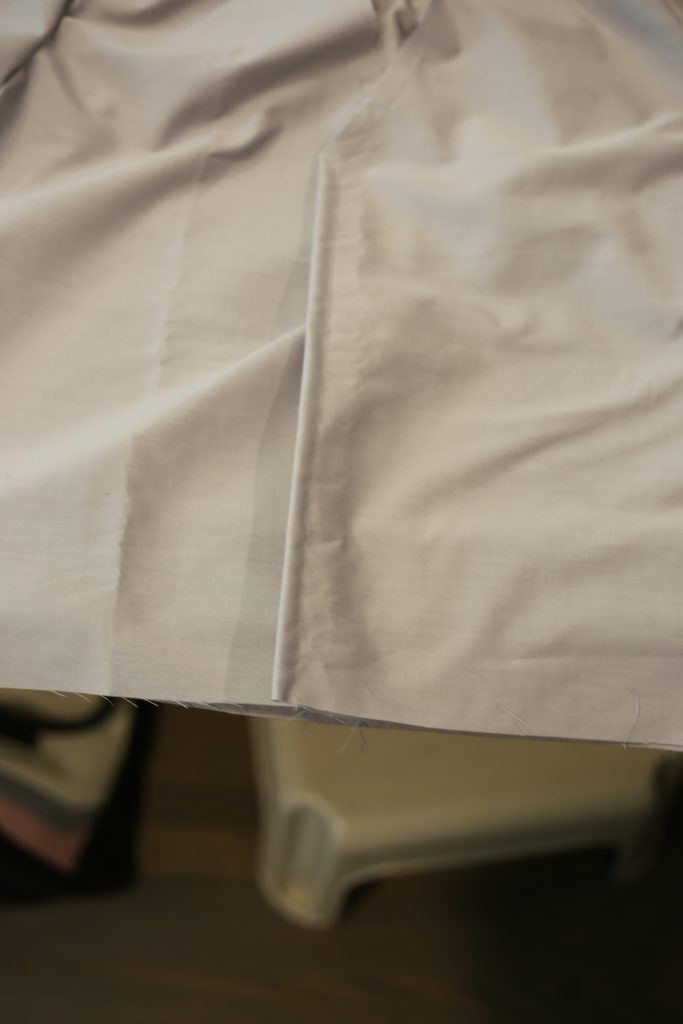
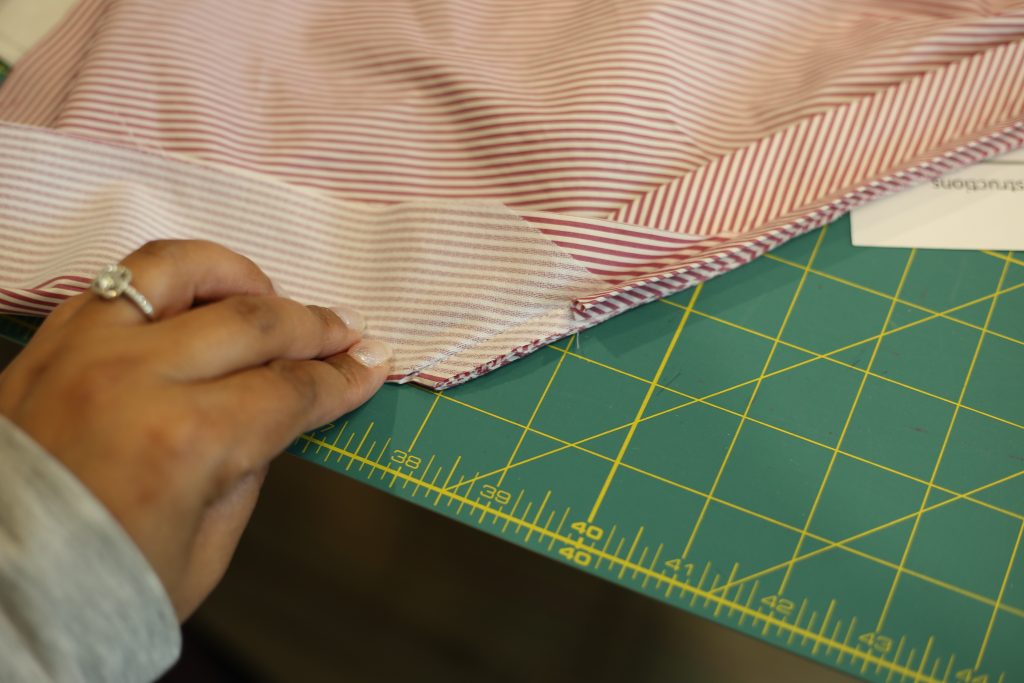
Before putting on the sleeves, I tackled the flat-felled side seams. Start by sewing the seams at your normal seam allowance, right sides together. Then, press the back seam allowance open:
Trim the back seam allowance only, to 1/4 inch: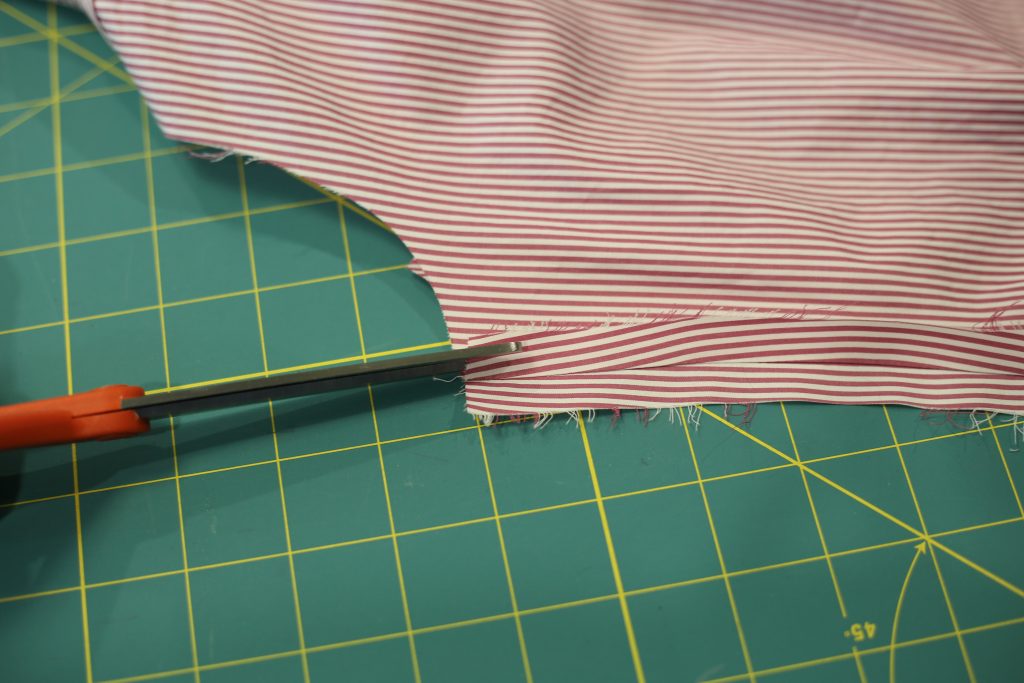
Head to the iron again, and press the longer seam allowance down and in half, encasing the trimmed seam allowance: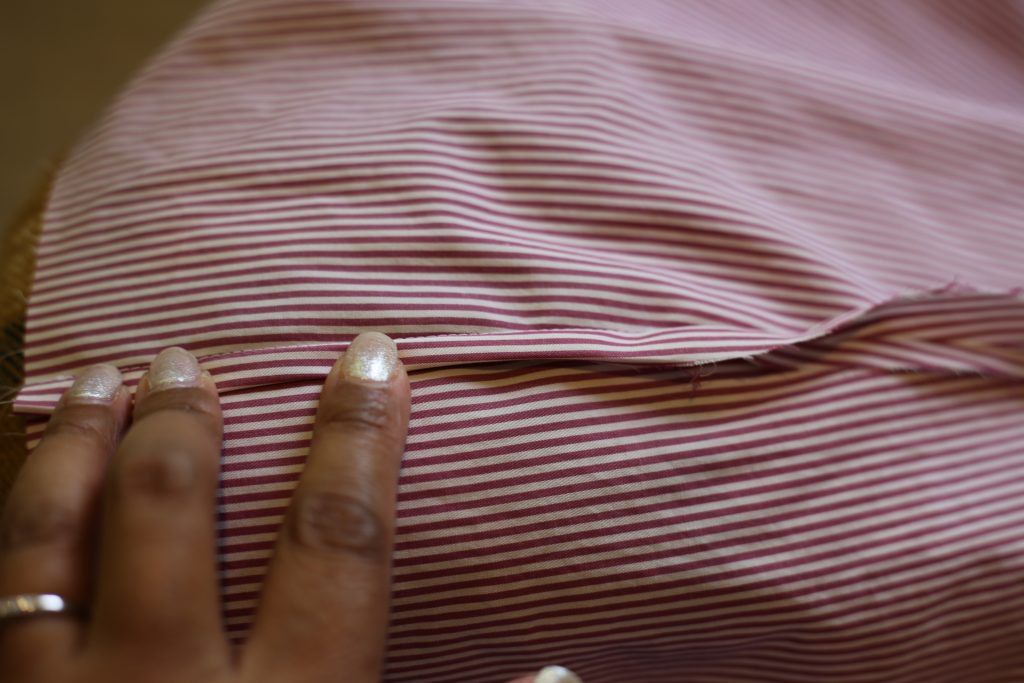
Finally, sew down that folded edge very close to the fold, nice and parallel to the original seam:
Next step was the sleeves. These sleeves have a slight puff at the sleeve cap, and they have a sleeve vent and a sleeve band with button closures. This was my first time doing a sleeve vent. I’ve done a sleeve placket before, which is more complicated, more formal and more time-consuming. I like the idea of a sleeve vent for a more casual top, especially if it is easier and faster to sew!
Again, this is one of the situations where Burda’s lack of pictures in their instructions caused me some grief. I followed their instructions to the best of my ability, ended up with a crappy looking vent, ripped it all out, then went and scoured the internet for a tutorial. Thank goodness for Craftsy and this free sleeve vent tutorial!
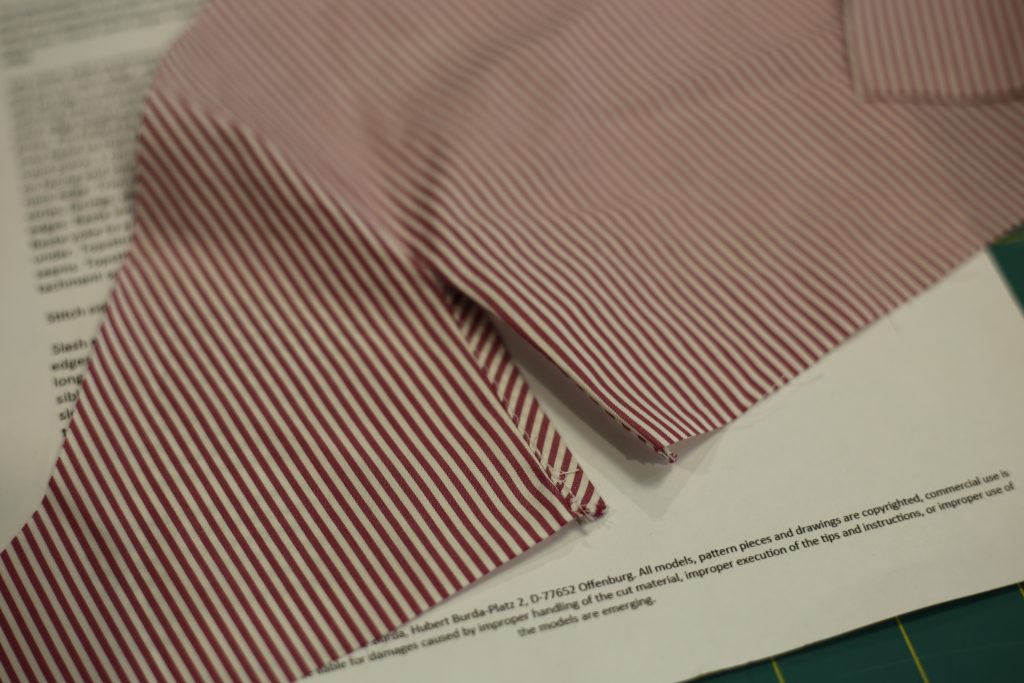
Once you’ve completed the sleeve vents, you can sew the sleeve seams (so you have two tubes) and then put in basting stitches to be able to gather the bottom of the sleeve to fit into the sleeve band. After that, you attach the sleeve band for a final product that looks like this:
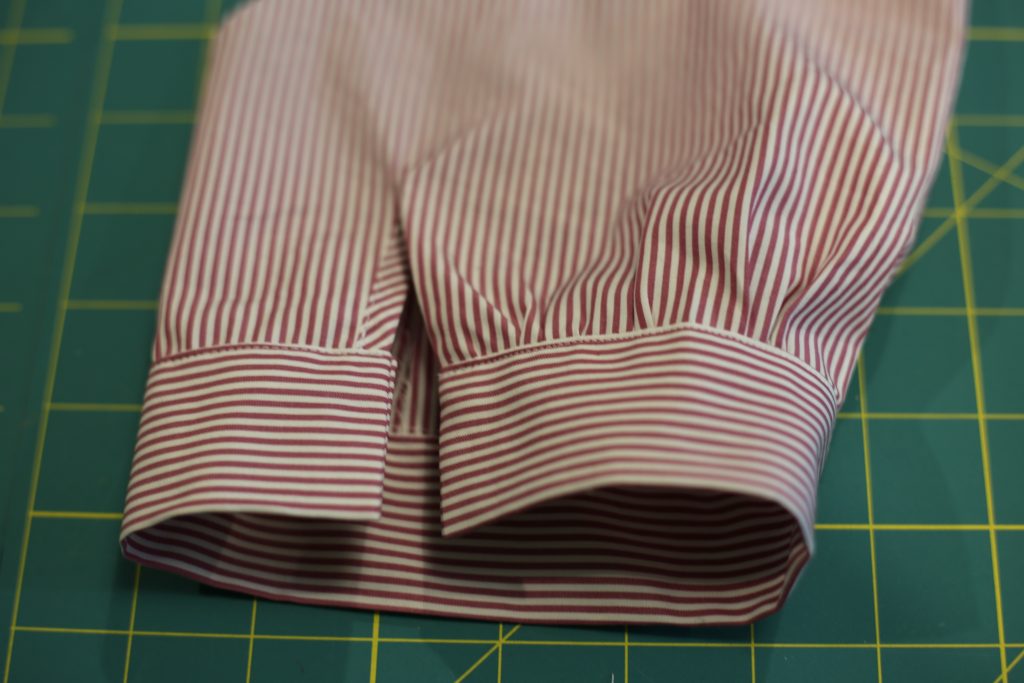
Buttonholes go into the overlap of the sleeve band (as opposed to the underlap). That is the right side in the picture above, as opposed to the left side.
Once the sleeves are assembled, add gathering basting stitches to your sleeve cap and insert into the armhole. I won’t show pictures because I’ve got lots of blog posts on this one!
As I mentioned, I wanted to flat-fell seam the arm scythe as well. So once you have sewn the sleeve into the armhole, trim the seam allowance of the shirt body (not the sleeve) and head to the iron to press the longer seam allowance over the shorter, encasing it as you did with the side seam:
When you do the second seam of the flat-felled seam, take your time and stretch out your fabric as you go, so you don’t end up with puckers.
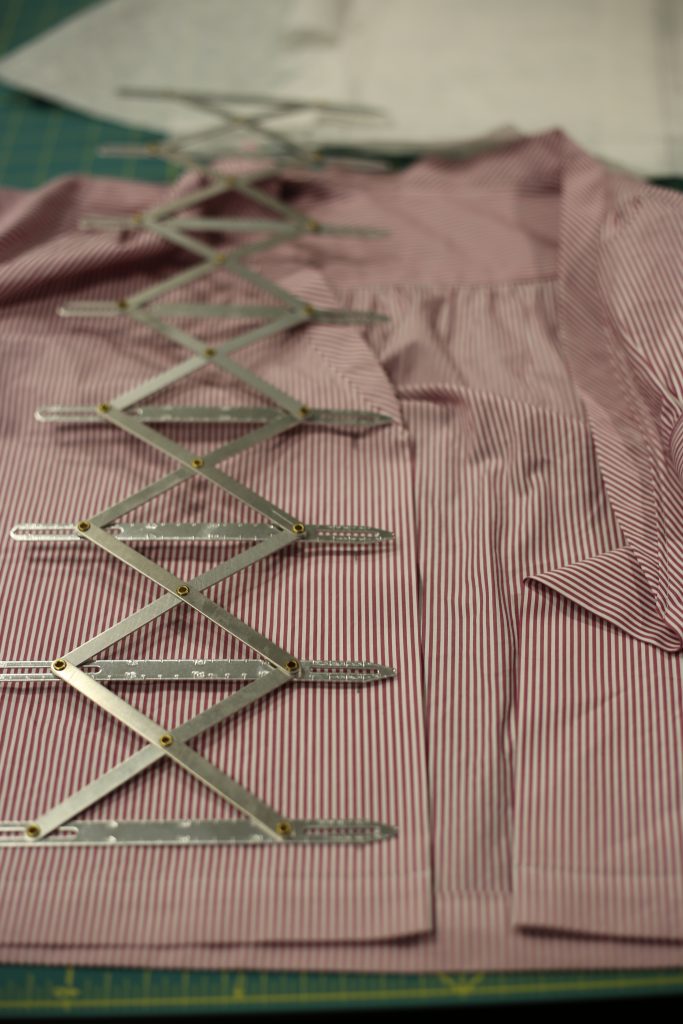
The final step is buttonholes and buttons on the front of the shirt! I love this Simflex Expandable Sewing Gauge – just figure out the placement of your top button, then use this thing to mark your other holes! No measuring, huge time saver, happy sewer!
I buy all of my buttons from Darrell Thomas Textiles – he has an amazing selection. I found some very cute – and perfectly colour matched – buttons for my shirt of course! Here’s the final garment with buttons sewn on and everything:
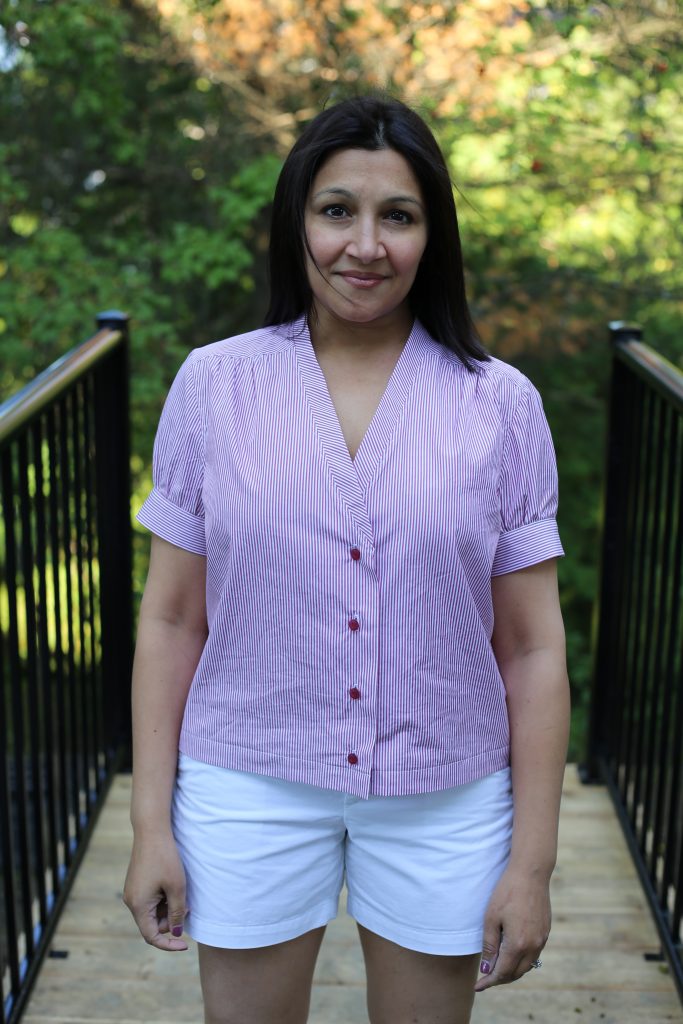
So, that’s it for this one. Do you agree with me that the shape is boxy and not very flattering? I’m definitely going to make another collarless blouse soon; I picked up a new Burda printed pattern from Darrell’s. If all goes well, I’m going to turn it into a sewing class!!! Who’s interested??
Hi Anokhee! Welcome back!
I know that you are entitled to a few “lazy” sewing-free days here and there but I was checking the blog religiously every day hoping to find another post. Very happy to see one at the end of a crazy Monday in the office! What a treat!
I agree that the top looks boxy but it is quite nice anyway for a relaxed look with shorts. But I know what you mean. I am HH in the bust and this is why I started sewing in the first place, because there is no way I can find a blouse or a jacket that fit properly. So I have realized by now that to get a fitted look, I need a top with princess seams. But sometimes it would be nice to have something more relaxed but not like a sack 🙂 If you find a nice pattern – I am your first student!
Thank you for another great tip about buttonhole gauge. I’ve never see it but it would be so helpful.
Could you let me know what dress form you are using? I am thinking of investing into one but want to make sure I can adjust it in the bust.
I am starting to feel the need to share my creations but I am not on social media at all, not Facebook, not Instagram. I am on Linkedin but I don’t think I can post my sewing achievements there 🙂 Maybe it’s time to get an Instagram account, what do you think?
Good luck with your backyard project!
Inna
Hi Inna! Sorry for the long break, I’m hoping to do better over the fall. I have so many coats lined up! 🙂
I’m using a petite dress form that I bought second-hand. I don’t know the brand, but I have to say it is really only serving as a coat hanger. I don’t fit to it at all, and I could never use it for draping. These plastic dress forms are flimsy and really not very adjustable, so I can’t get it to mimic my measurements. You will likely have the same issue. My recommendation is to have a custom-made dress form. If you are somewhat crafty, apparently they can be made DYI style for not a lot of money! (Google “custom dress form”.) Or, try something like this: https://www.fabulousfit.com/ . I’ve heard great things about this system. I do have plans to have a custom made dress form at some point in the future, but right now I’m changing sizes so I’m sticking to fitting on myself.
I absolutely recommend Instagram! It is by far my favourite social media platform. It’s easy to use, and because my work is visual it is the perfect outlet. As soon as you join, add me! I’d love to see your work!