
Hey everyone!
Something magical happened about a week ago: summer finally arrived in Ottawa!! Just when we thought it was a lost cause (trees are already shedding their leaves), we were blessed with hot, humid patio weather! My next post was going to be coat-related, but I don’t want to jinx anything so I won’t be starting on any coat sewing for at least another week or two.
This post is another in my “searching-for-the-perfect-casual-top-pattern” series. (I didn’t intend for it to turn into a series but man, is it ever hard to find the perfect casual top! You better believe when I find it, I’m making 30 of those bad boys.)
As I’ve learned from the last couple, I am not a fan of cut-on sleeves and really need a set-in sleeve for all tops. I’ve had this Butterick pattern, B6132, for a while now and was excited to try it out!
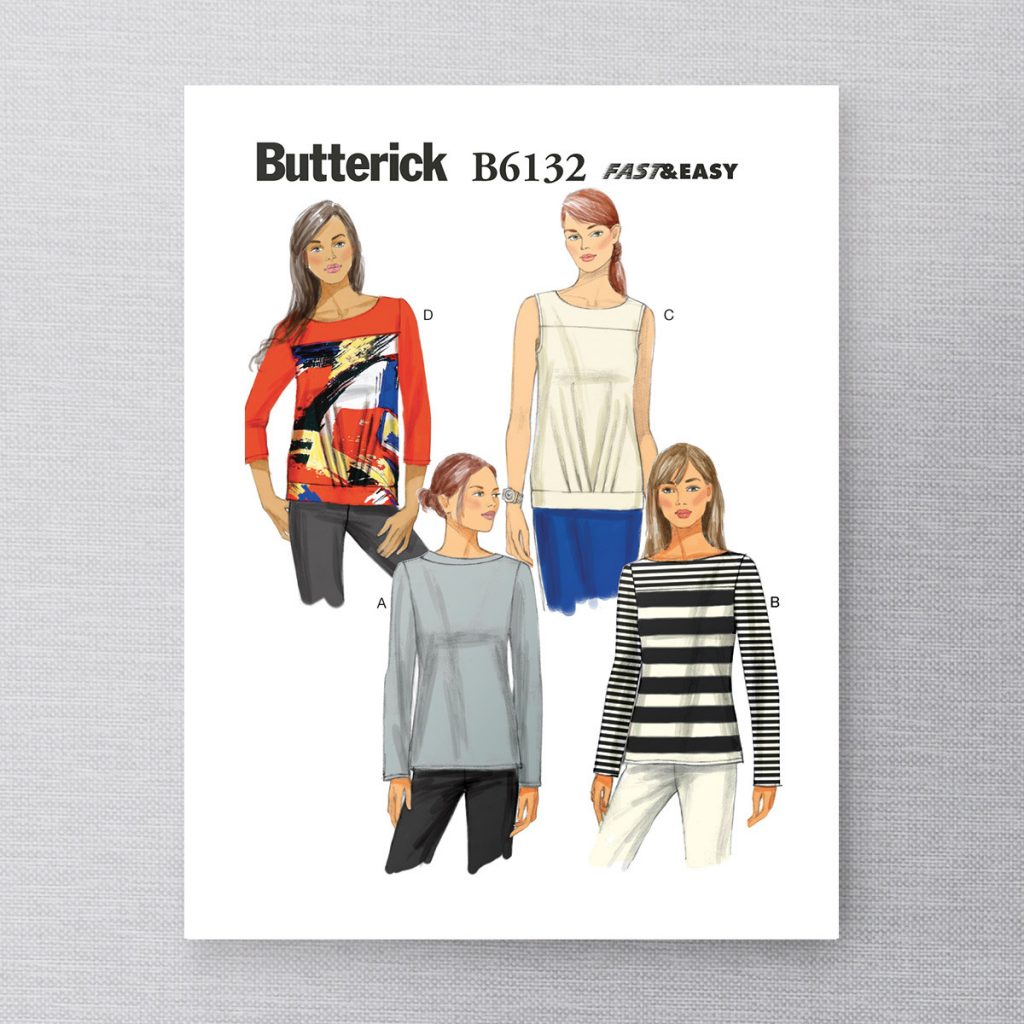
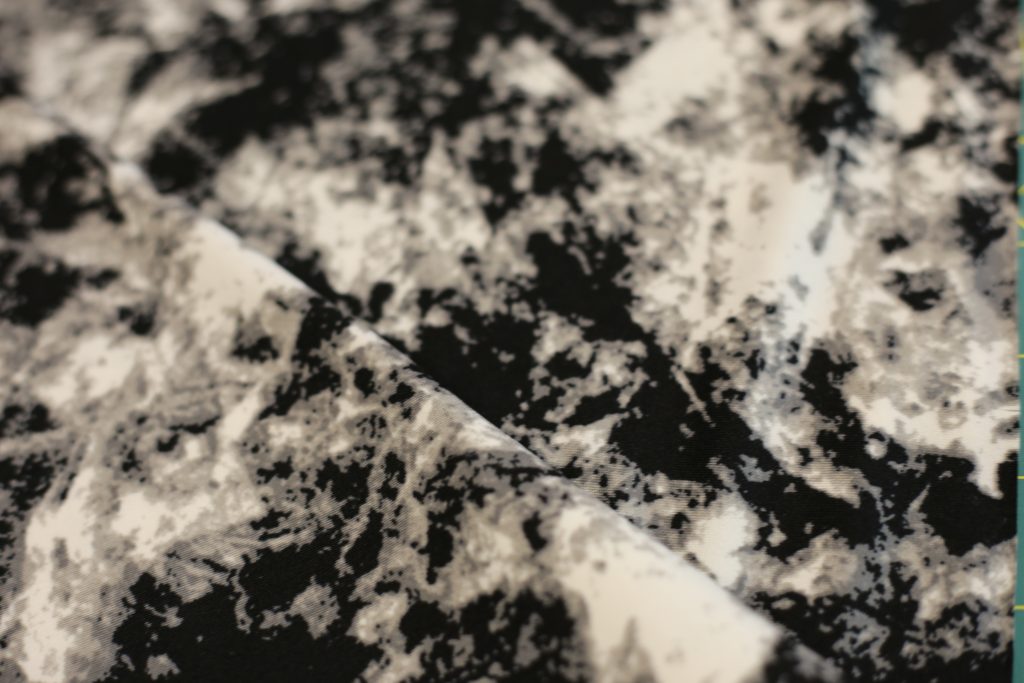
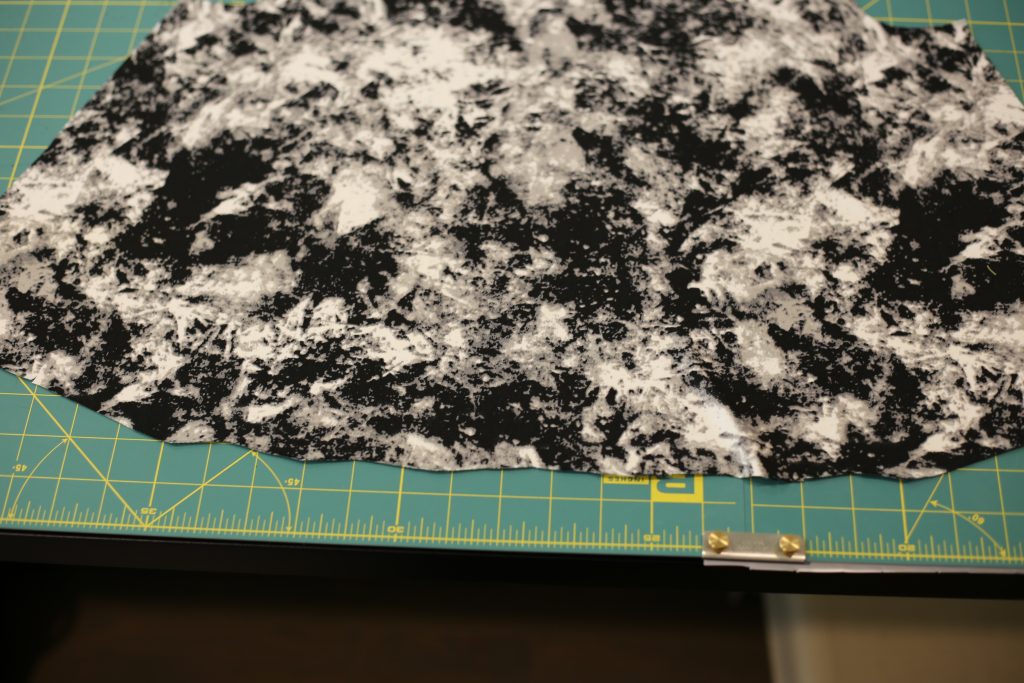
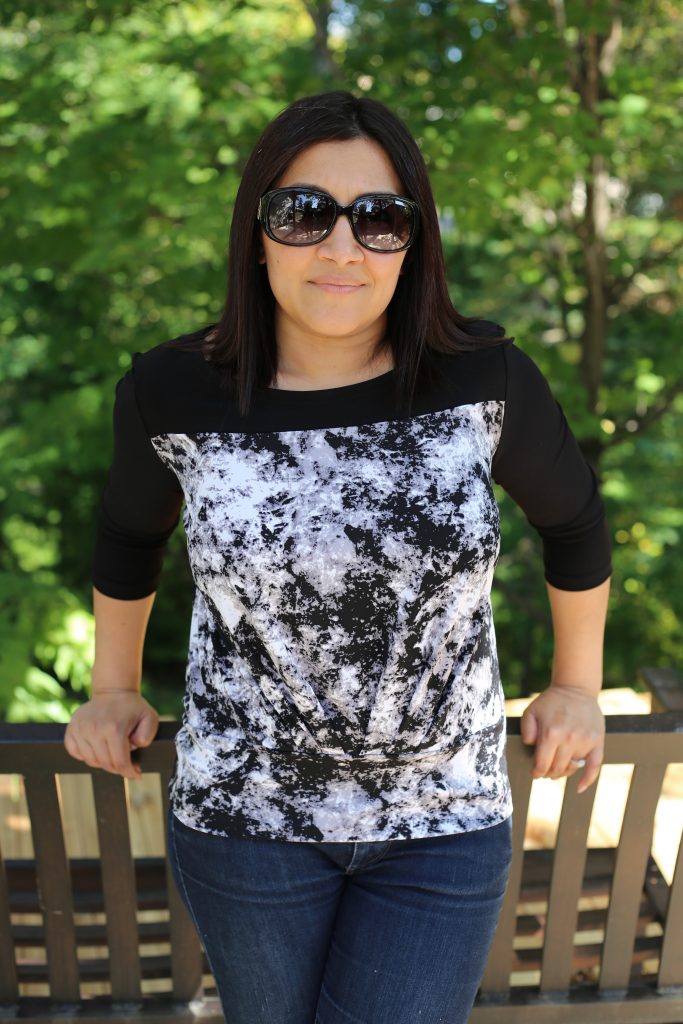
This pattern calls for a knit fabric. I had initially purchased this pattern because I wanted to make view A, but I decided on view D this time since it is a little less plain. I decided on solid black for the yoke and sleeves and this awesome print from Darrell Thomas Textiles for the body and waistband:
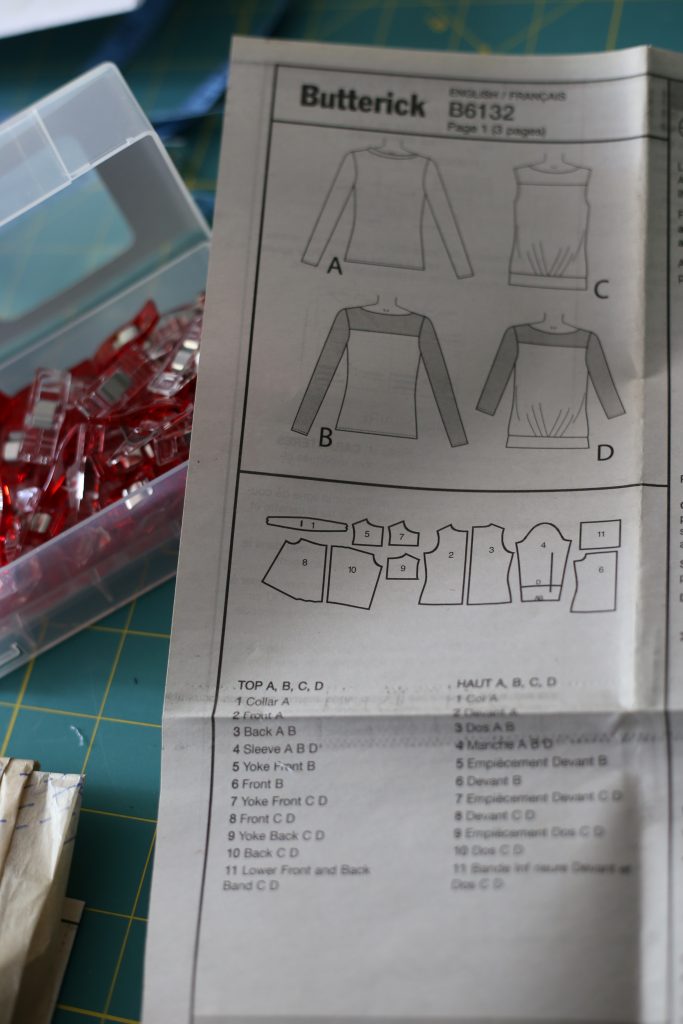
For view D you need to cut 2 front and back yokes, 2 sleeves, a front and back (both on fold), and two waistband pieces.
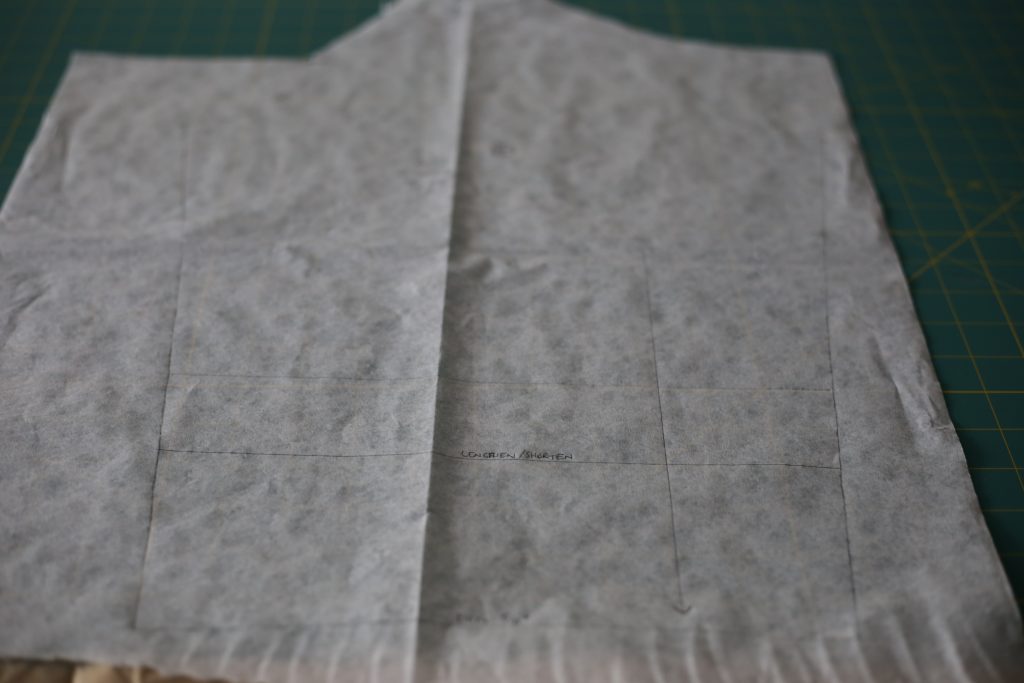
I made my usual adjustments: I shortened the sleeve by 2 inches and the front and back bodice by 3 inches. I also took out a 1/2 inch from both yoke pieces and slightly narrowed the sleeve to account for the shortening of the armhole. With a knit top like this, I normally don’t bother with a muslin so I went straight to fabric cutting.
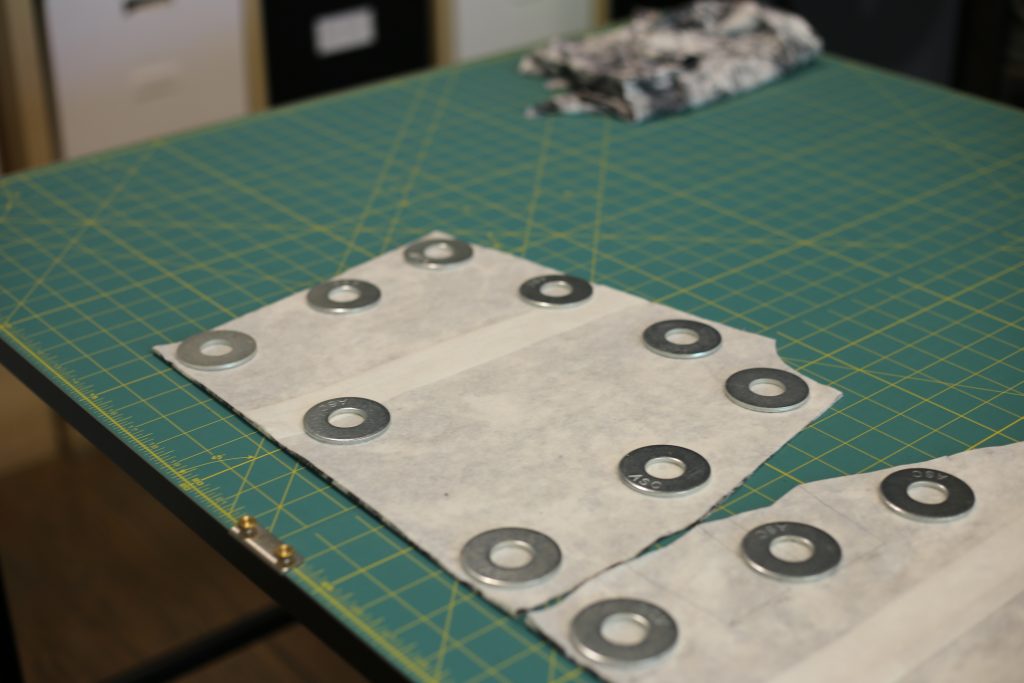
When I cut my yokes and sleeves, I tried to preserve fabric by folding both selvedges towards the middle of the fabric. I had to cut 4 yokes on a fold!
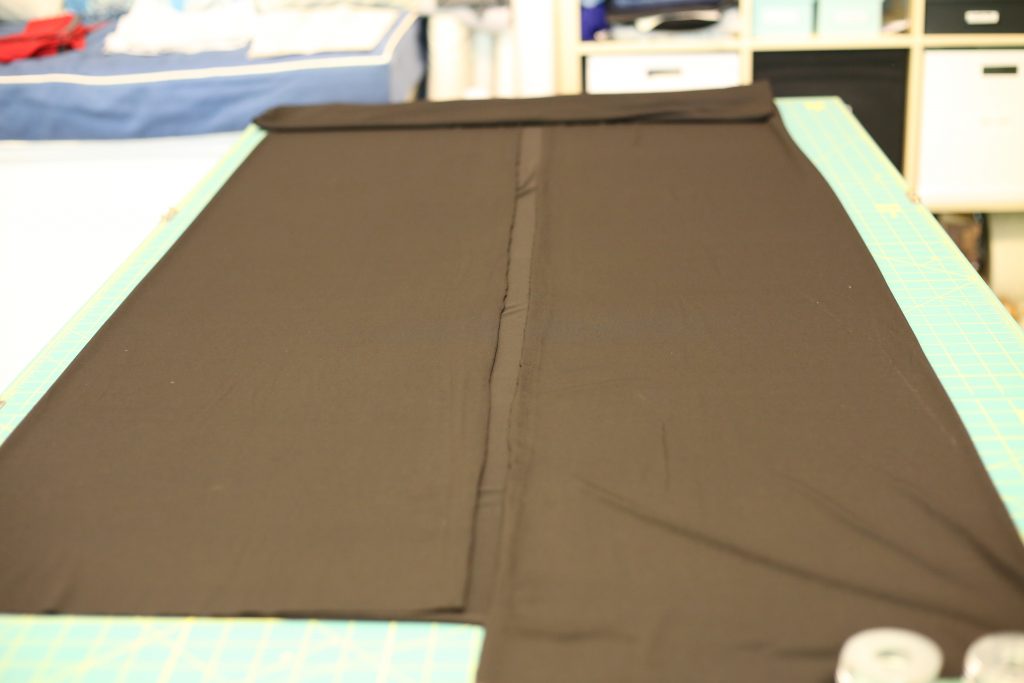
Once all of my pieces were cut, I started assembling the top. First I needed to sew the back yoke to the front yoke and the back yoke facing to the front yoke facing. I did these seams using my serger, which is fast and gives you stretchy seams. Remember if you are using a serger for seams, you need to thread all four threads. Another thing to remember: this pattern has 5/8″ seam allowances but most sergers do 1/4 inch seams. You need to use the guides on the machine to sew at 5/8″, which will chop off the excess seam allowance, otherwise your top will be too big! If you are not sure about fit and are nervous to cut away your seam allowances, you can use a stretch stitch on a regular machine or a chain stitch on a cover-stitch to sew the seams instead. This type of knit fabric doesn’t unravel, so you don’t need to do anything to your raw edges!
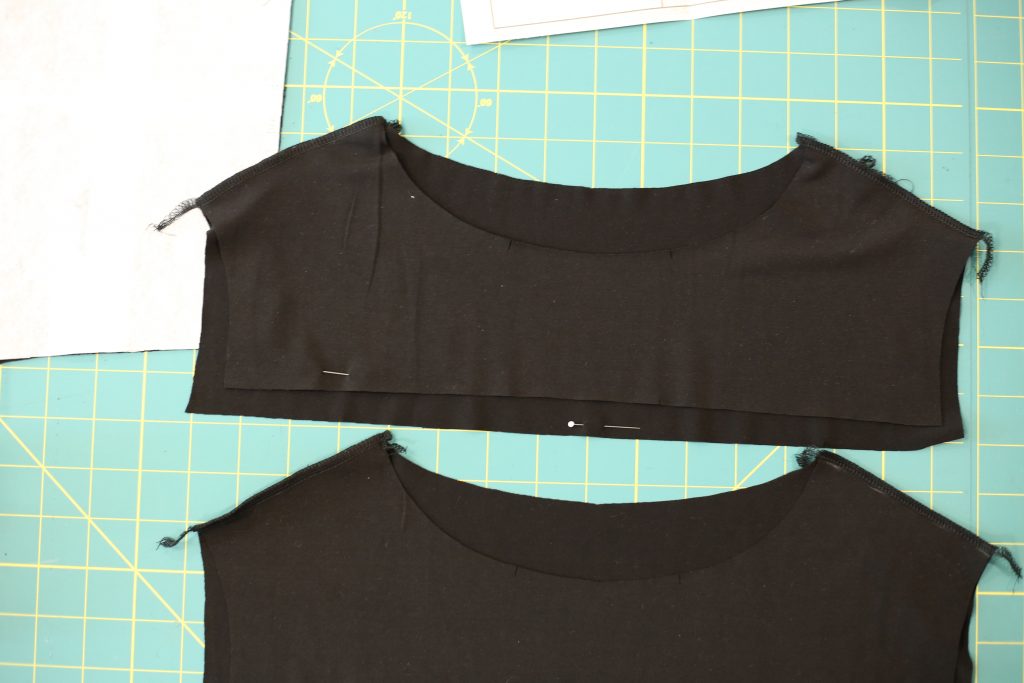
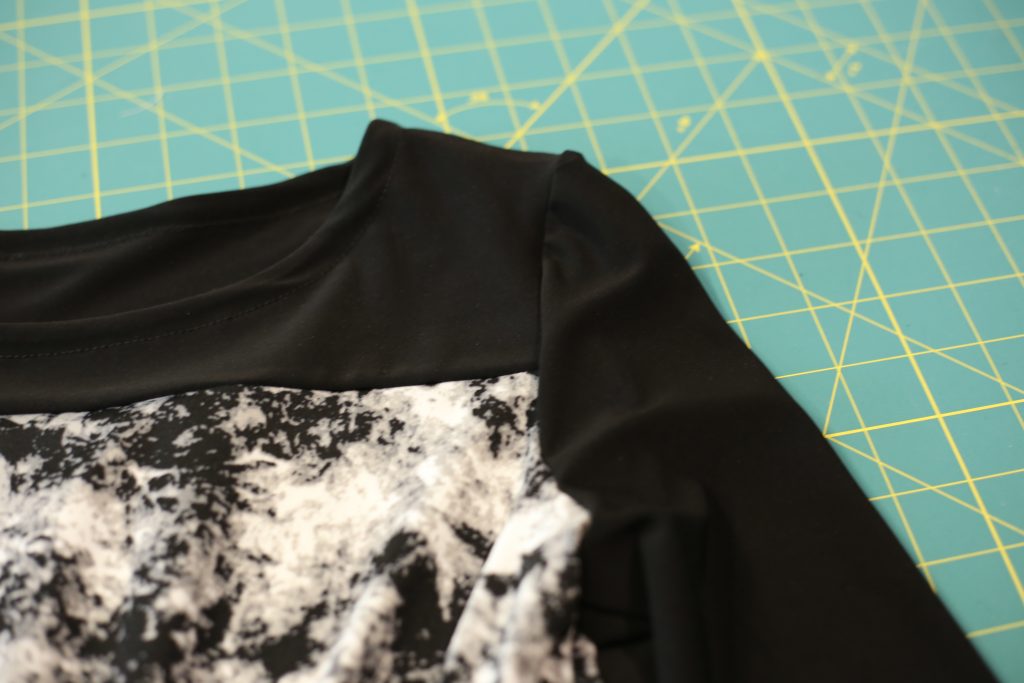
Once I had attached the front and back yoke at the shoulders on both the outside and the facing, I sewed them together at the neck (right sides together of course!) using my serger again:
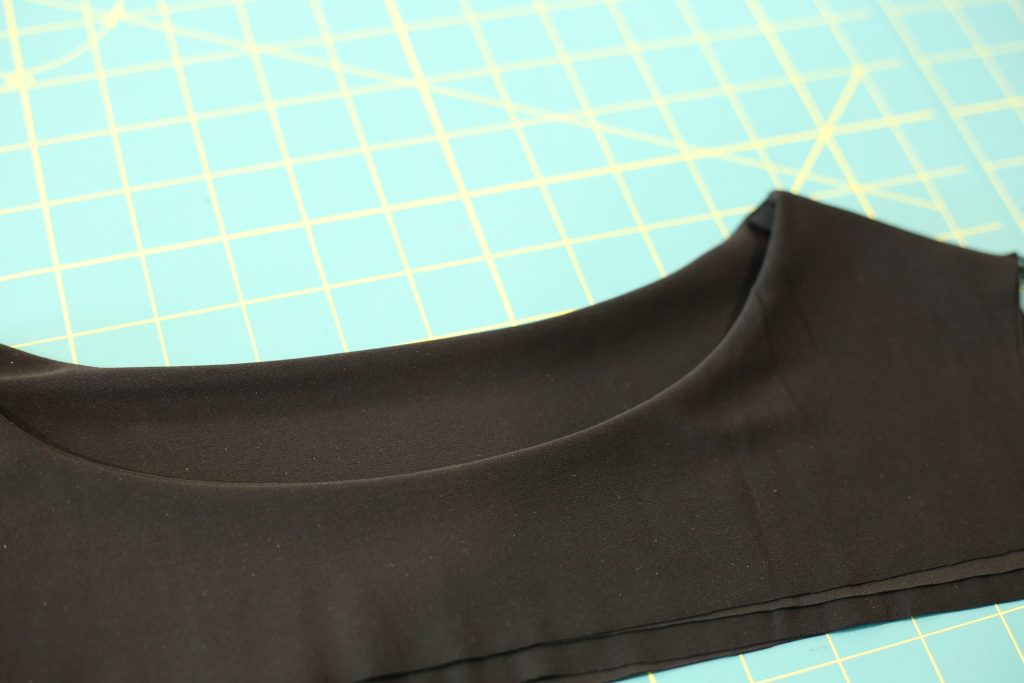
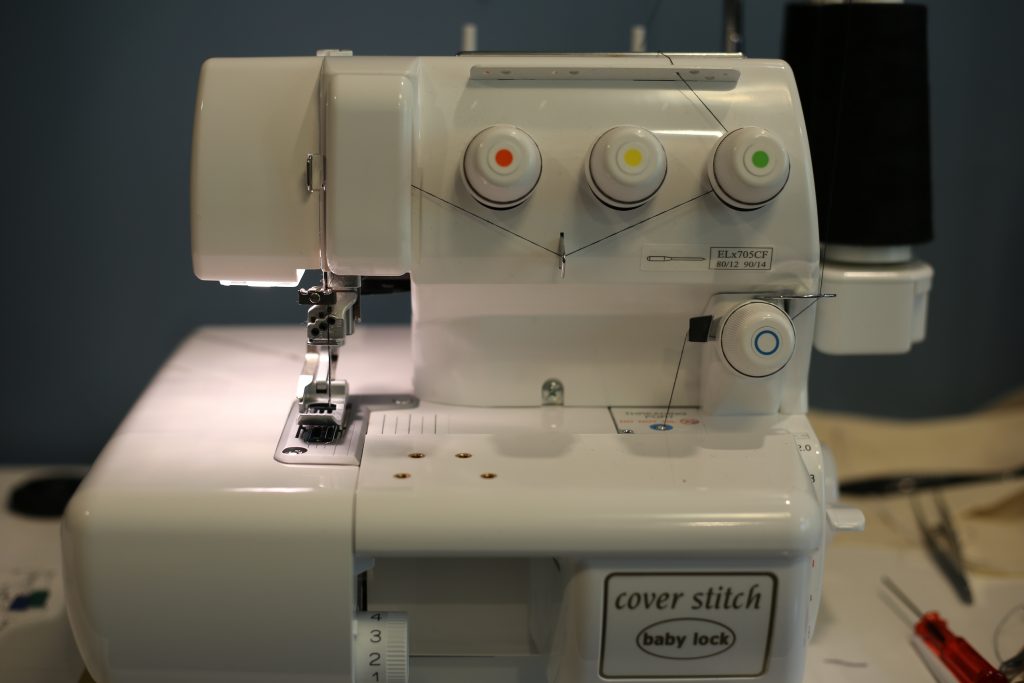
At this point the pattern tells you to under-stitch the neck facing. Normally on a woven fabric, the under-stitching helps keep the facing from rolling to the outside of the garment. In my case, I was worried the under-stitching wouldn’t work since I’m using a very stretchy knit so instead, I decided to top-stitch the neck using my new cover stitch machine.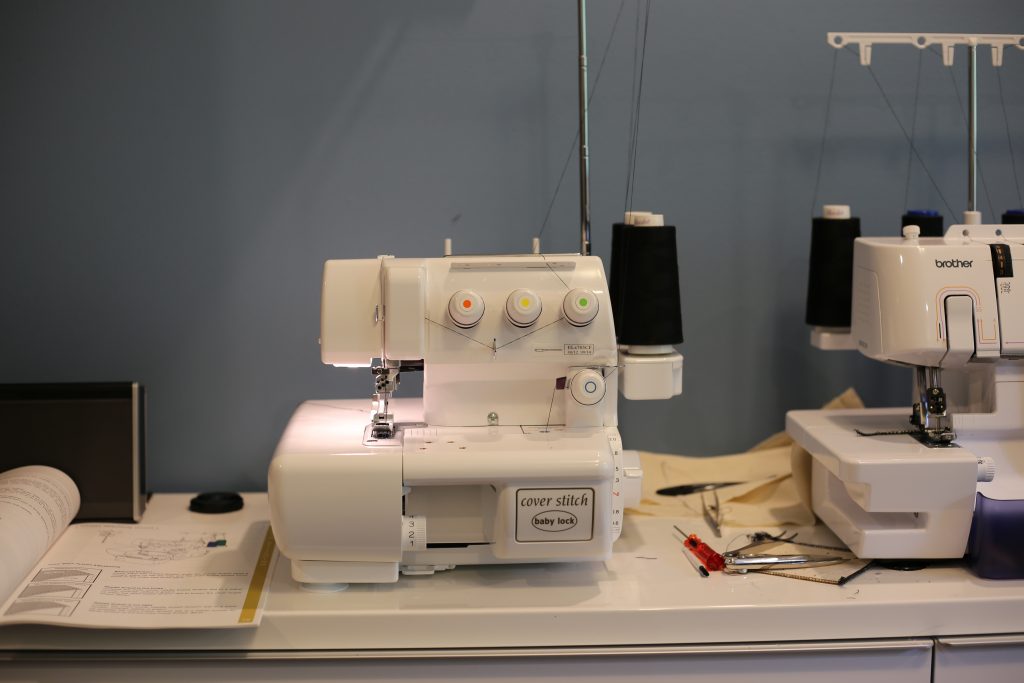
If you have read my Penguin Top article, you know that I ditched my old Janome cover stitch machine for a Baby Lock instead. I bought it several months ago, but I’ll be honest: I had such a bad experience with the Janome that I was scared to try cover stitching again! I spent so many hours trying to get beautiful hems with the Janome, and I just wasn’t prepared to go through that again.
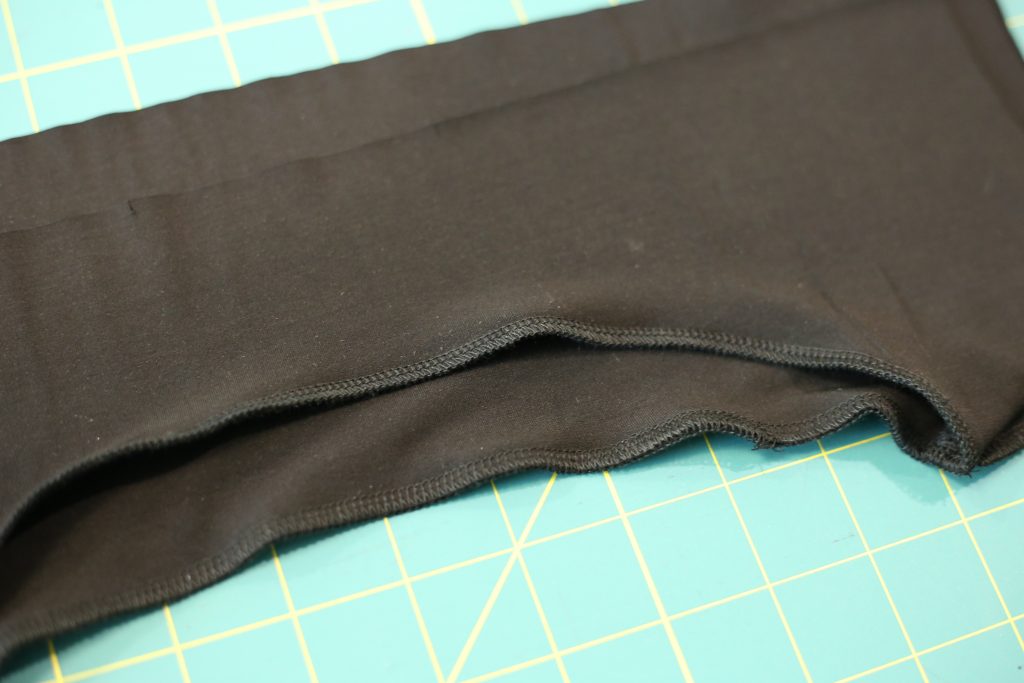
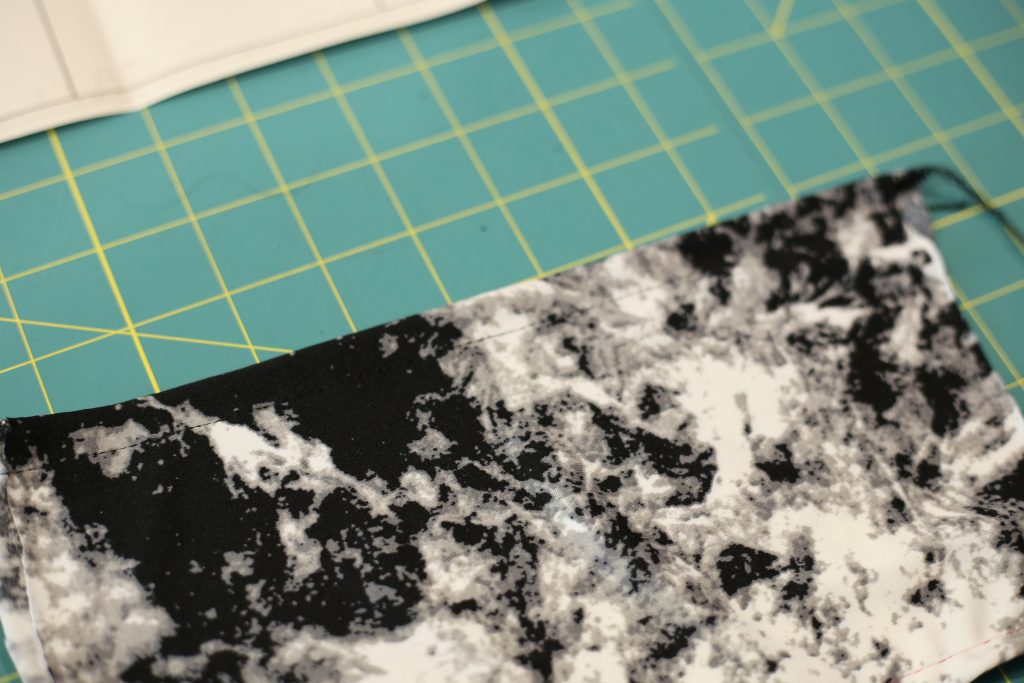
I took my time reading through the manual thoroughly, and I finally threaded it with only two spools so I could try a chain stitch rather than a “t-shirt hem” (you know that double row of stitching you often see on the hem of a t-shirt? That’s the one.). A chain stitch looks like a regular seam on the front, and a small row of “links” on the back. And then – I prayed and started sewing. I gently pulled the fabric from the back and the front as I was sewing, which is a technique Dorothy (who works in Darrell’s atelier) uses on all her cover stitching. Finally I was done, and here’s what I got:
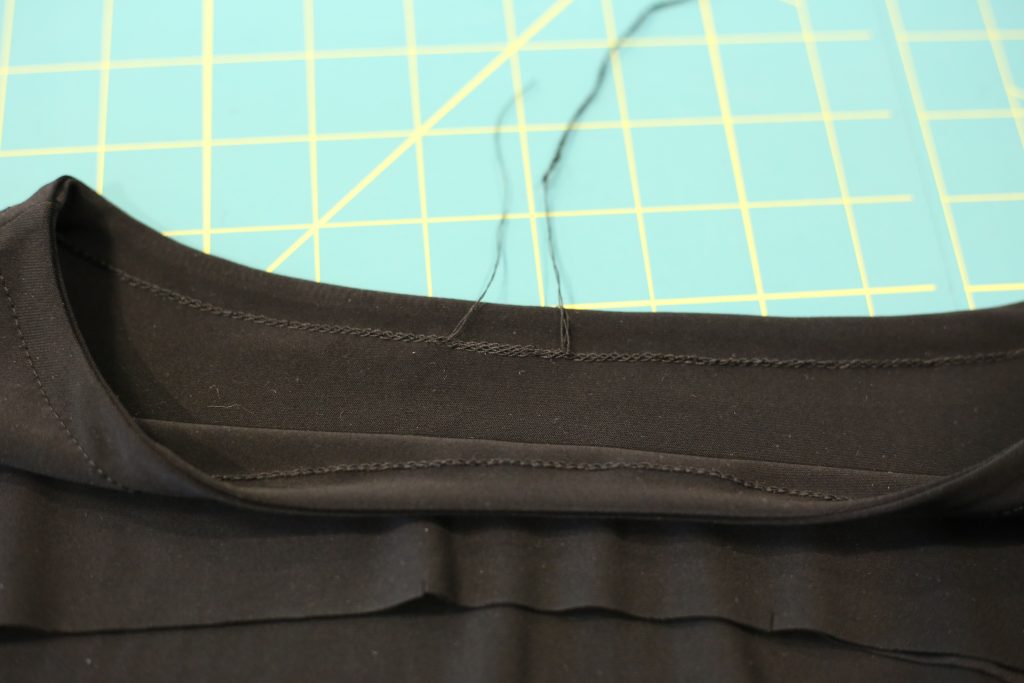
Bingo Bango. First try, perfection. I am now IN LOVE with cover stitching again!!!! Thank you Baby Lock for renewing my faith!!!
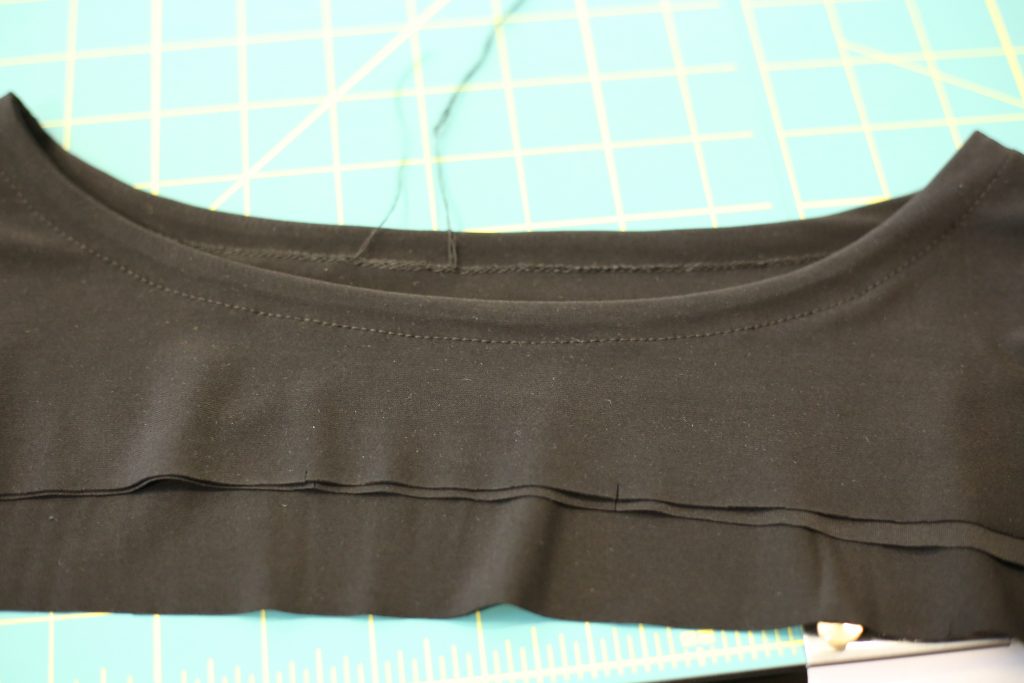
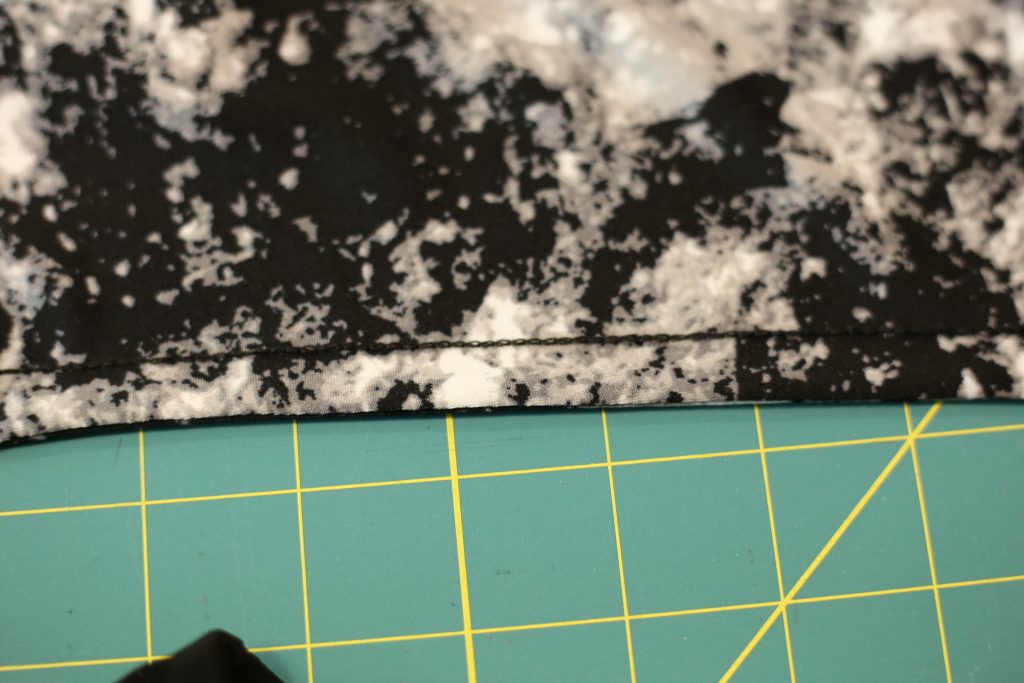
In case you can’t see the stitching on the black fabric, here is a chain stitch on some scrap print fabric:
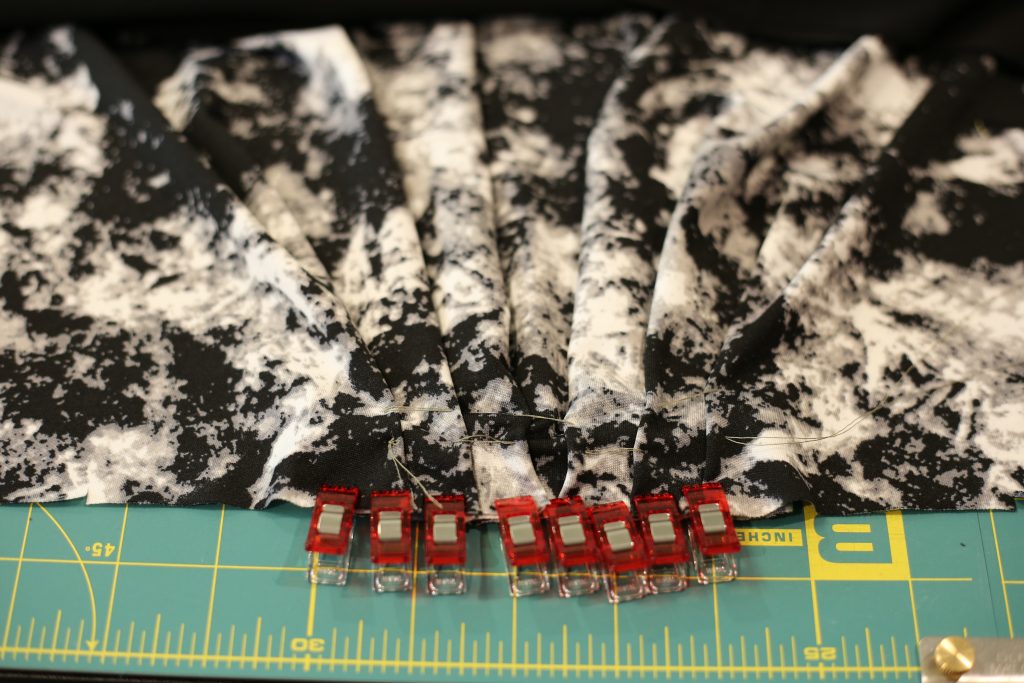
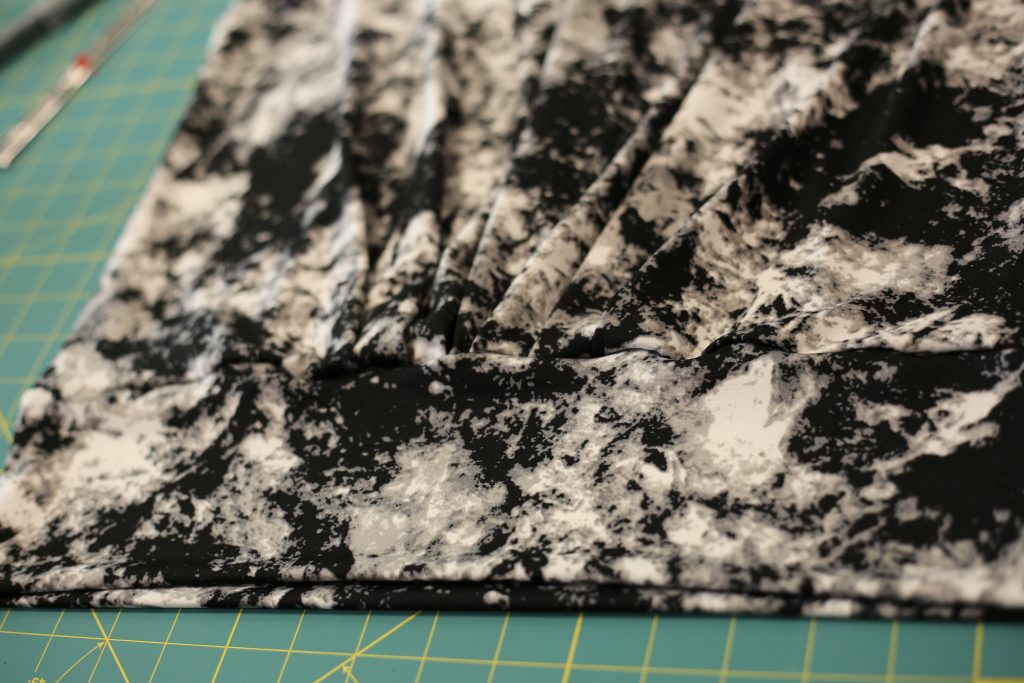
Once I stopped admiring my chain stitch and doing my happy dance, I moved on to attaching the body to the yoke. First, I needed to pin (Wonder clip) my pleats together:
The top front was then clipped right sides together with the yoke front/facing unit:
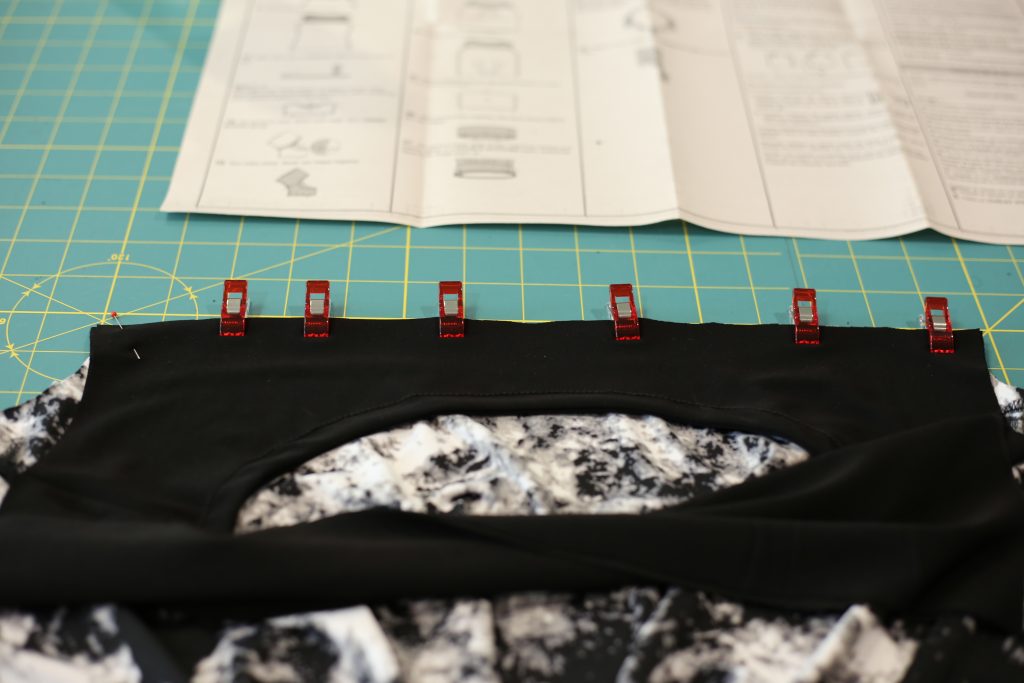
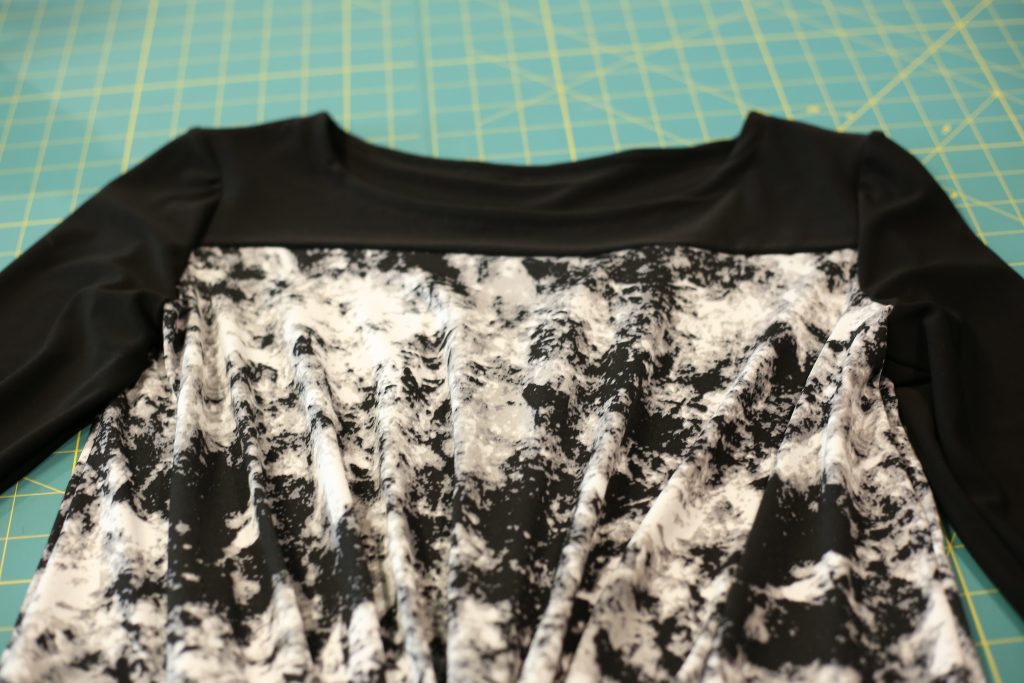
And then I sewed that yoke front to the top front using my serger. In retrospect I would probably use a chain stitch instead of serging because the serging added some bulk, but you can tell me what you think when you see the finished garment!
Next I worked on the back piece. On the back, the pleats are at the top so I clipped them, then sewed the pleated edge to the yoke back using the same process as above. Here is what the back looks like after being sewn and before pressing: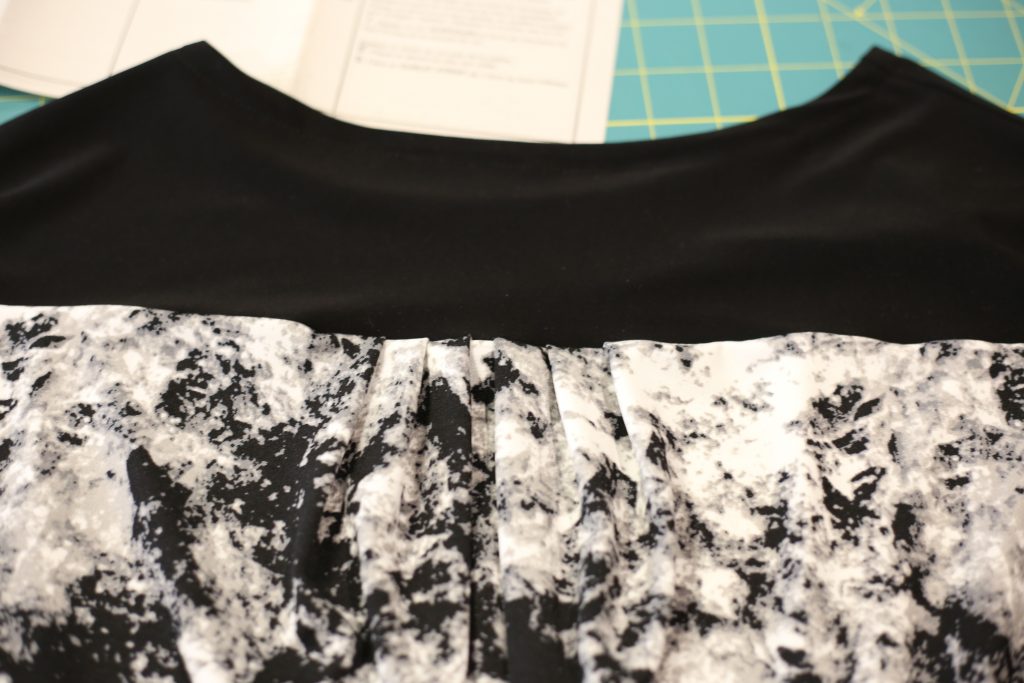
Next came the waistband. You first have to take the two rectangles and sew them together, which of course I did using my serger: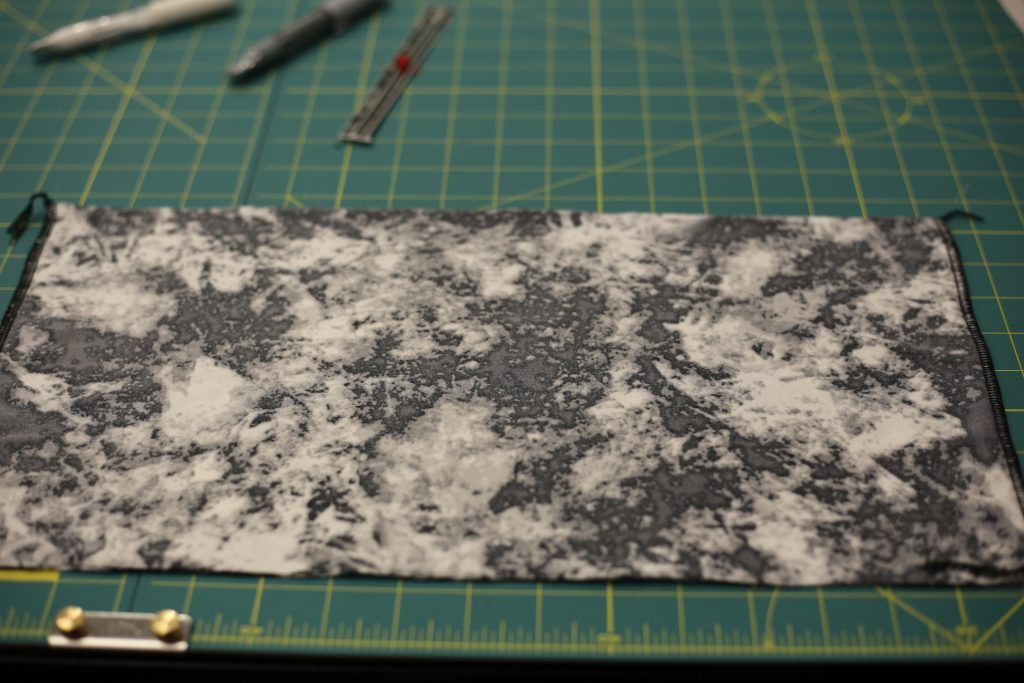
Then you fold the waistband in half with the right side out, and pin the waistband to the lower edge of the top. Here is what it looks like once the waistband is sewn to the bottom edge of the top!
The second last step was the sleeves. Guys, I swear I took photos of this step but my camera is telling me otherwise. No worries – it’s just the standard process of sewing your sleeve seam, putting in rows of basting stitches to be able to ease the sleeve cap into the armhole, pinning and then sewing the sleeve into the armhole. I will say that this fabric didn’t ease the way woven fabrics do, so next time I’m simply going to remove a bit of the size in the sleeve cap so that the sleeve goes into the armhole without requiring easing. Looking at the final garment on me, this makes sense as it will also remove the tiny bit of excess in the sleeve near the back of the armhole.
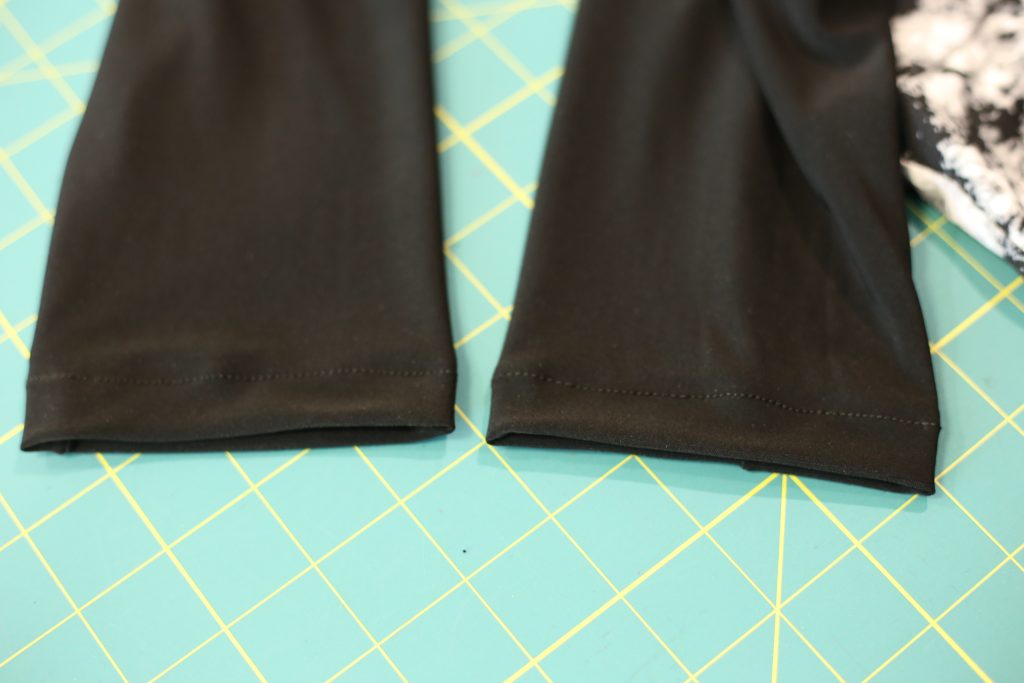
And then the final step: hemming the sleeves! I had so much fun doing a chain stitch with my Baby Lock on the neck hem, I did it again for the sleeve hems.
And here you have it – the B6132 view D from Butterick:


I am loving how this turned out, and Dave was super impressed too! Although I think he mostly loved the tie-dye-like print; he’s such a 60’s child. 😉 I think I could make the sleeveless version of this as a nice shell under blazers, and I’m going to give the versions without pleats a try as well. And yes, I’m sure I’ll make this one again in a few other colours.
What do you think? Thumbs up or down? Also, what shall I make next since I’m holding off on coats?? I’ve been wanting to make the Sewaholic Renfrew Top in the cowl neck version, and I still have the blouse for the new class at Darrell’s that I am supposed to make….let me know which you want to see more!
Hi Anokhee,
Me again 🙂
The top looks great on you. I would never think that it could look so good judging by the pattern envelope. Those pleats are a very nice feature. And the execution is, of course, flawless!
I am curious to know your opinion of the Sewaholic pattern. I’ve been looking at her Oakridge blouse but have a feeling I will need to make a lot of adjustments. The Burda blouse you are referring to looks good. Simple but fitted.
I am working on the Dove blouse by Megan Nielsen https://megannielsen.com/products/dove, but a very modified version. I am hoping it will be my first Instagram photo once I am done. The fit is not great on me, I was too lazy to make Full Bust Adjustment thinking that the fit was loose enough, but ended up with the darts a bit too high. Still, I hope it will look good enough for my first appearance on social media 🙂
I was trying to get my dog to model his new winter jacket I made for him but he pointed out that it was too hot, and besides he is too shy. So it will have to be me 🙁
Inna
Hi Inna!
Thanks for the compliment on the top! I agree, it is always hard to judge patterns when they have an illustration rather than a photograph.
I have three Sewaholic patterns, but the Renfrew is the first one I’ve actually made. I just went and looked at the instruction sheets for all three patterns (I also have the Minoru jacket and the Cordova blazer) and unfortunately none of them give notes on how to do adjustments. Looking at the Oakridge, my guess is it will be tricky to get a good fit on it. What about Vogue 9029 or 8689? I was going to recommend Vogue 8322 which is on my corkboard, but I see it’s out of print now.
I can’t wait to see your first Instagram post! Maybe your dog will be less nervous if he gets to pose with you. 😉
Good luck!
Too bad Vogue 8322 is out of print. I like the neck options and the wide sleeves. I am not crazy about the yoke on 8689 but 9029 looks good.
Another shirt that I really want to try is Harrison from Cahsmerette https://shop.cashmerette.com/products/harrison-shirt-printed-pattern. I have so many plans and ideas but I am very slow, always trying to perfect everything so not sure when I can get to all of them. I thought my Dove blouse would be ready last night but I found the V-neck too low for my comfort and now I am looking for ways too change it. But I am working with crepe de chine so it’s a real pain. I would never choose fabric like that by myself. It was a gift from my mother so it has to turn into something :), otherwise the whole project would have been in the bin by now.
The Harrison looks like a great pattern! Cashmerette has lots of tutorials too.
Keep going with your Dove blouse…every garment is a learning lesson. Even if you don’t love it when it’s done, you will be proud of your perseverance!!
I finally did! Instagram.com/iksewing