
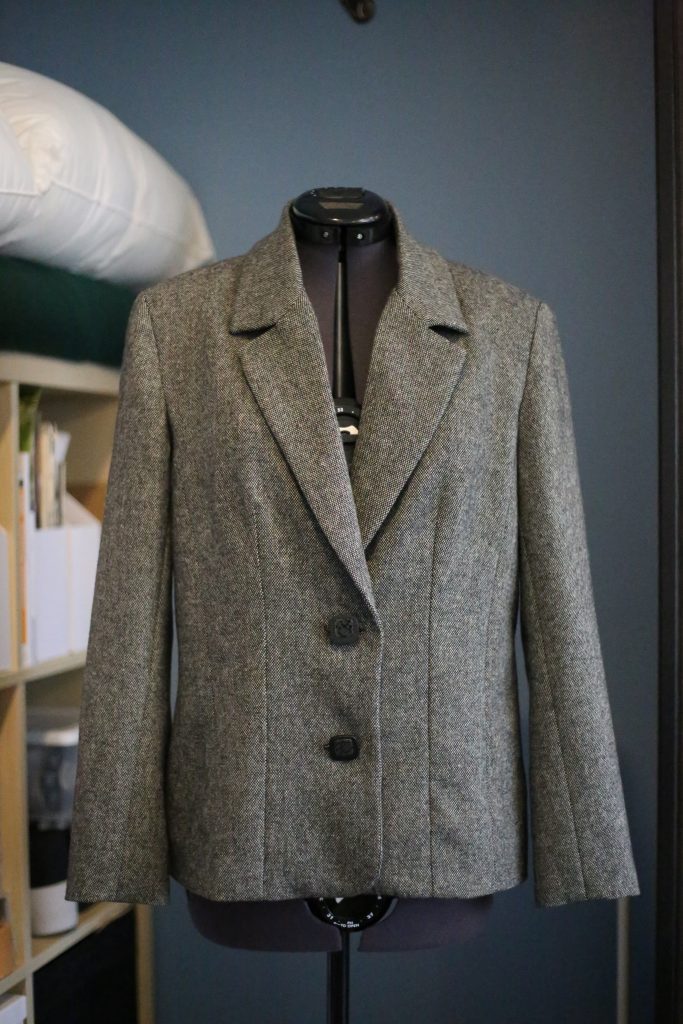
This is the third and final post on my first venture into making a tailored blazer. I am so excited with the way it turned out!!
At the end of part 1 I had left you with a view of the back stay, so let me continue with sleeve insertion. I have set in plenty of sleeves, and I have always used a double row of basting stitches to ease in the sleeve. I first attached the upper and lower sleeve pieces on the long seam, and then I sewed my two rows of basting stitches. It is a bit tough to see, but the two rows of stitching are in orange thread. Both rows are within the seam allowance. I back stitch at the beginning to secure my threads, and at the end I leave them loose so I can pull them gently to gather them.
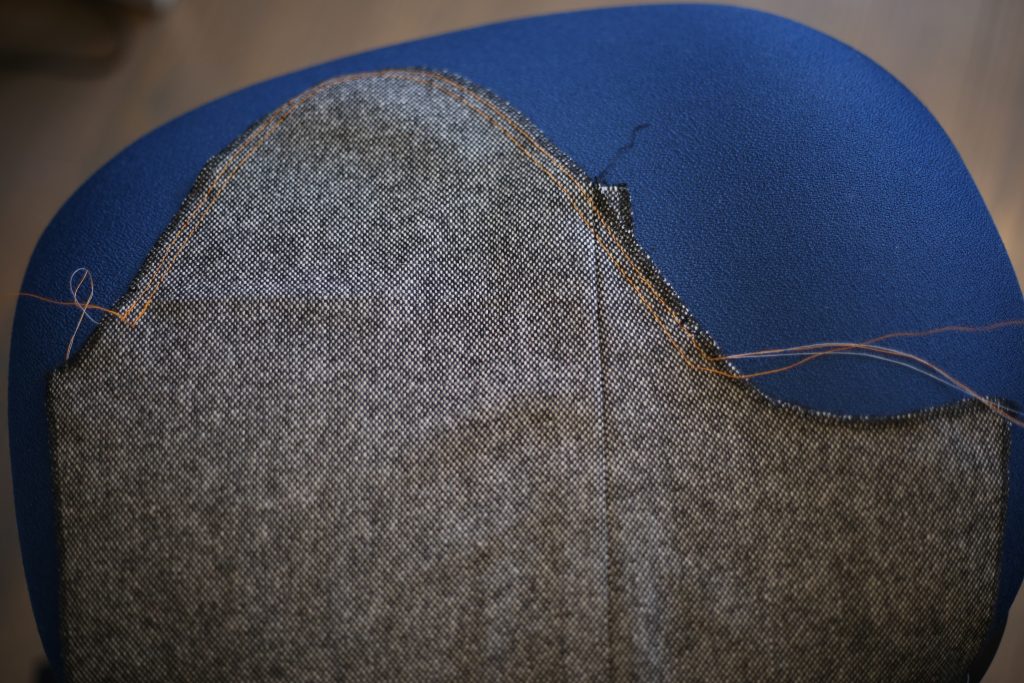
As taught to me by Darrell at Darrell Thomas Textiles, I always do my basting stitches much longer than patterns generally suggest. The more distance over which you ease your sleeve, the easier it is to get it smooth. You don’t really want roundness/fullness in the bottom of your sleeve, so I find the easing above to be just right.
Next, I sewed the remaining seam on each sleeve so the sleeves are now tubes:
Here is where things get different. If you recall, when we cut open the ready to wear blazer in the last post we saw some muslin/canvas to give shaping to the sleeve cap, plus we saw a sleeve head made of what appeared to be flannel or lambswool. Traditionally, this sleeve head serves a double purpose as shaping/support for the sleeve cap as well as being used instead of rows of basting stitches to “gather” the sleeve enough to insert it into the body of the coat. A sleeve head is a strip of soft fabric (again, lambswool is traditional but flannel seems to be the substitute) cut on the bias.
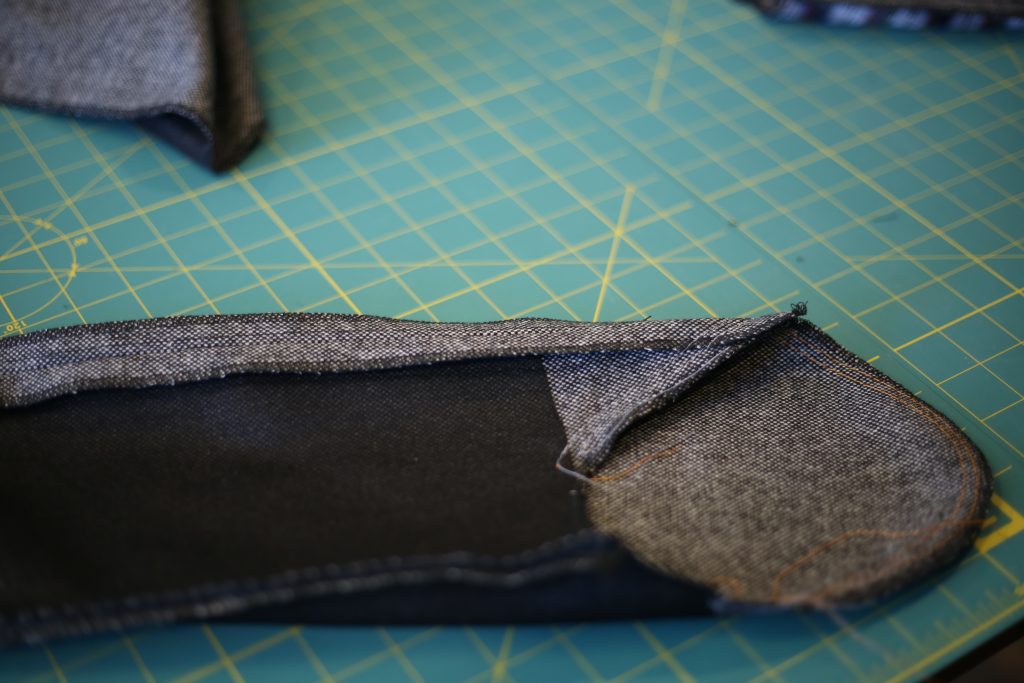
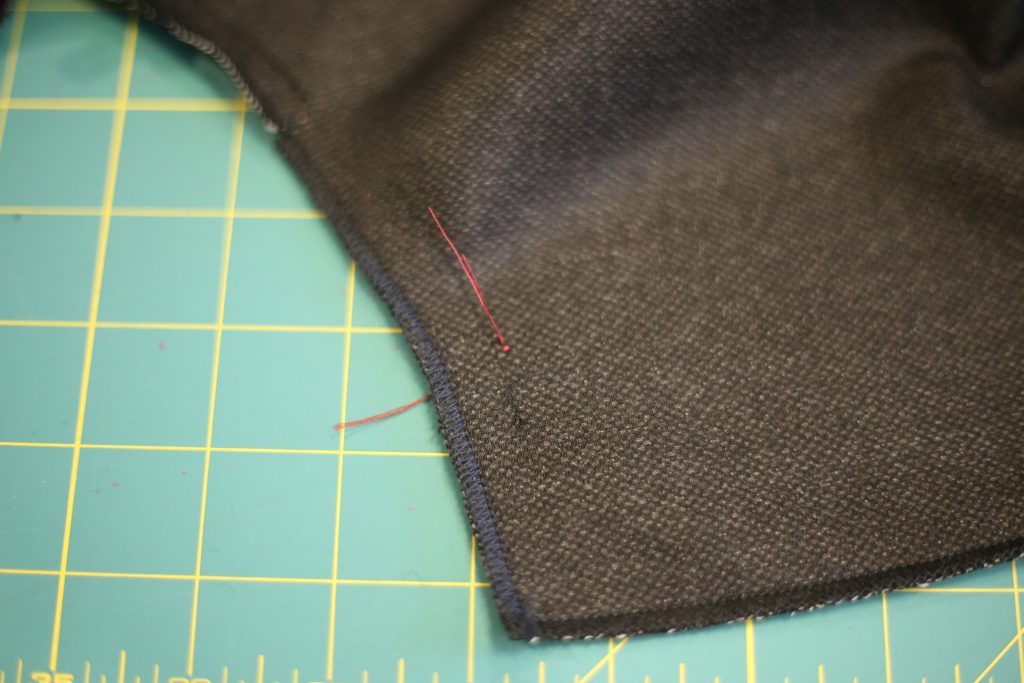
I didn’t have either flannel or lambswool on hand, but I had read that muslin could be used so that’s what I did. I cut two strips on the bias, about 9 inches long and 1.5 inches wide. You then fold it in half lengthwise, mark the halfway point, pin the halfway point to the notch at the top of your sleeve, and sew it in stretching the sleeve head as you go. Gertie has a fantastic post and video on inserting sleeve heads.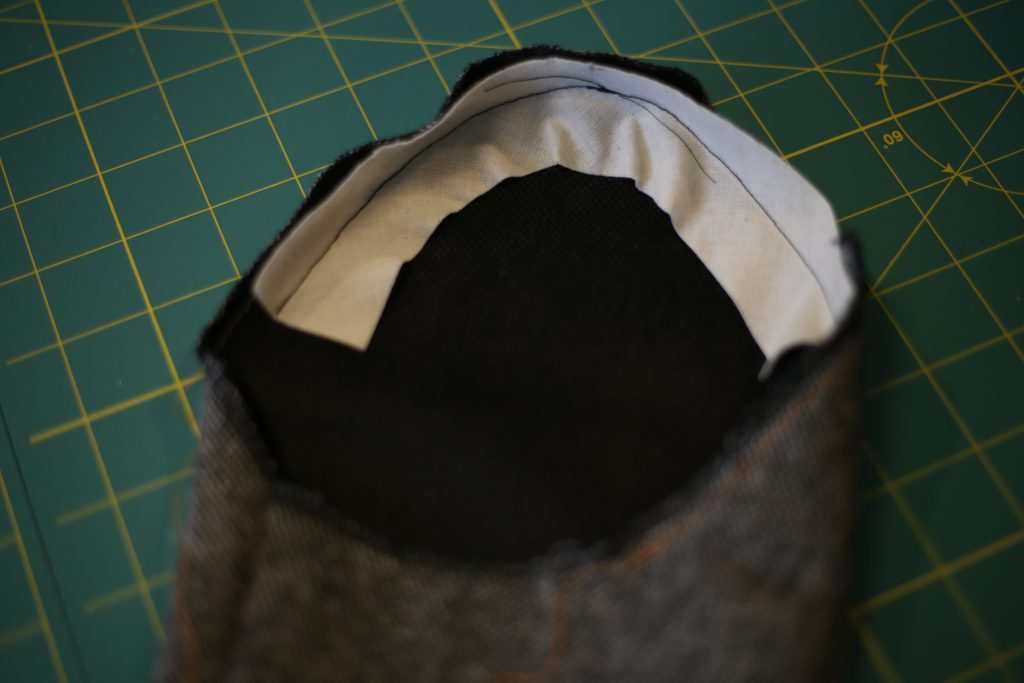
As you can see above, if you stretch the bias strip as you sew it in, it will snap back and gather up the head in the process. Now, I found that it didn’t gather it quite enough so I did end up pulling up my basting stitches a bit. In retrospect I should have realized this would cause me issues, but more on that later.
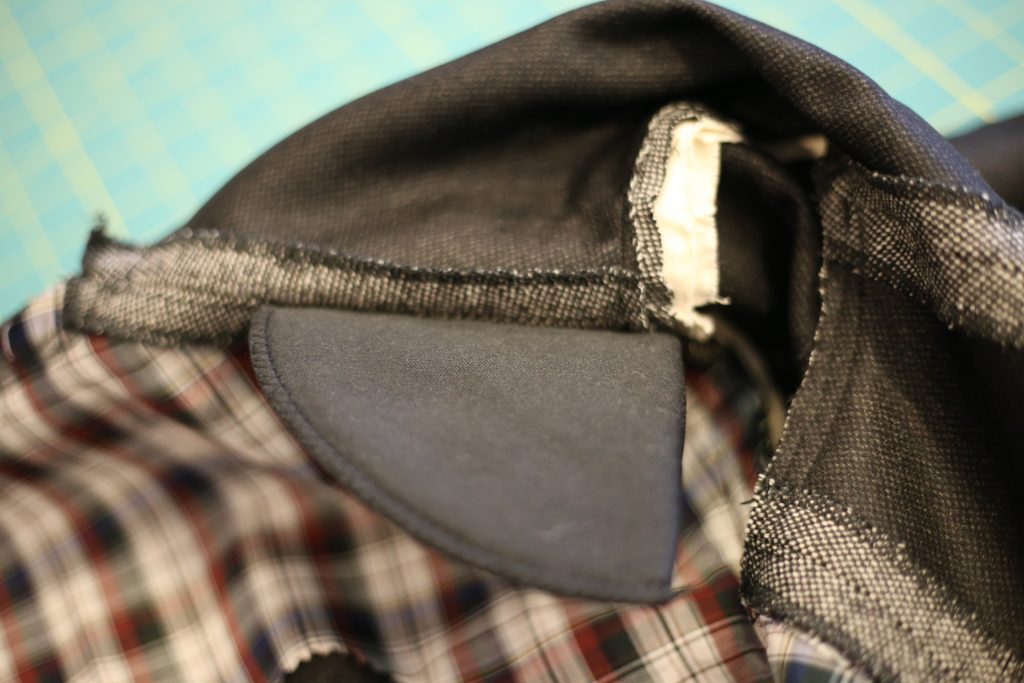
I used my trusty Wonder Clips to secure the sleeve into the armhole, matching notches as I went. You can see the sleeve head at the right, already sewn in.
The sleeves went in great, but when I turned my jacket right side out there was all kinds of rippling in the cap. I realized that by tugging on the basting stitches to gather the sleeve, I had introduced puckers in the sleeve head. I should have sewn it in after doing this. Also, the muslin was too stiff of a fabric to use under this soft wool suiting, which also contributed to the puckers being visible on the outside. I ended up putting lots of notches in the sleeve head to get rid of the puckers, but it’s definitely not perfect. Lesson learned: in the future, I will always use flannel or a soft fabric for my sleeve heads.
Once the sleeves were in and seam allowances pressed I reinforced the under arm by adding a second row of stitching 1/8 inch in from the seam, and then trimmed the seam allowance very close to the second row of stitching. This eliminates the bulk of fabric in the underarm and makes the jacket more smooth.
Last step for the shoulders: shoulder pads. I still have a bunch of ready-made shoulder pads that I had purchases earlier so I used a pair of those, but once my stash runs out I’m going to start constructing my own shoulder pads. Shoulder pad insertion isn’t tough. Just pin it in place, with the edge sticking slightly (1/4-1/2 inch) past the shoulder seam. Put it on and check in a mirror that you are happy with the placement, then secure the shoulder pad to the shoulder seam allowances by hand-stitching.
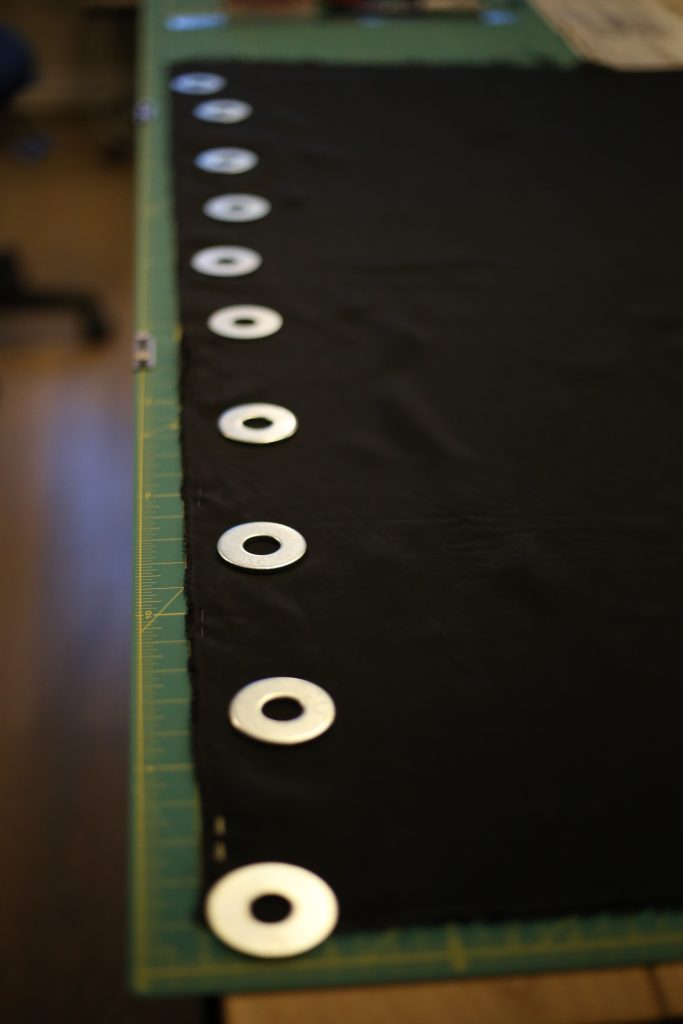
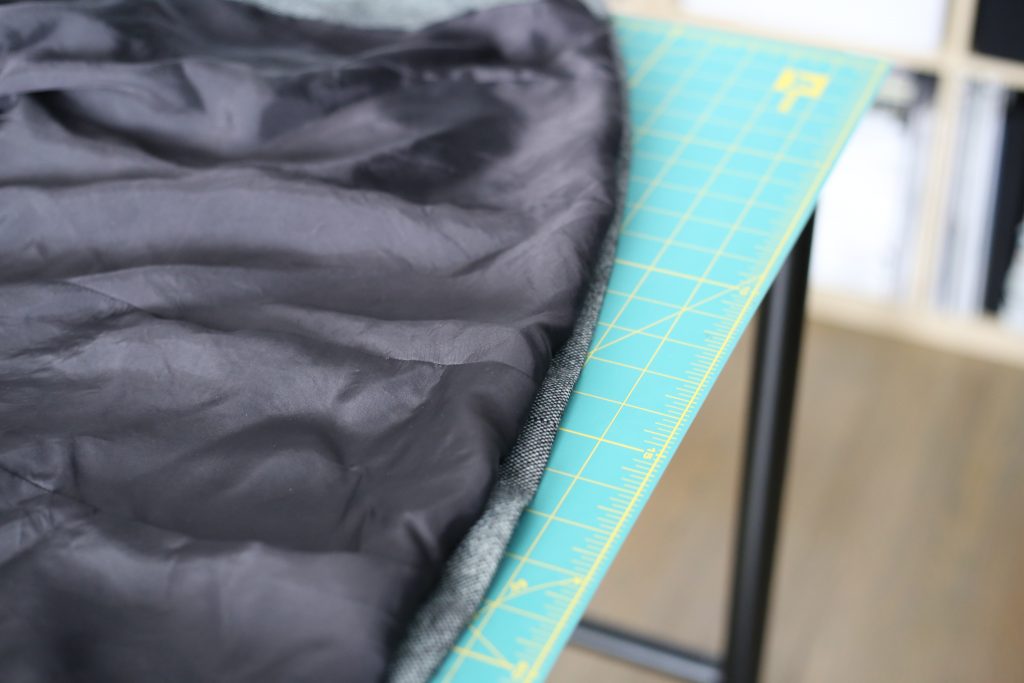
Shell of the jacket is complete!! On to the lining. I have always used Bemberg rayon for my jacket linings, as they are readily available and silk is far too expensive. The only real issue with Bemberg is cutting it because it is SO slippery. You’ll notice in the picture below that I have both pinned and weighted the lining down before placing my pattern pieces and cutting.
I use a ton of pattern weights and my rotary cutter when I cut lining. In fact I tend to use a rotary cutter almost all the time, but I would especially recommend it for slippery fabrics and stretchy fabrics. It will greatly improve your cutting accuracy.
Before removing the pattern weights I marked my pattern markings with tailors tacks as chalk slides right off Bemberg. I also marked my notches with a little 1/4 inch cut in each notch. This is very accurate and faster than cutting a triangle. Plus, this kind of “notch” will be visible even through serging.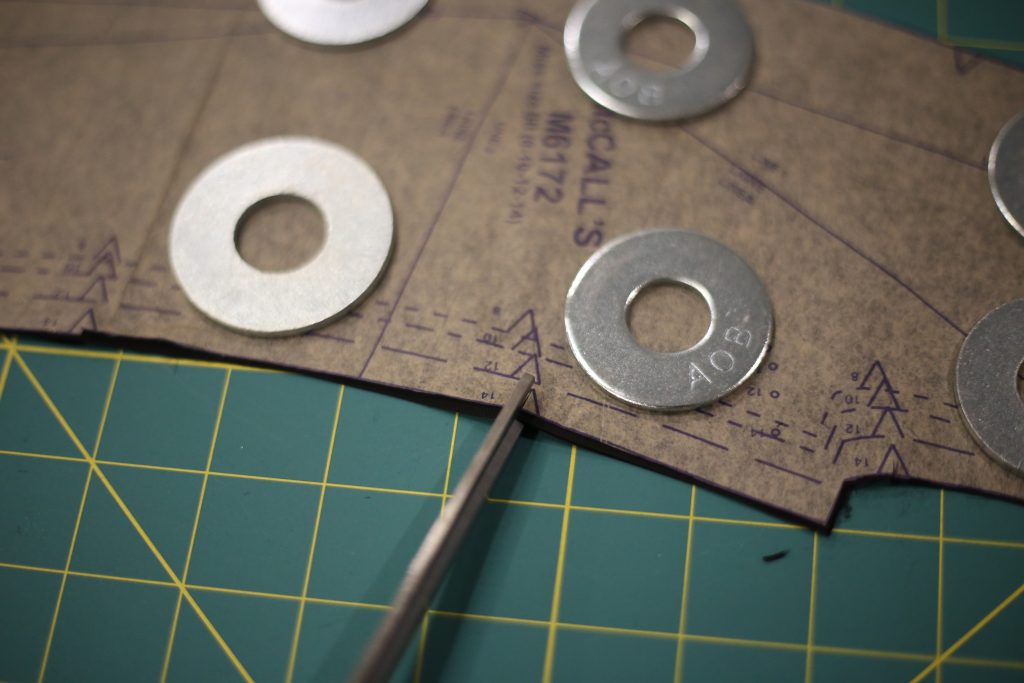
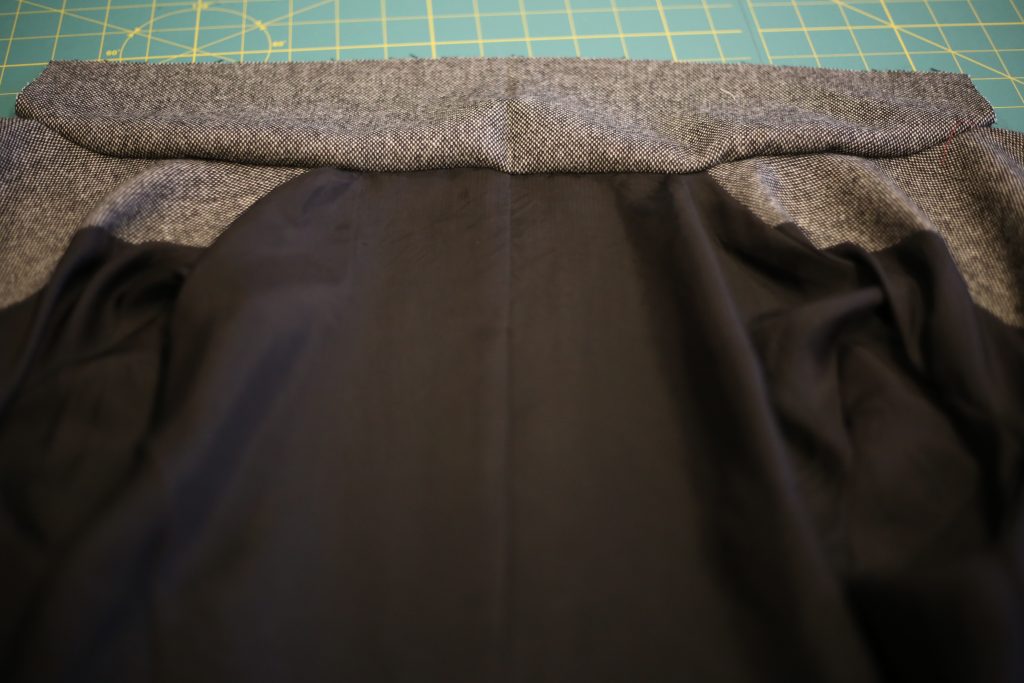
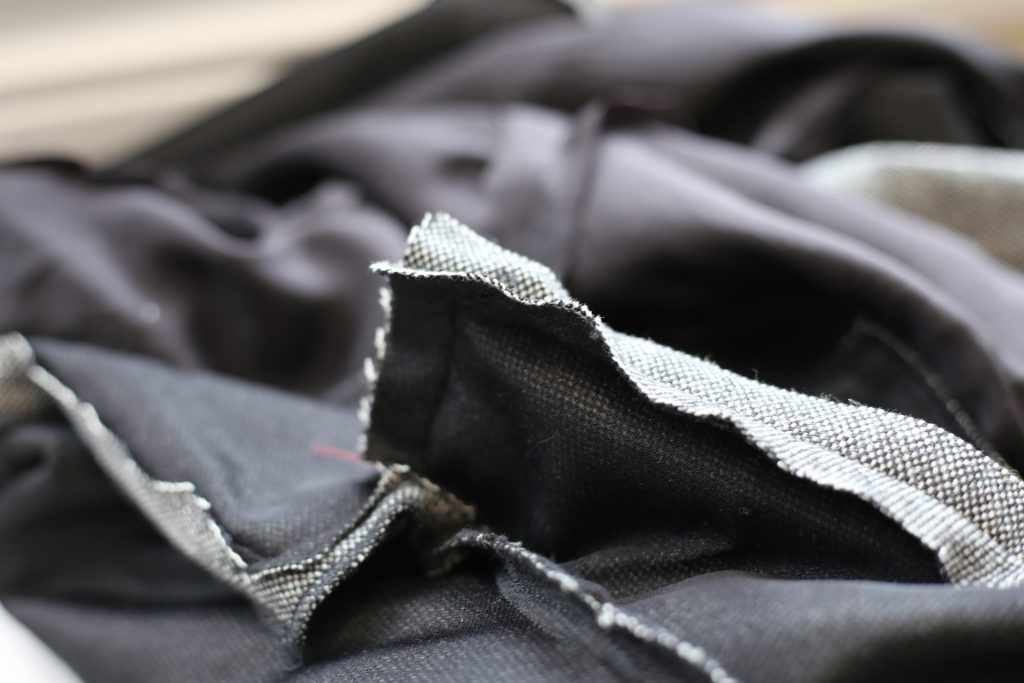
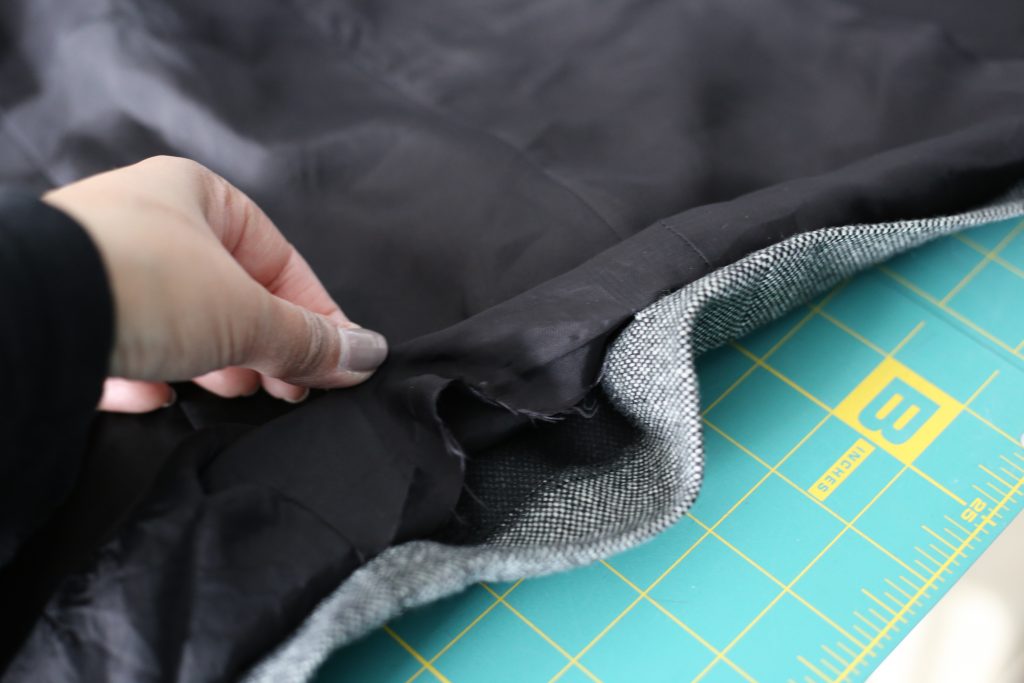
For assembly I started with the back piece. Unlike the back of the coat, the back lining piece is cut on a fold so it’s a single piece. You then add a seam in sections of the centre back and leave other sections free, which gives you this “pleat”: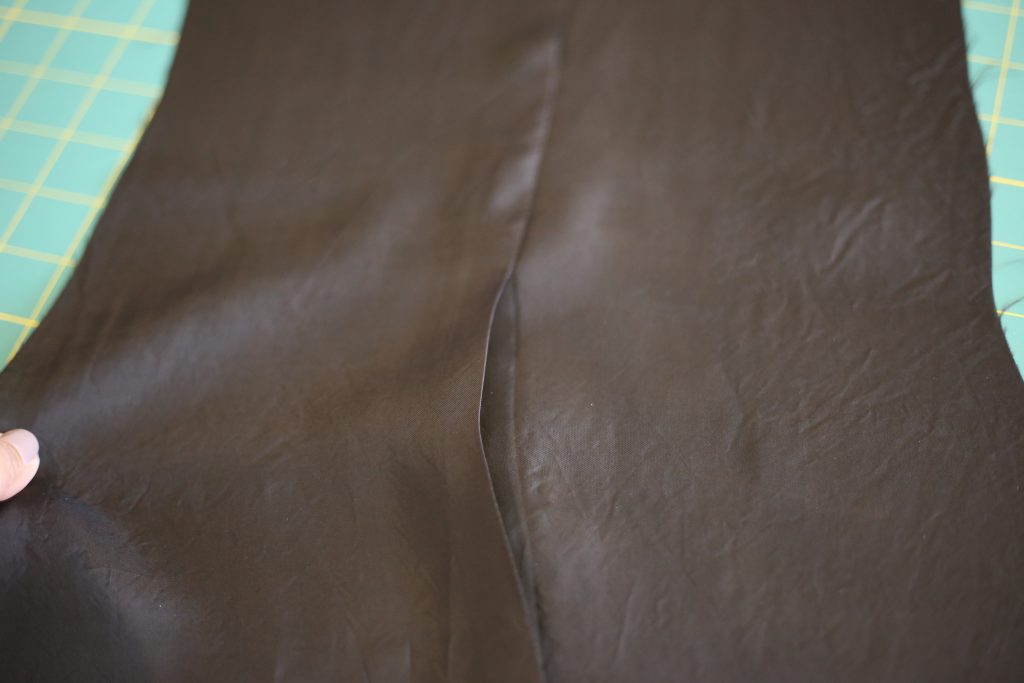
The pleat allows for wearing ease and prevents the lining from ripping over time due to stretching.
I assembled the rest of the lining pieces by sewing the front facing to the front lining and the side front lining. Times two of course.
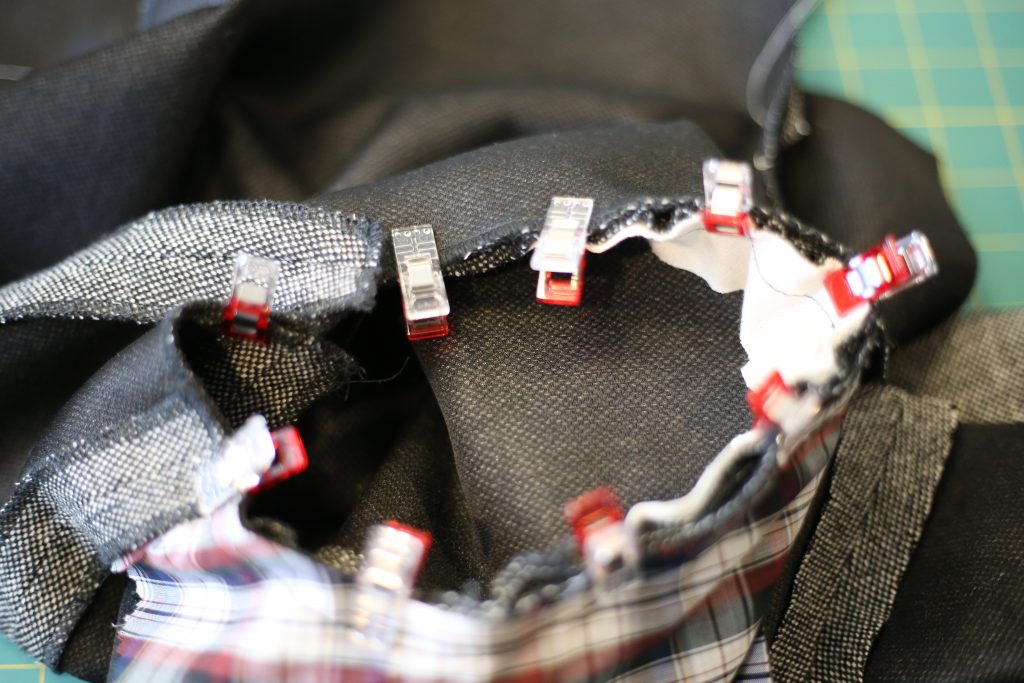
Once the front lining pieces were attached to the back lining pieces at the shoulders and side seams, it was time to add the upper collar. I ripped out those grey tailor’s tacks and replaced them with red ones to make them more visible:
I then matched notches, eased where required and sewed the upper collar to the lining unit:
There were some steps to prep the collar seam (notching, grading etc) but I won’t bore you with those details. They are in the pattern instructions.
At this point I attached my lining sleeves to my lining body. As per part 2 of this blog series, most tailoring and couture books I’ve read (as well as the pattern instructions) suggest attaching the lining body at the armholes and then attaching the sleeves by hand. I don’t have this much time or patience on my hands, so I did it the fast way. Sue me.
The next step after that was to sew the lining to the coat and the upper collar to the under collar. NOTE: I recommend being VERY REFRESHED and focused before starting this step!! This step results in the most visible parts of your garment – collar, notches, front overlap of the coat. You want it to be as perfect as you can make it. If you’re tired, step away from the sewing table. I repeat: STEP AWAY.
Ready? Okay. The instructions recommend sewing the upper and under collar together starting from each side (just above where my finger is, below) and sewing towards the centre. Read the instructions, re-read the instructions, match notches, pin pin pin, and go for it.
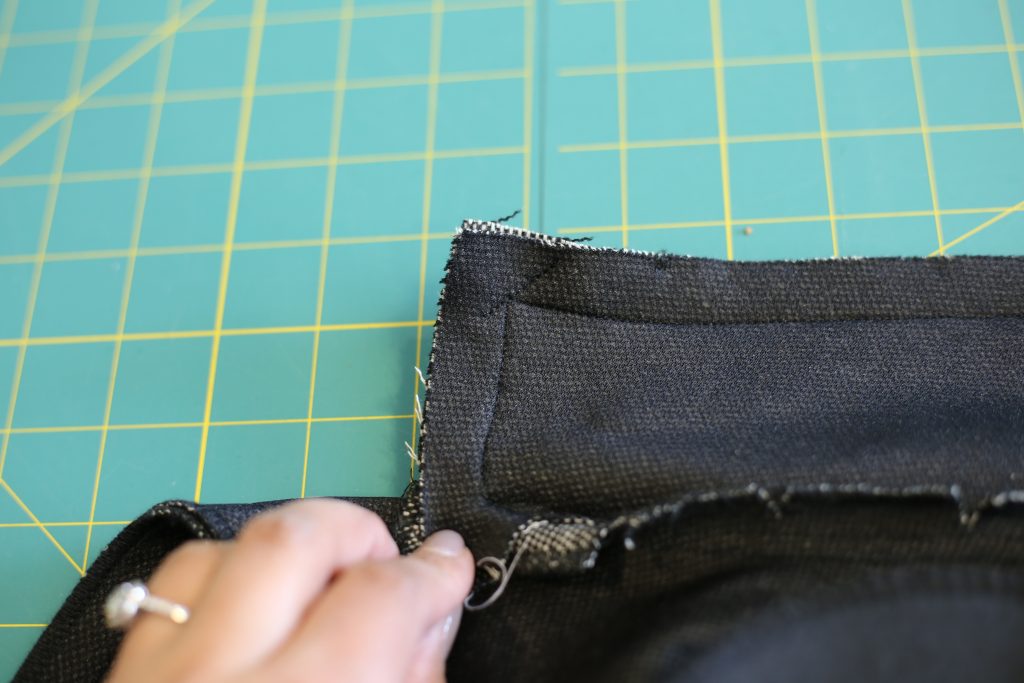
Once the collar is sewn, push the collar seam allowances out of the way and sew from the match point (grey thread below – guess I didn’t replace every grey tack with red!!) to the point of the collar, pivot and sew all the way down…. 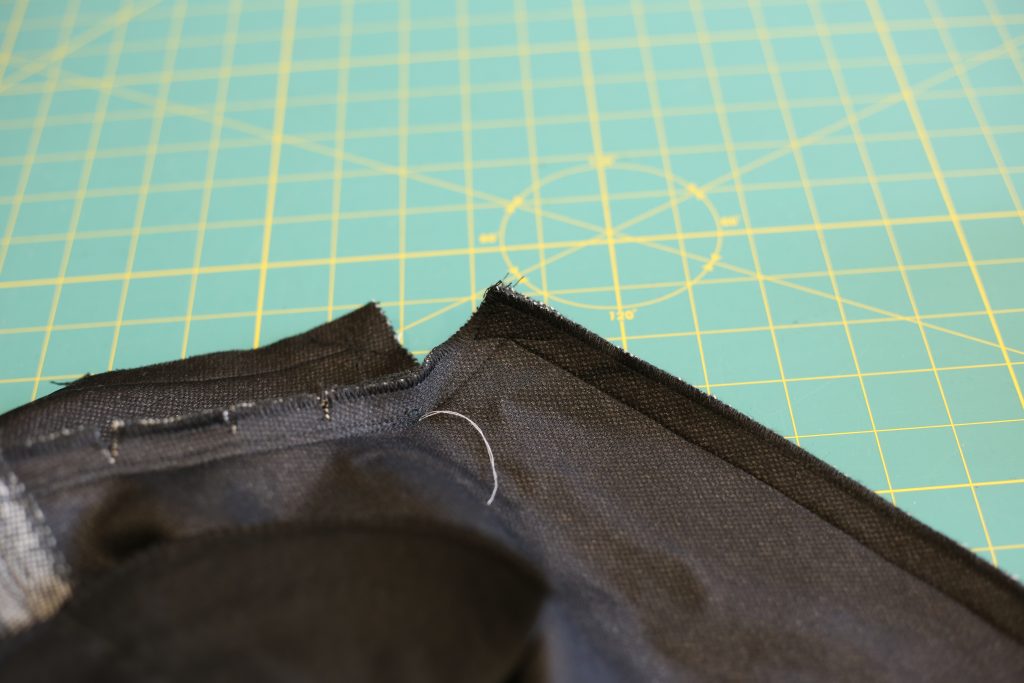
…until you get to the end point of the front facing (shown below).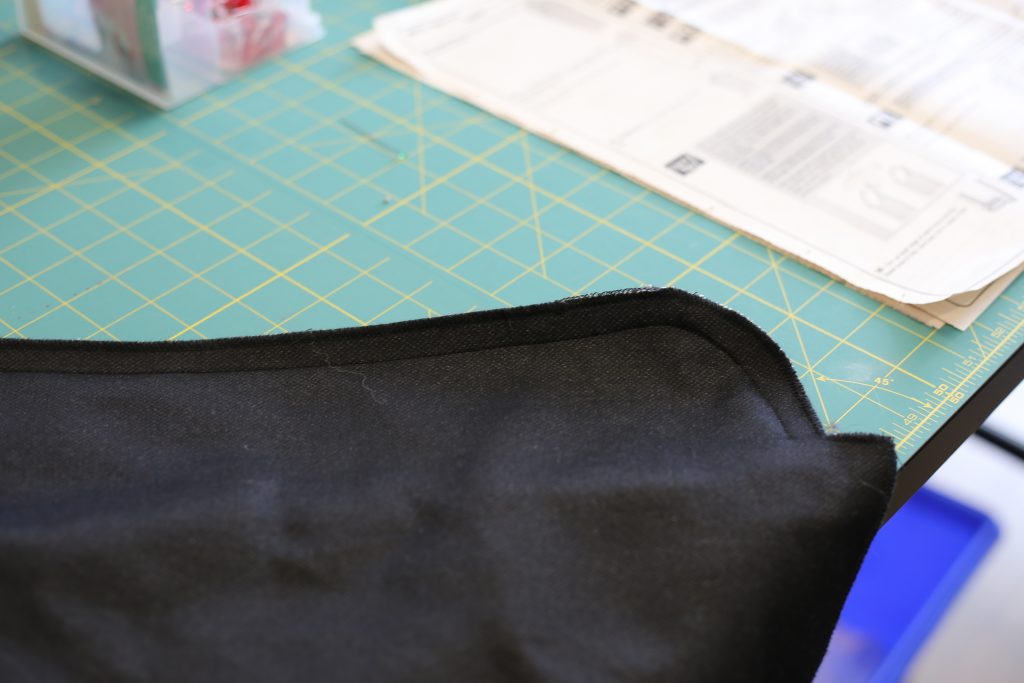
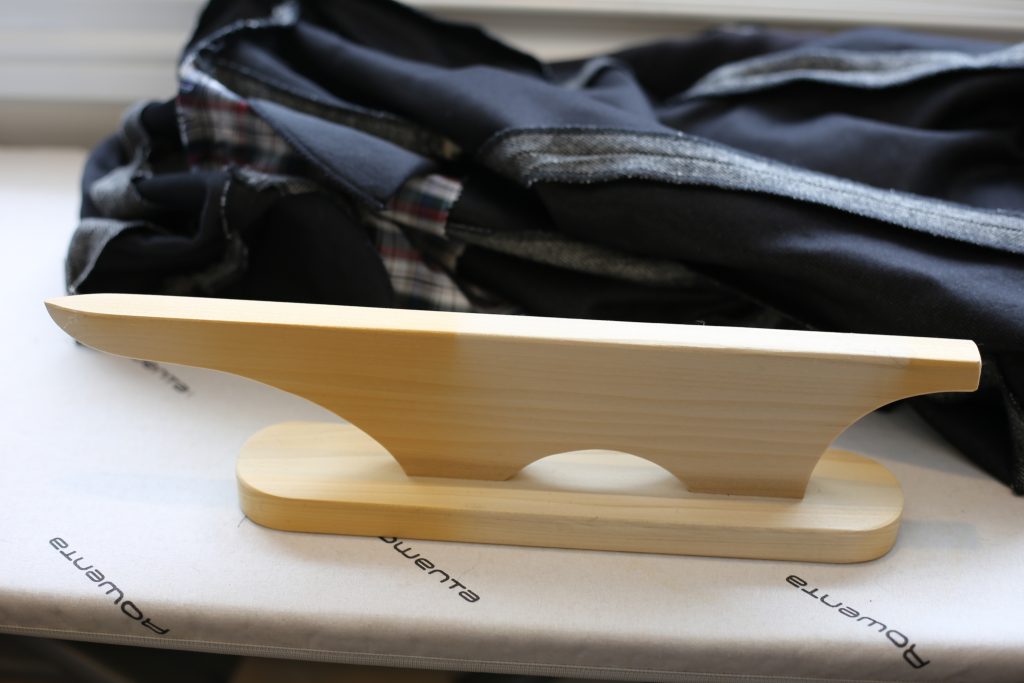
The scariest part (IMO) of the sewing is now done! Next is a trip to the ironing board; grab your point press.
The last step before turning the garment right side out was to “bag the lining”. Still working with right sides together, I attached the sleeves to the lining by machine and sewed most of the lower hem by machine. You leave a hole big enough to turn the whole garment right side out and finish that by hand, but everything else is done by machine. High end tailors put the whole lining in by hand, but I did not. Time, patience, yadda yadda. When I retire I promise I’ll do more hand sewing. (If you’re still following this blog in 20 years I’ll be mighty impressed.)
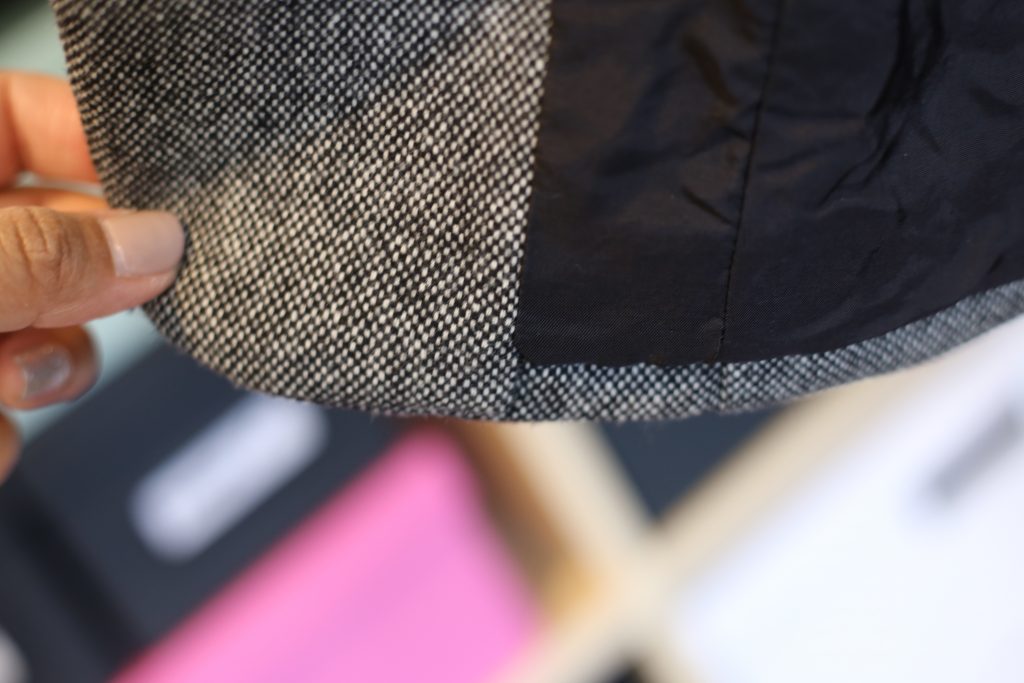
Okay, almost done!! I tried on the jacket and pinned where I want to place the buttons and buttonholes. I got my buttons from, where else, Darrell Thomas Textiles and I do love them! Here is a picture of the button attachment from the inside of the facing:
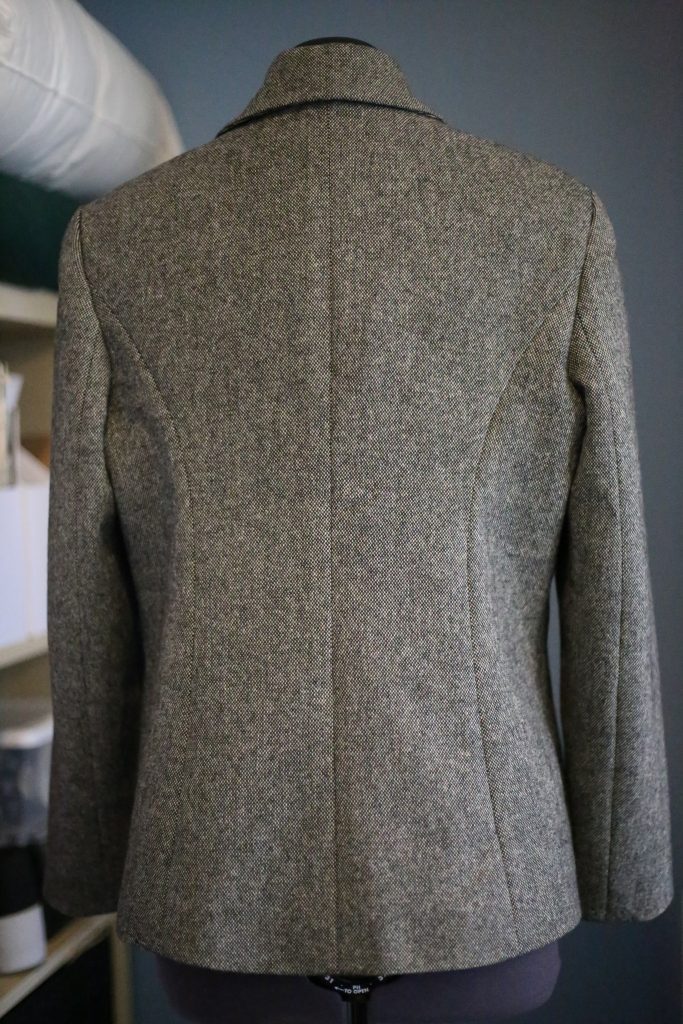
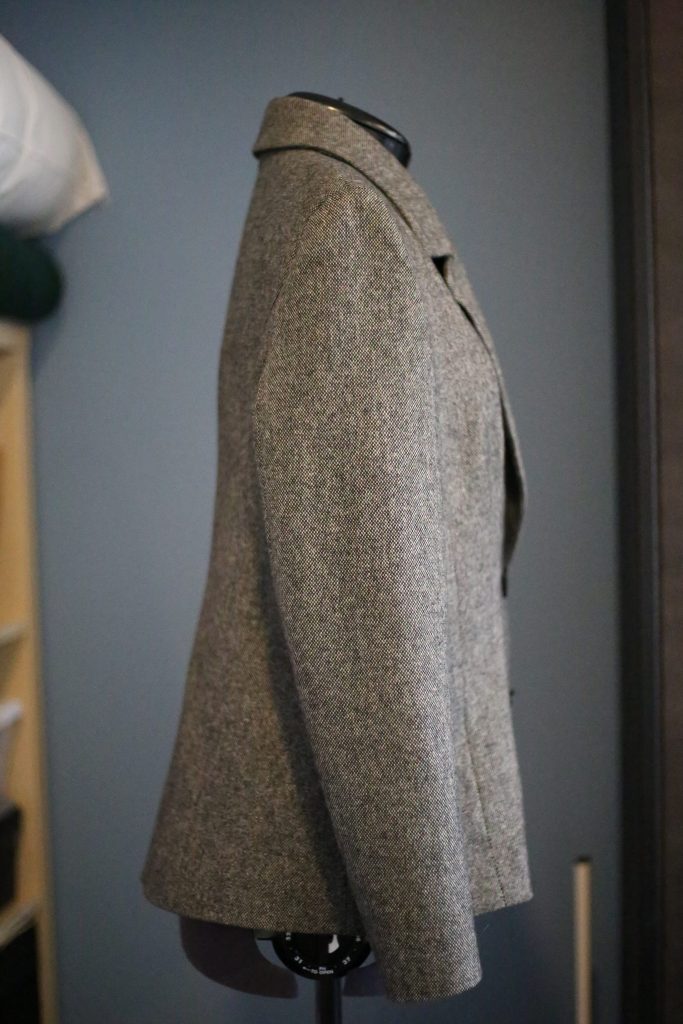
And there you have it!! My first blazer!!
One shot of those gorgeous buttons: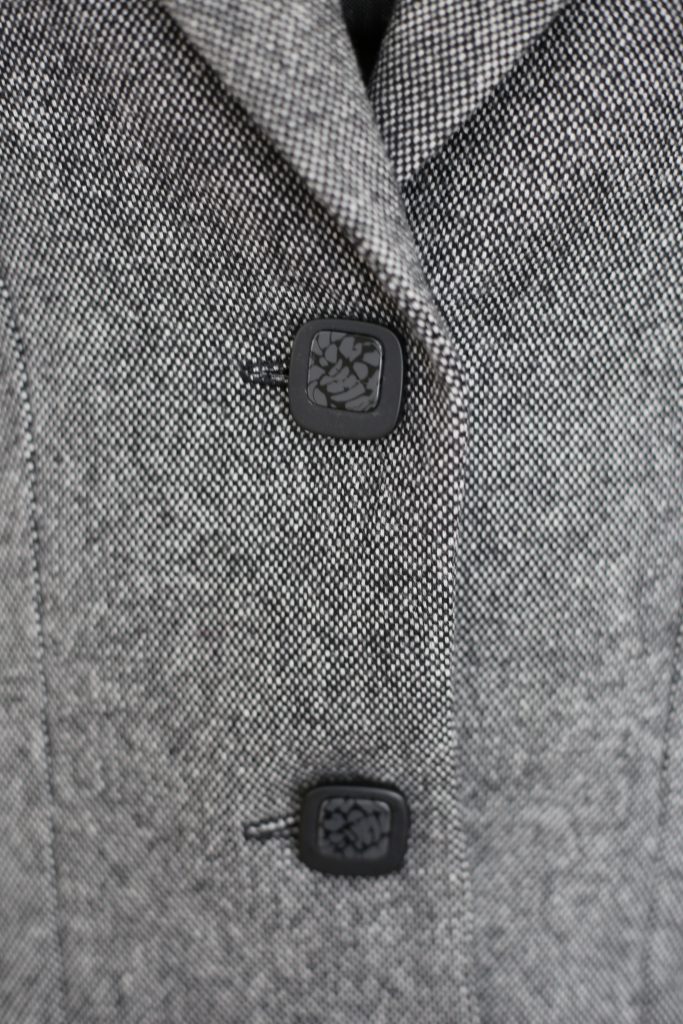
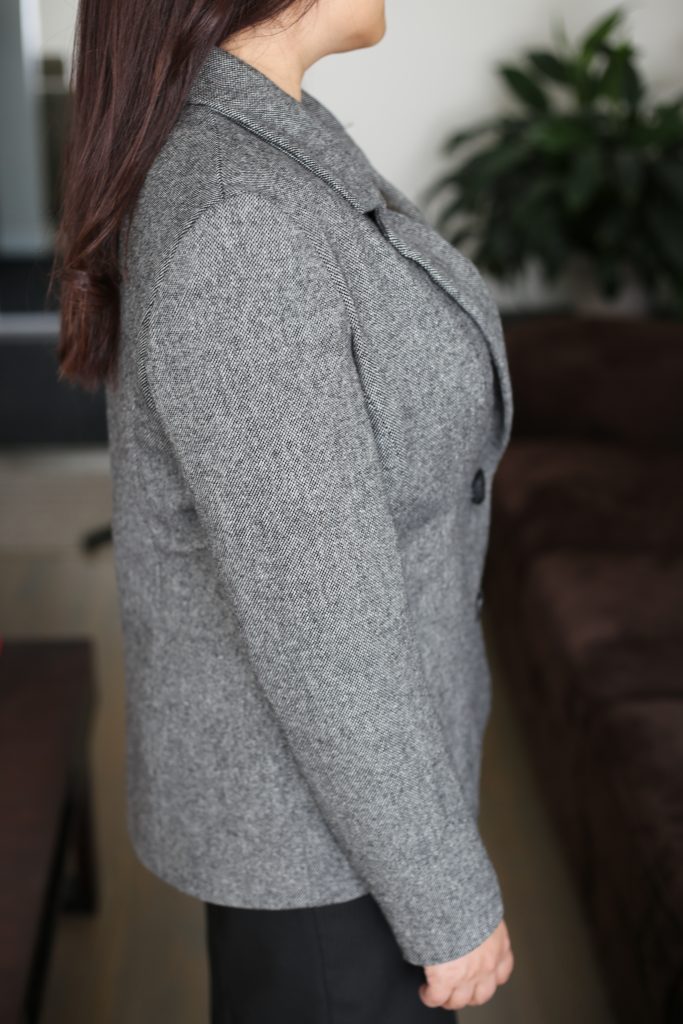
And of course a couple of photos of me wearing said blazer: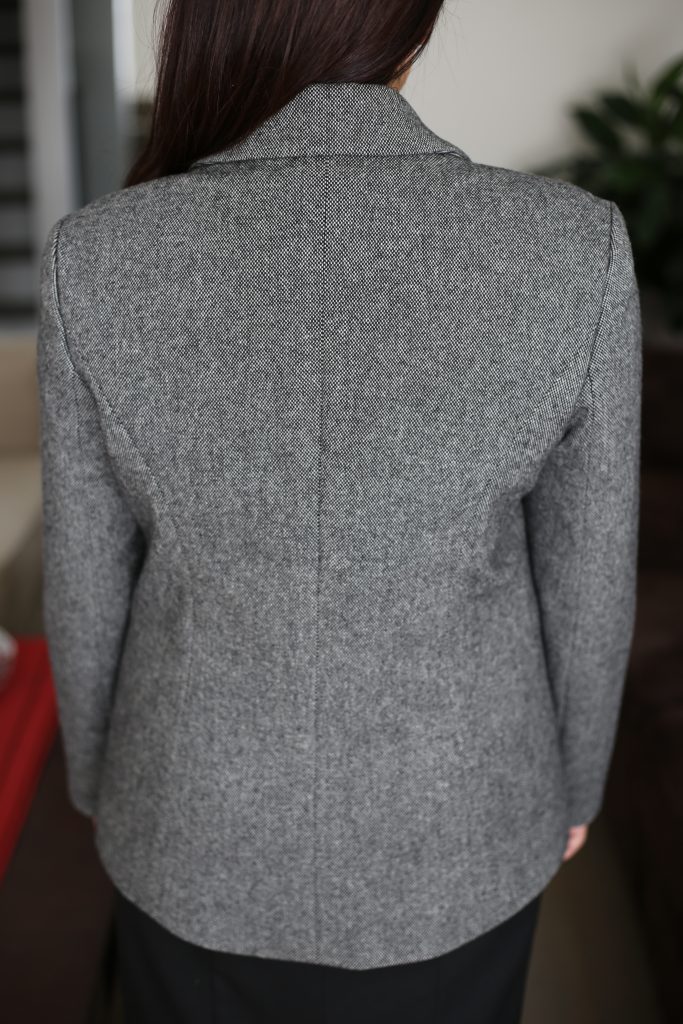

I’m really pleased with how this turned out! I already plan to make another one with the following mods:
- slightly narrower lapels
- a rounded hem on the front facings tapering to a longer hem in the back, kind of like a man’s tailcoat
- sleeve vents or possibly 3/4 sleeves
Did you find my description of techniques in this post series too much, too little, irrelevant? I am happy to receive your feedback!
Hi, Anokhee. What a project! It looks amazing! And so professionally done. Thank you for such detailed posts and for step-by-step explanations.
Maybe you mentioned this before and I missed, but what are these circle weights you use for keeping the pattern in place?
Inna
Hi Inna! Thanks for your feedback. 🙂 I use large washers from Home Depot as pattern weights. I have two sizes, 1.75 inch and 2 inch diameter. They are a good weight and size to use individually. I don’t mind the industrial look of them, but there are also lots of DIY ways to make them cute – just Google “pattern weights washers” and you’ll see what I mean!
Thank you for another great tip, Anokhee. I googled and you are right, the possibilities are endless 🙂