
Hi everyone! I got some exciting news on Friday – our big backyard landscaping project is starting this week! We’ve had a horrible summer here in Ottawa with record rainfall, so pretty much every outdoor project with every company is behind schedule. Ours was supposed to start four weeks ago. I shouldn’t be surprised – we Canadians are familiar with Mother Nature’s general lack of love and nurturing in this part of the world. 😉 On the bright side, in about 3-4 weeks we are going to have a kick-ass backyard complete with patio, three-season sunroom and hot tub!!! Even though it’s not sewing related, I will definitely be posting photos of that because well….we’ve been planning it for over a year and it’s probably the most exciting thing that will happen to me in 2017!
But for now, we have some actual sewing to talk about! This is my final post in the “sewing room” series. I wanted to share the few custom-made home decor pieces that I created to finish off the room. I’ll be honest, I don’t really get much satisfaction from sewing home decor. It’s usually sewing mostly squares and rectangles, and while I love the fact that I could pick the fabric, the real reason I did these pieces myself was to save money and to make sure everything matched. I can’t really see myself doing much home decor in the future, except maybe some decorative pillows if I find fabric I love that’s cheap.
I’ll start with the ironing board cover. Last year I upgraded my ironing board to a Rowenta, and it’s extra wide (about 18″). I’m sure I could find an ironing board cover on Amazon, but I figured this should be an easy enough thing to create myself. (Spoiler: It was.)
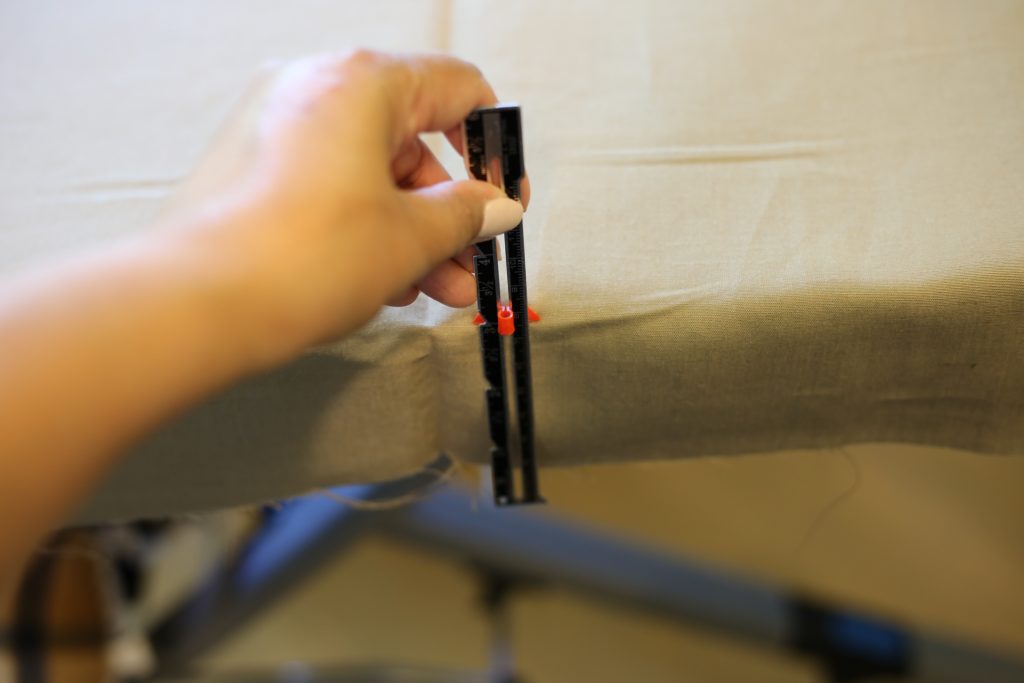
I started by draping my chosen fabric over the ironing board and trimming it with about three inches of allowance. Many other tutorials I read suggested laying the fabric on the ground, turning the ironing board upside down, laying it on the fabric and then measuring and cutting, but my ironing board is heavy and has a bunch of tools on it, and I was feeling lazy. So yeah, the allowance isn’t “exactly” three inches but…whatevs. (My 53 old fiance rolls his eyes at me every time I use that word. I don’t care – I love it.)
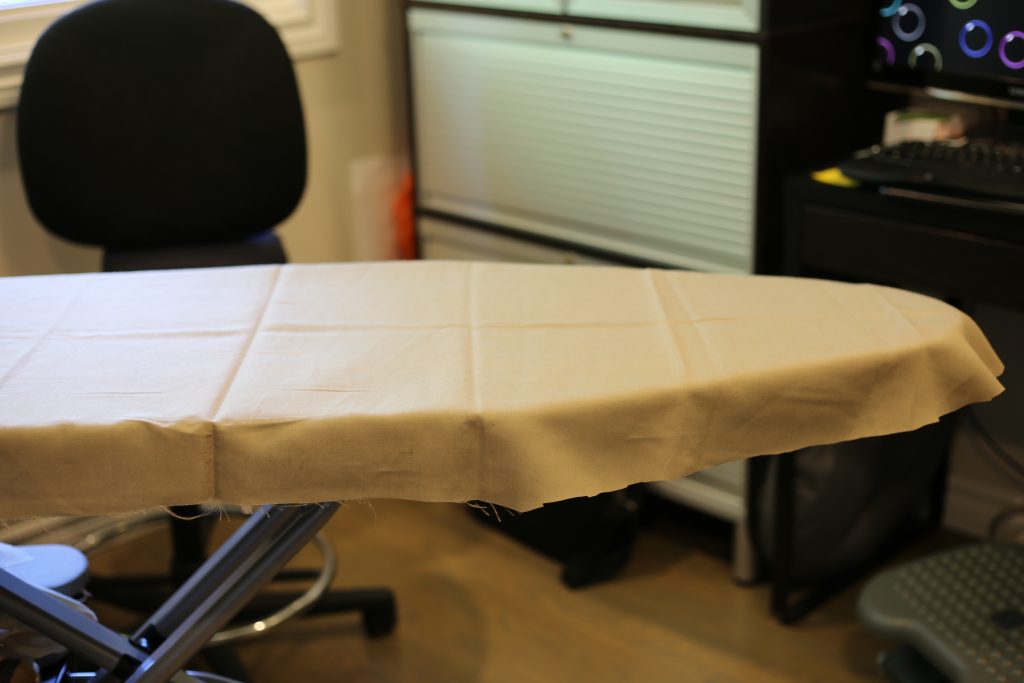
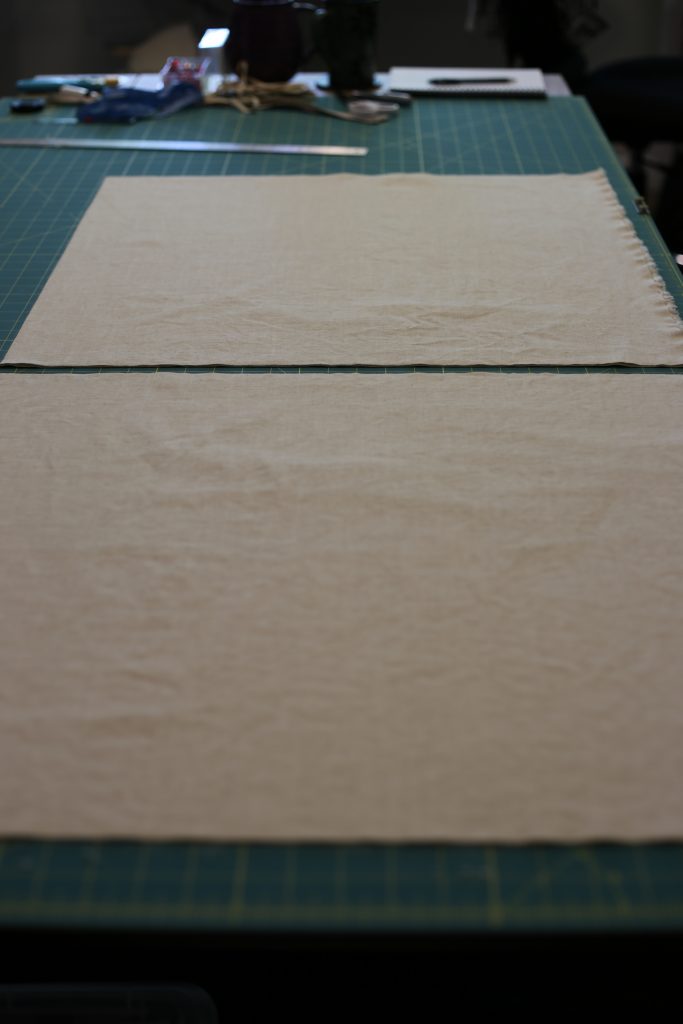
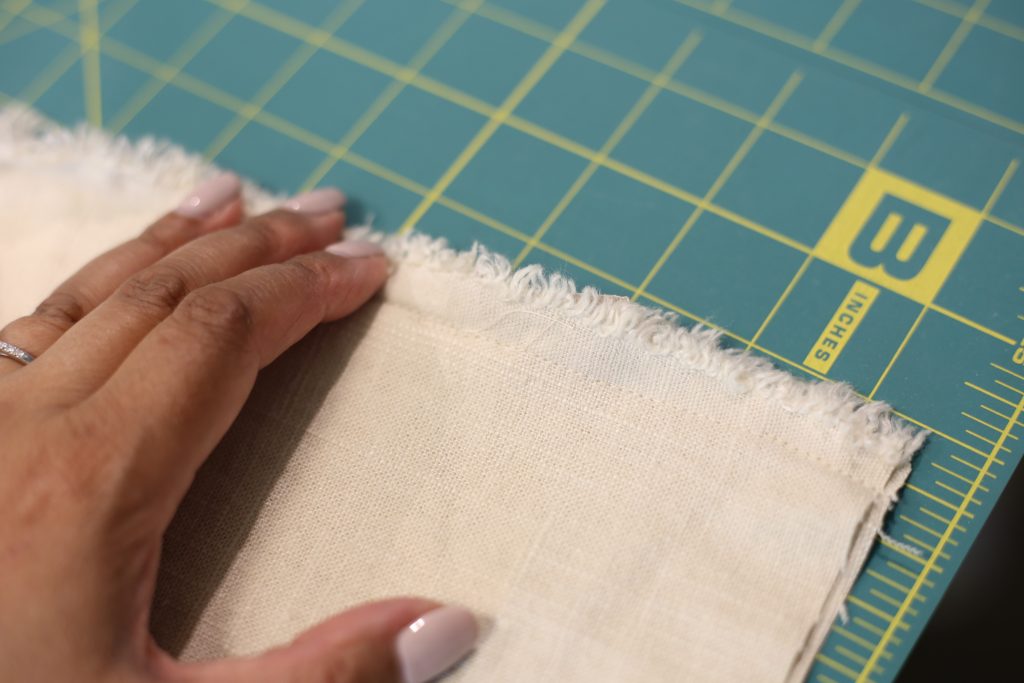
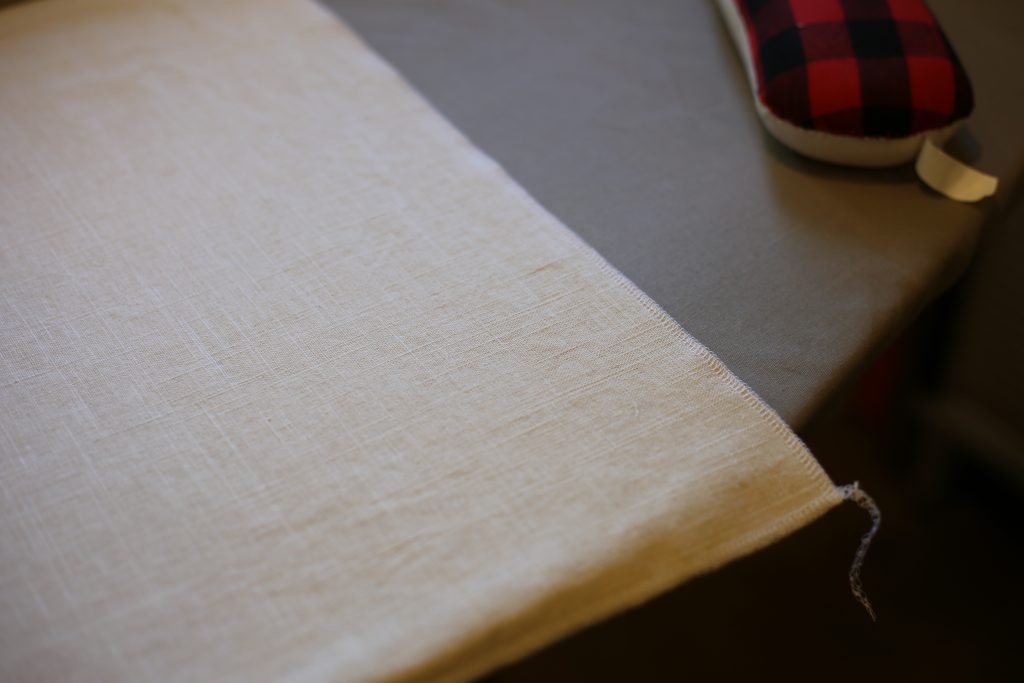
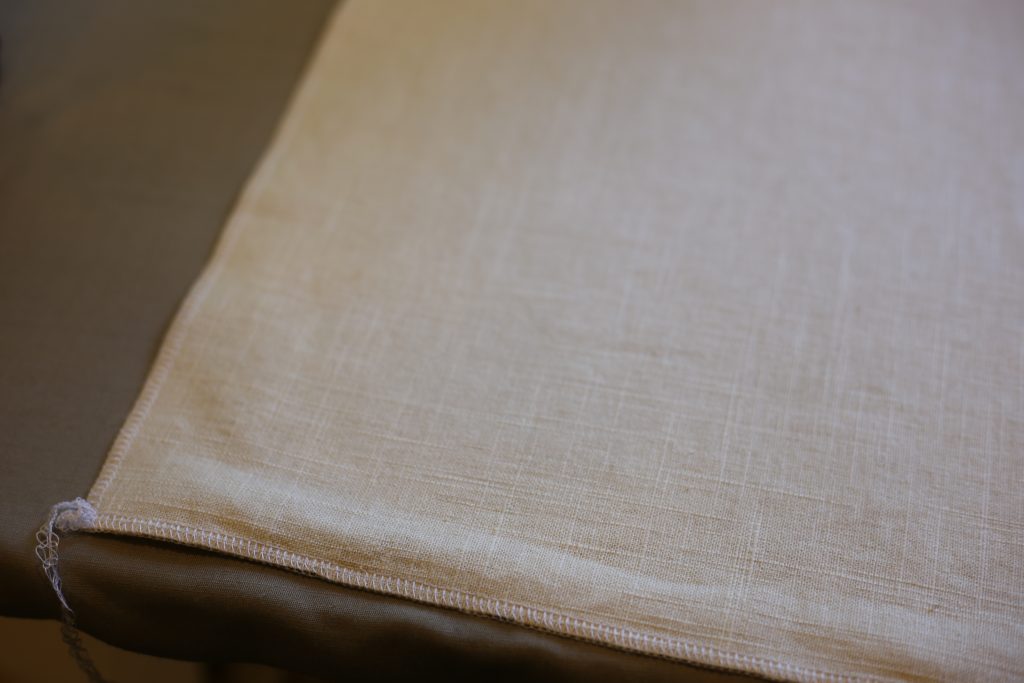
I moved the piece to my cutting table and evened out the crooked cut line. You’ll notice it has some serious fold marks in it, so I gave it a good press with steam before finishing the edges. I decided to make the cover out of linen, since I had some inexpensive but sturdy-ish linen hanging around and linen can handle very high heat. Kind of a plus for an ironing board cover, dontcha think?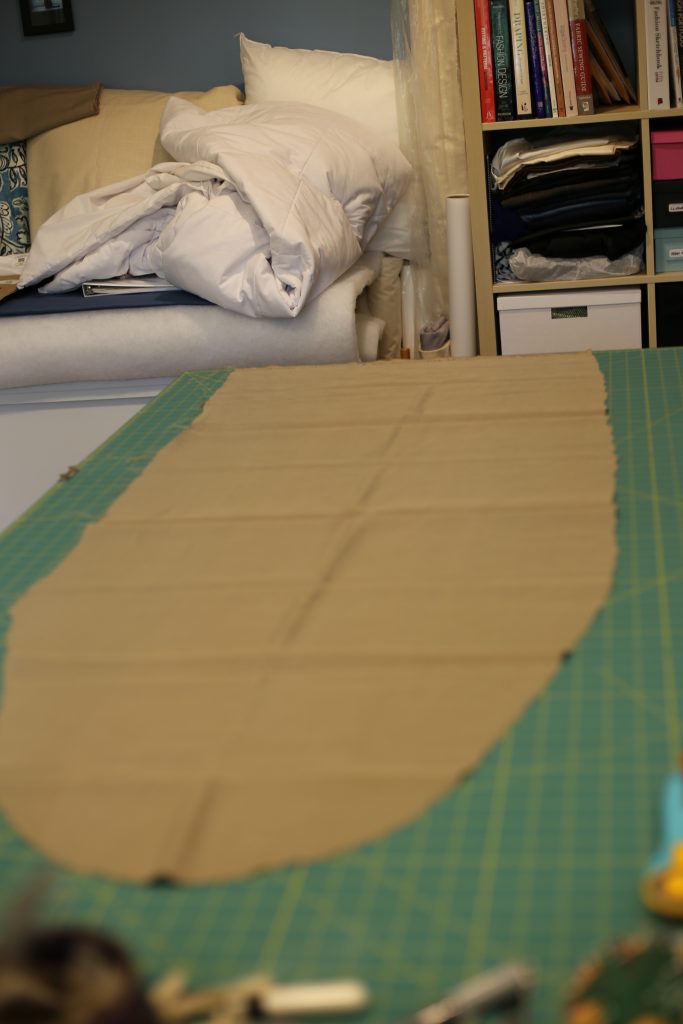
Most of the ironing board tutorials online suggest creating a casing and using a drawstring/cord to tighten up the cover. That annoyed me, because most of the ironing board covers I’ve owned in the past have been elastic rather than drawstring and that’s what I wanted to make. So, I figured it out myself. Really guys…this isn’t rocket science.
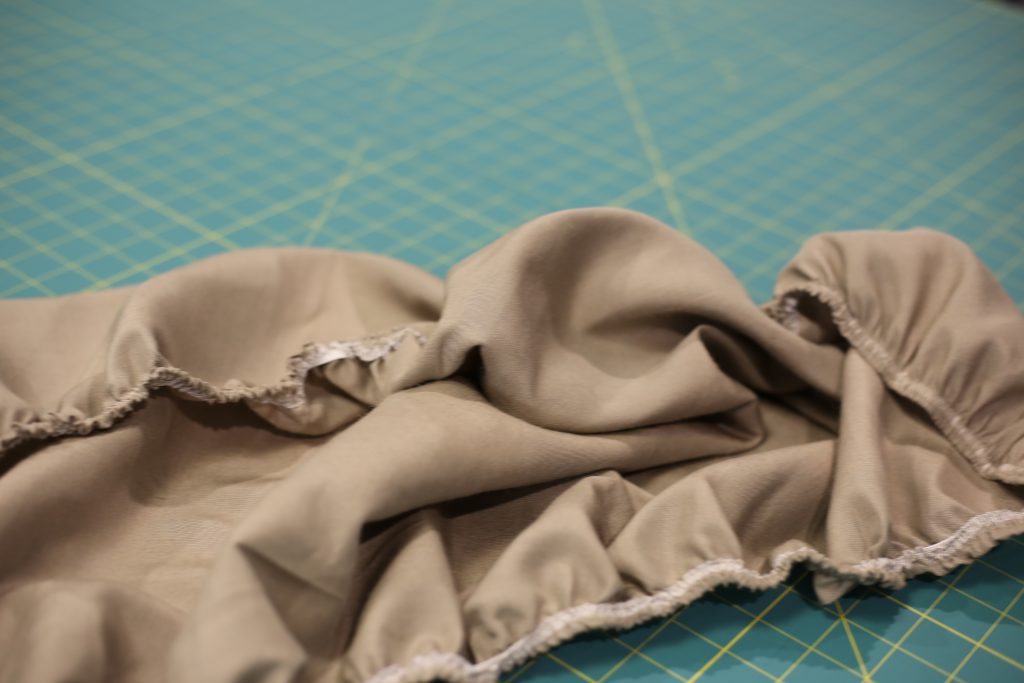
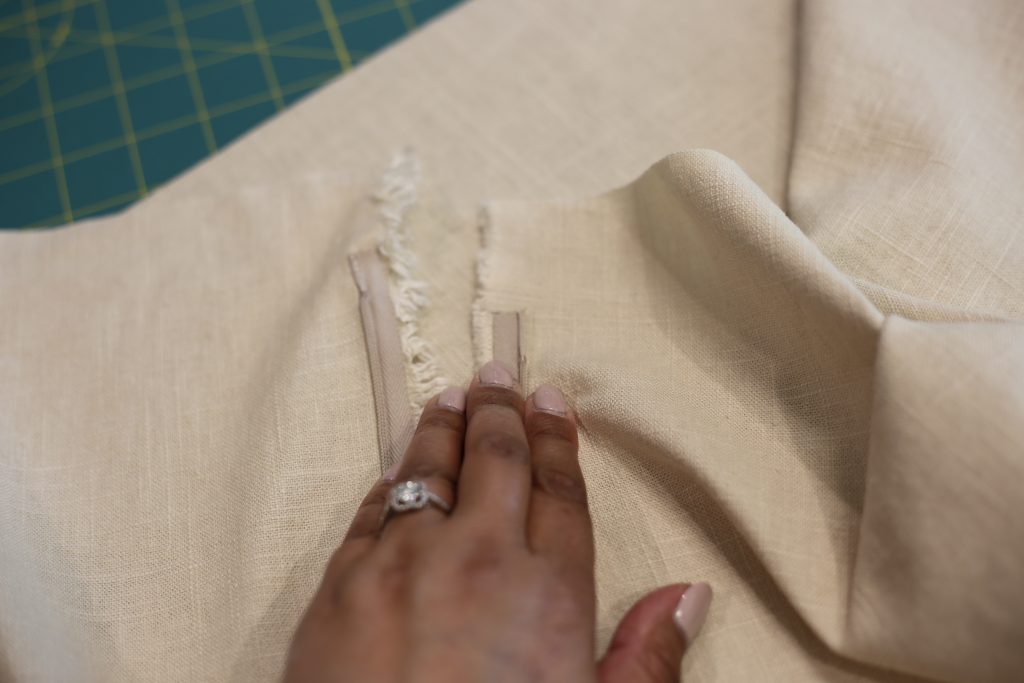
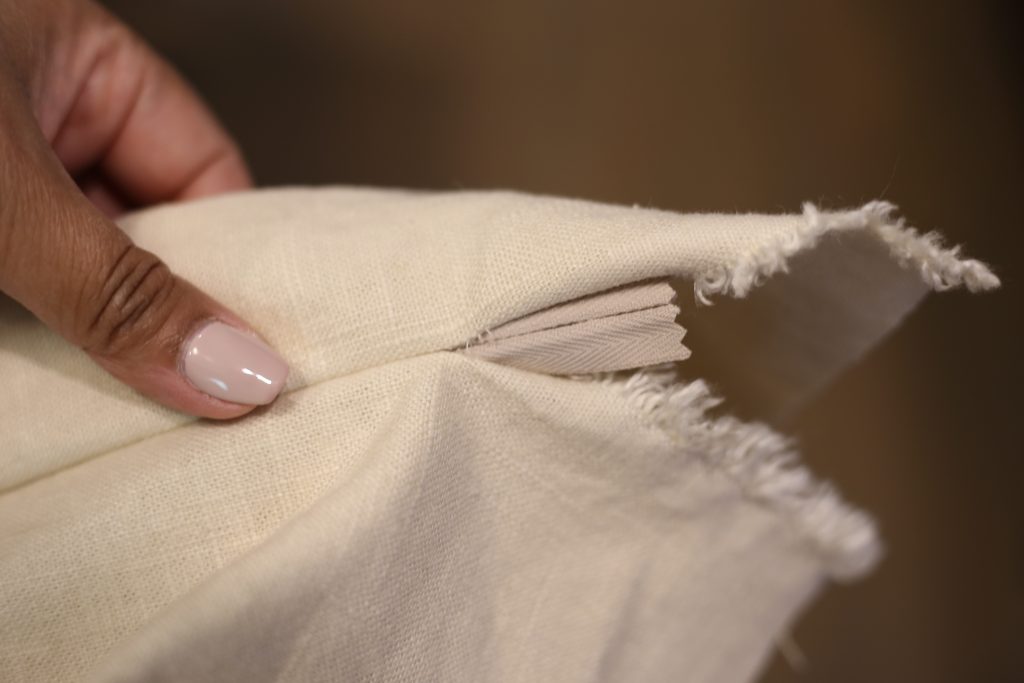
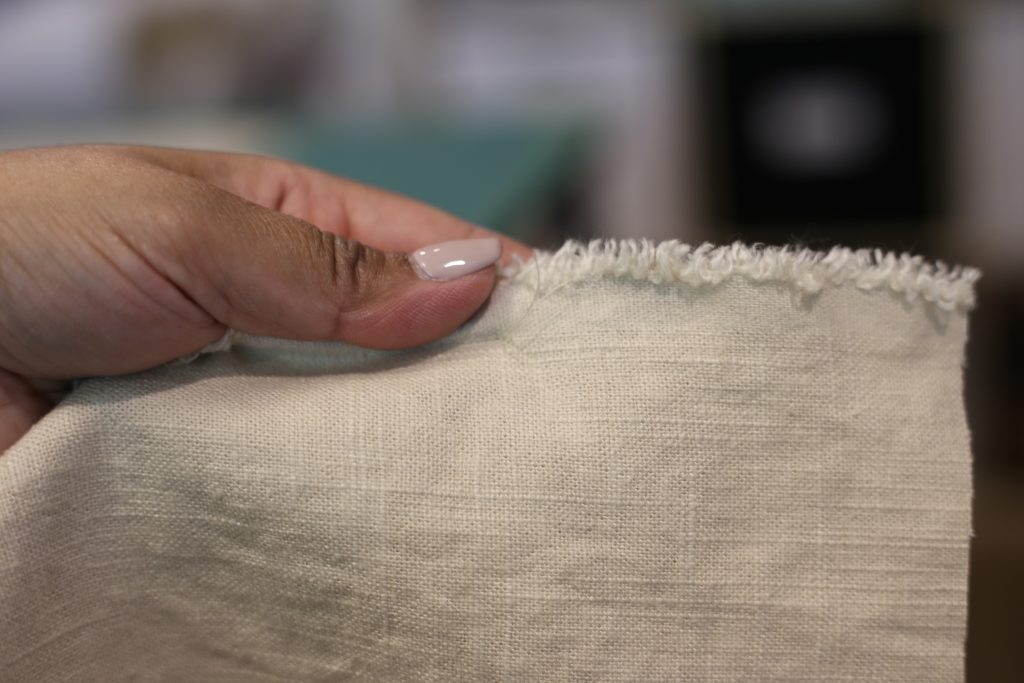
I started by serging the entire edge with a wide four-thread serge. Linen does have a tendency to fray like crazy, so the serging was necessary. Then, I took the fabric to my sewing machine and I grabbed some 1/2″ wide elastic. Basically, I wanted to sew the elastic directly to the fabric without creating a casing. This meant that I needed to stretch the elastic as I sewed it. I used my left hand to hold and pull the finished fabric behind the presser foot, and I used my right hand to stretch the elastic in front as I was sewing plus fold the serged edge of the fabric over the elastic. Yes, I had to go slow to make sure this all went according to plan and yes, after five minutes my hands were sore from stretching the elastic so much. But I achieved what I was going for and I did it all in one step without pinning, basting, etc.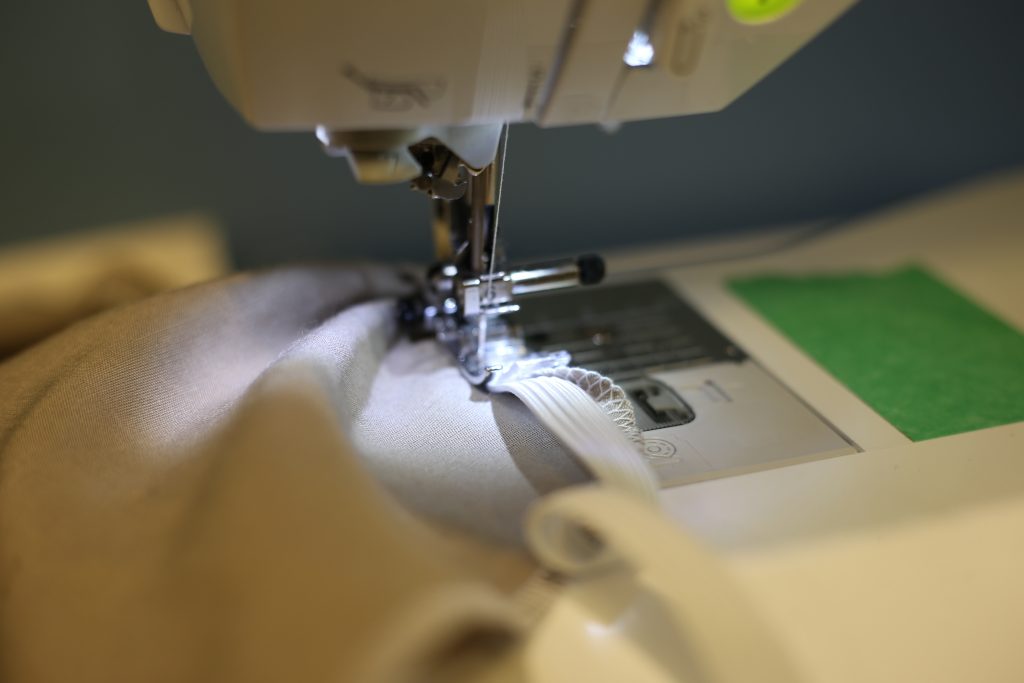
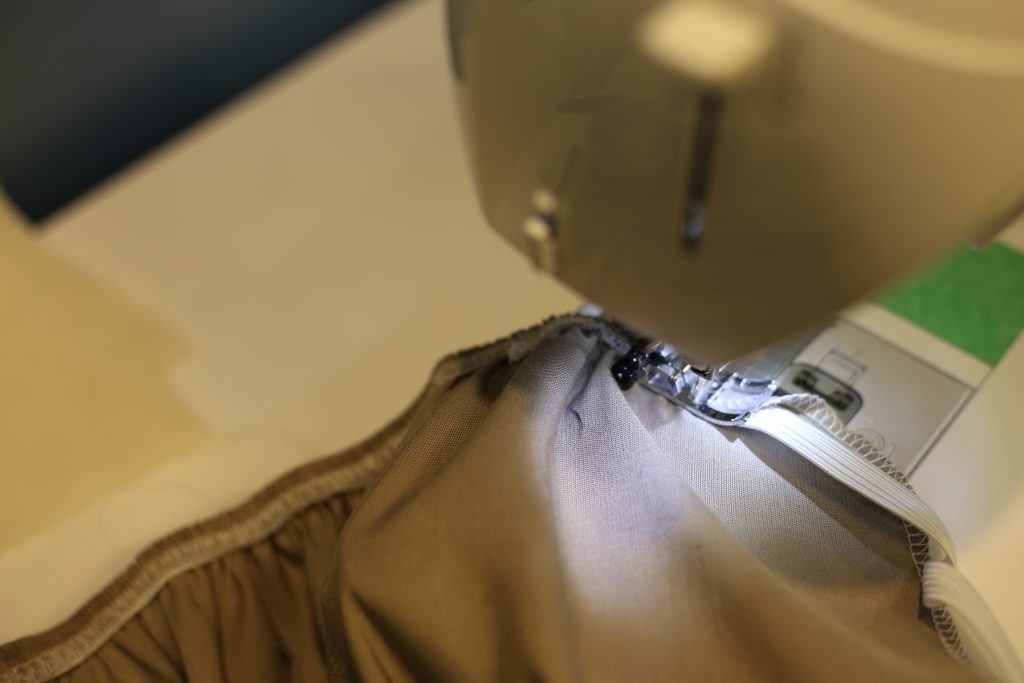
The end result was a professional-looking ironing board cover with no drawstrings. Okay, so my folding wasn’t perfect everywhere but those edges are underneath my ironing board and exactly zero people will see it so…..WHATEVS. 😀
The fit on my ironing board was pretty good. It was slightly loose, but that’s only because of the wide allowance I left. If I had reduced to 1 inch or 1.5 inches, I’m sure it would have had nary a pucker. BTW, I didn’t put padding or batting into the cover because I put it directly on top of the existing Rowenta ironing board cover. If I had ditched the Rowenta cover, then I definitely would have added heat-resistant batting.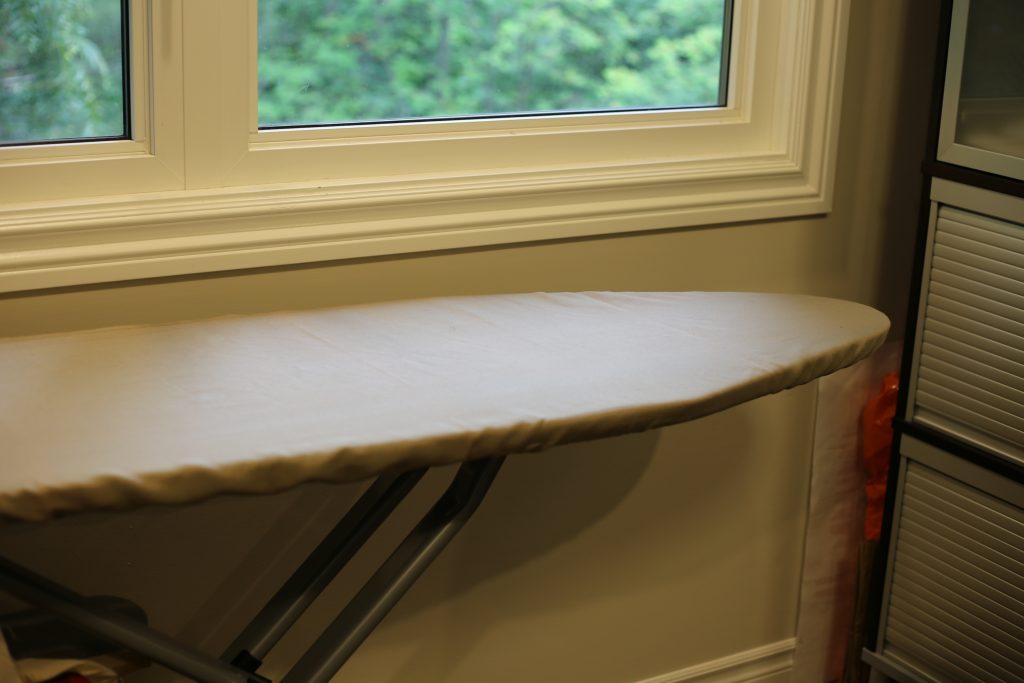
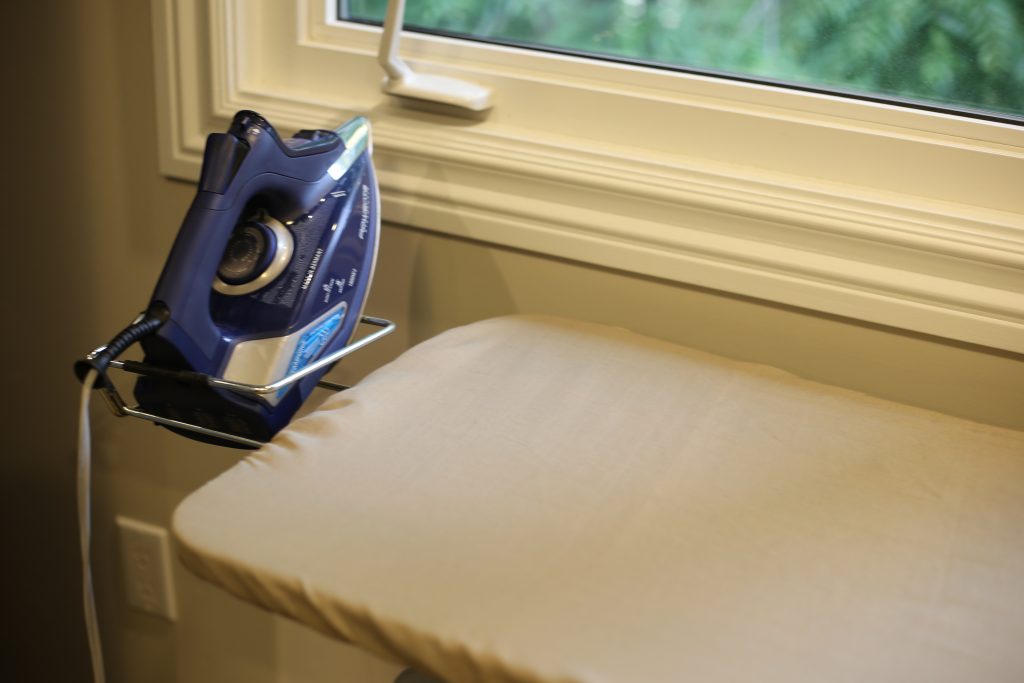
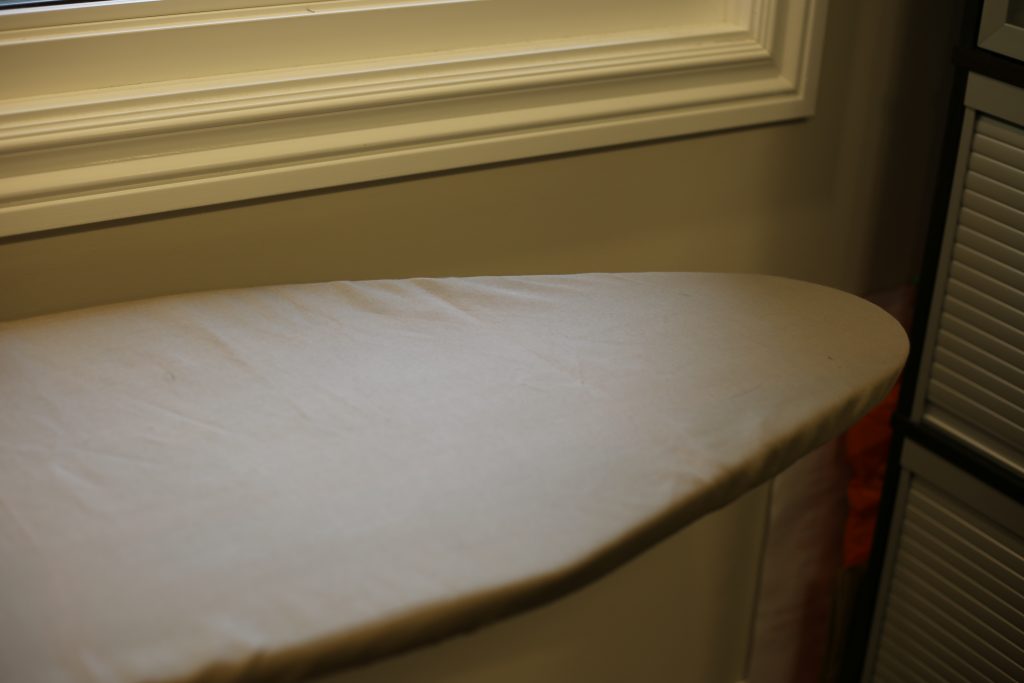
So I know you are dying to ask me….why the HELL did I pick such a boring colour?!?!?! Guys, there’s something you should know about me. I’m pretty boring. I’m really not into prints (to look at or to wear), I don’t know how to accessorize, and all the couches in my house are brown or beige. Plus when I’m ironing or pressing, I’m usually trying to concentrate on pressing straight lines and I really don’t need a print as a distraction. So….yeah. Whatevs.
Home decor project 2 of 3 was the pillows for the built-in bench or what I’m now calling the “reading nook”. I know it’s not technically a nook…perhaps “reading corner”? Anyway. I tried to make it slightly less boring colour-wise than the ironing board:
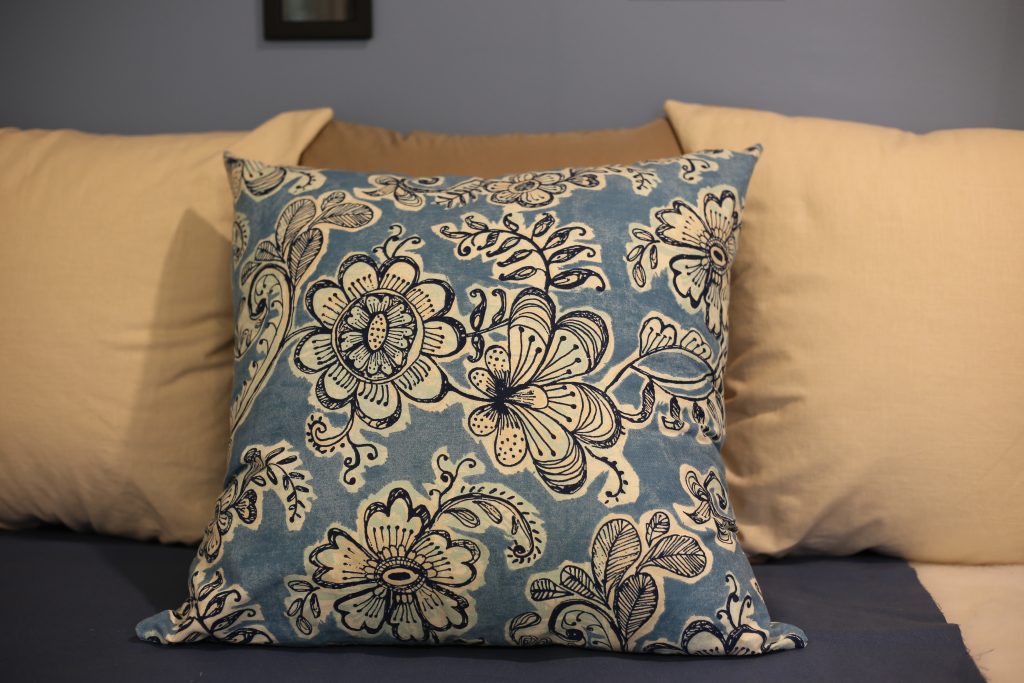
I know, I KNOW – two pillows are beige and one is the same fabric as the ironing board. But at least there is one with a print….give me some credit! (This is seriously as wild as I get.)
The next few pictures should explain why I don’t love sewing home decor.
Making a pillow step 1: cut two squares.
Step 2: Insert an invisible zipper.
Step 3: Close up the ends above and below the zipper.
Step 4: Open the zipper, then sew up the other three sides using a four-threaded serger.
Step 5: Press all seam allowances using the 1-2-3 method, minus the “2”. (If you don’t know the method, come take a class at Darrell Thomas Textiles!) 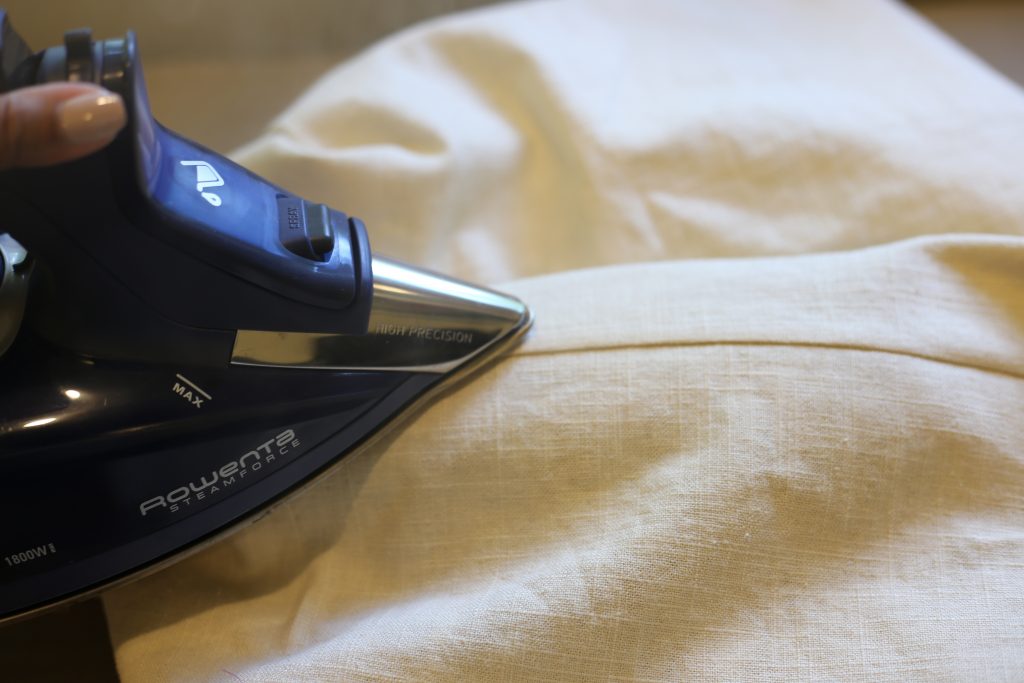
Step 6: Turn the pillowcase right side out, put the pillow inside, and repeat all steps for as many pillows as you want. I did it four times.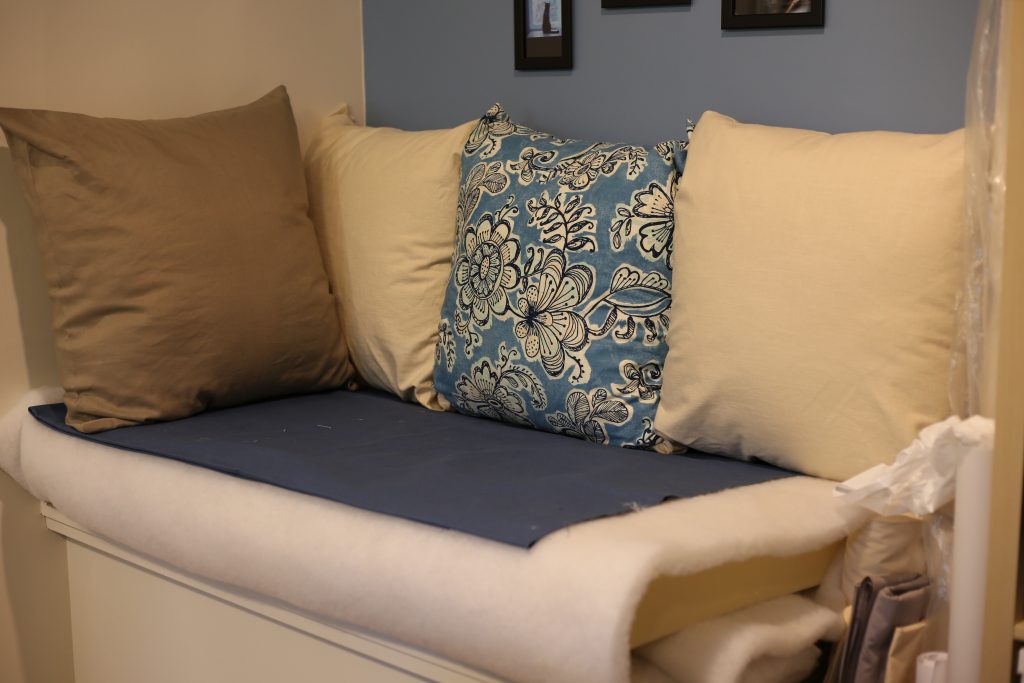
Really….who loves making pillow cases?? It’s like the sweeping of the sewing world – it makes things look nicer, but nobody actually enjoys the process.
The third and final home decor project was the bench cushion. I left this for last because it was the most complicated…although it still was pretty simple. At first I thought I’d buy a bench cushion, but the size of the bench is pretty unique and I didn’t want a cushion that was sticking over the edge or that was too short. Then I thought I’d look into having one made, and I was seeing prices in the $300 to $400 range. (Wow, I should go into the home decor business.)
So finally I broke down and decided to do it myself. To start, I’d need a custom-sized piece of foam. Here in Ottawa, even that was going to run me around $200. No way in hell I was paying that price, so I started shopping around online. My parents live in the U.S., so one nice advantage is that I can buy stuff online from U.S. retailers and ship to my parents house usually for free. I found a place that sold custom-cut foam and the piece I wanted was around $60, and you won’t believe it but they are located about a ten minute drive from my parents house! I happened to visit my parents by car last spring, so it worked out perfectly that I could bring the foam home without shipping it. This place was great – I also bought batting for the cushion and industrial spray-glue, and I bought my pillow inserts there too. Everything was so cheap. They supply commercial businesses mostly, so they also gave me a lot of great advice on how to assemble the cushion. Their materials were top notch. If I do decide to make any more custom cushions or pillows, I will make the trip again ’cause I really enjoyed doing business with them!
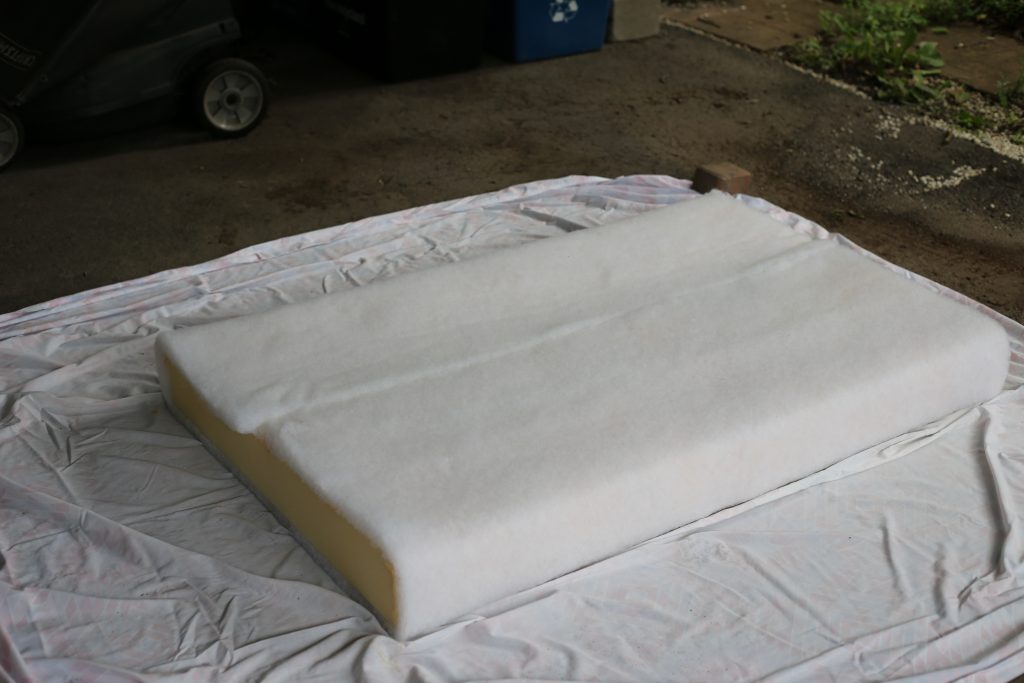
The first step was to spray glue the batting to the foam. This glue is serious stuff. I did it outside in my carport and I would highly recommend using this stuff outdoors. It comes out looking almost like thin silly-string, and it’s orange for visibility. It gets tacky, and I think it takes almost 24 hours to fully dry. Below is the batting attached to the foam:
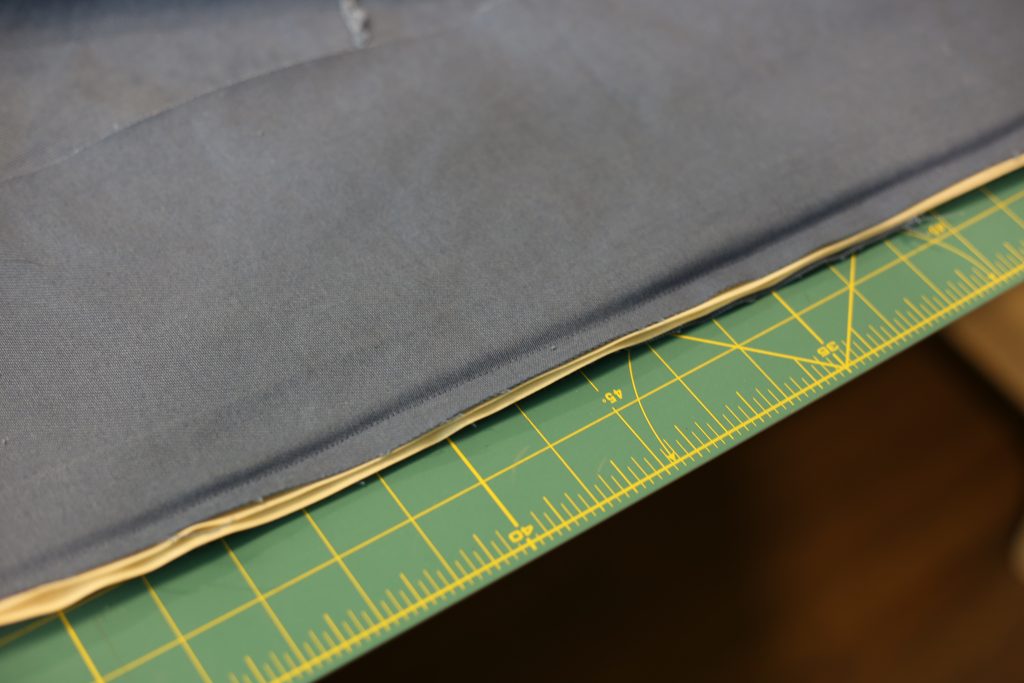
After a sufficient amount of drying time, I brought it into my sewing room and trimmed the batting to align with the foam: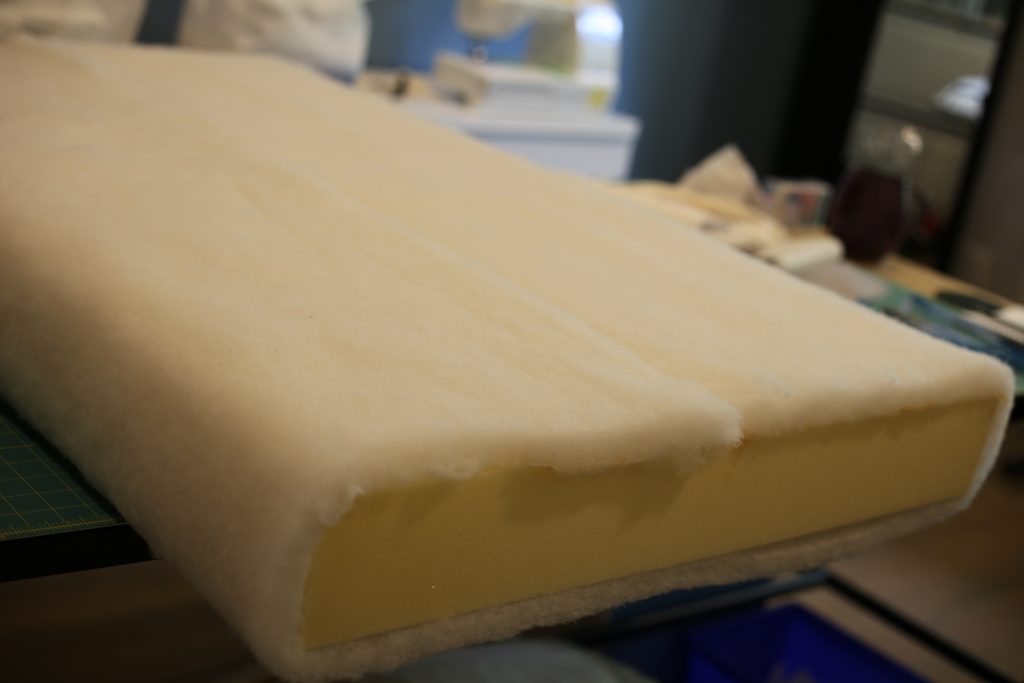
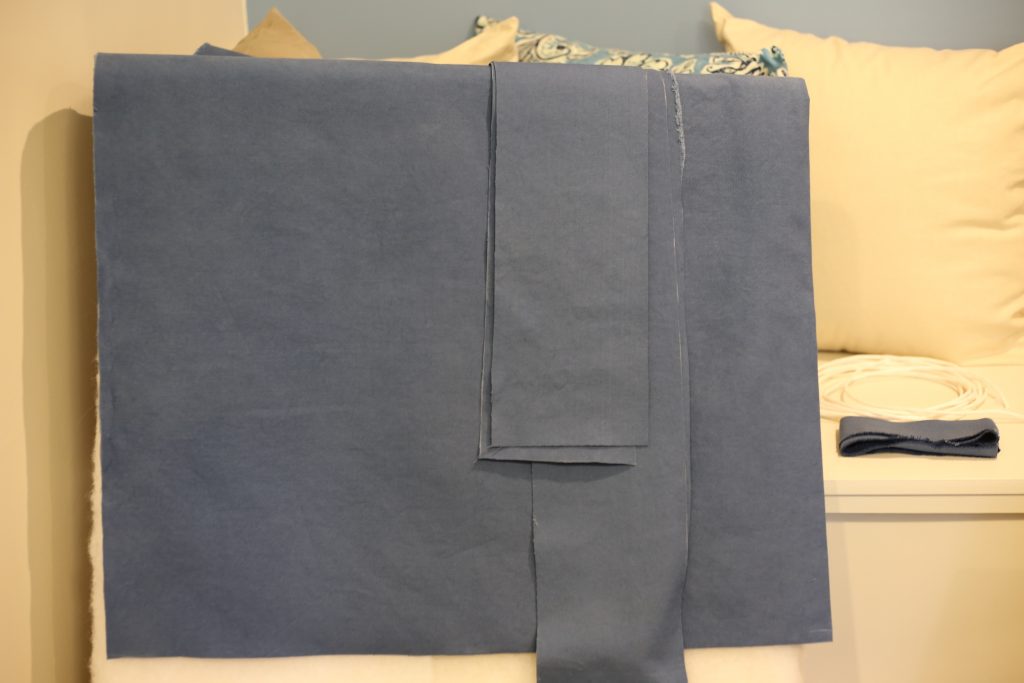
Next I cut my fabric: 2 rectangles for the top and bottom, and several long strips (as long as I could make them) for the sides. I should mention that other than the ironing board fabric, I purchased all other fabrics in the U.S. while visiting my parents. Here in Ottawa I buy 99% of my fabric from Darrell Thomas Textiles, but Darrell doesn’t specialize in home decor fabrics and what he does sell is usually custom order. I knew that I wanted durable but cheap fabrics for my sewing room decor, hence the cross-border shopping.
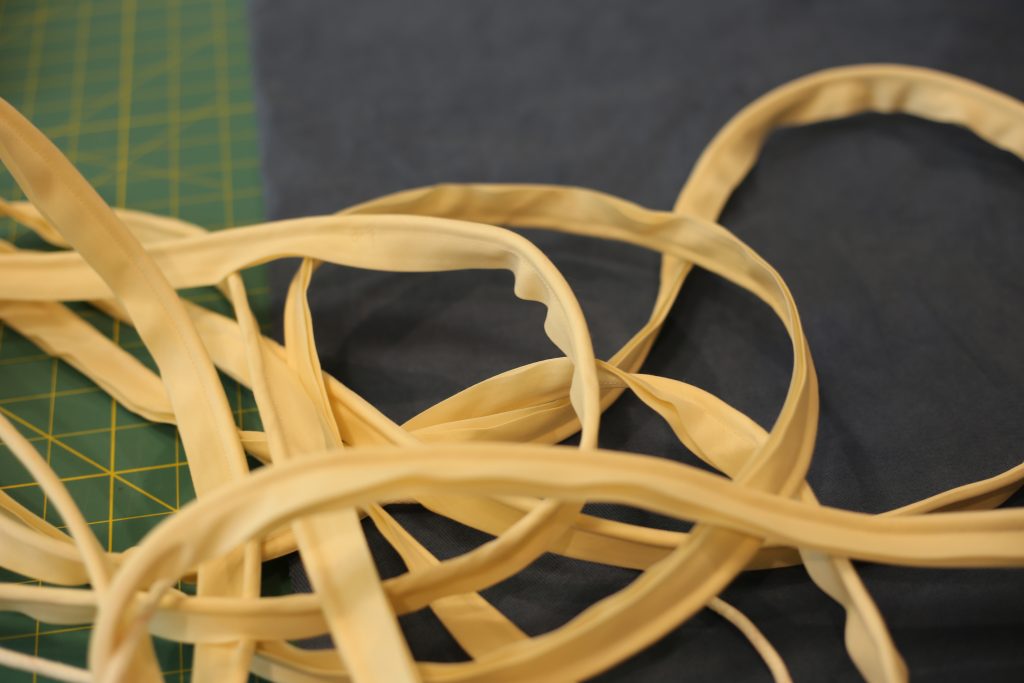
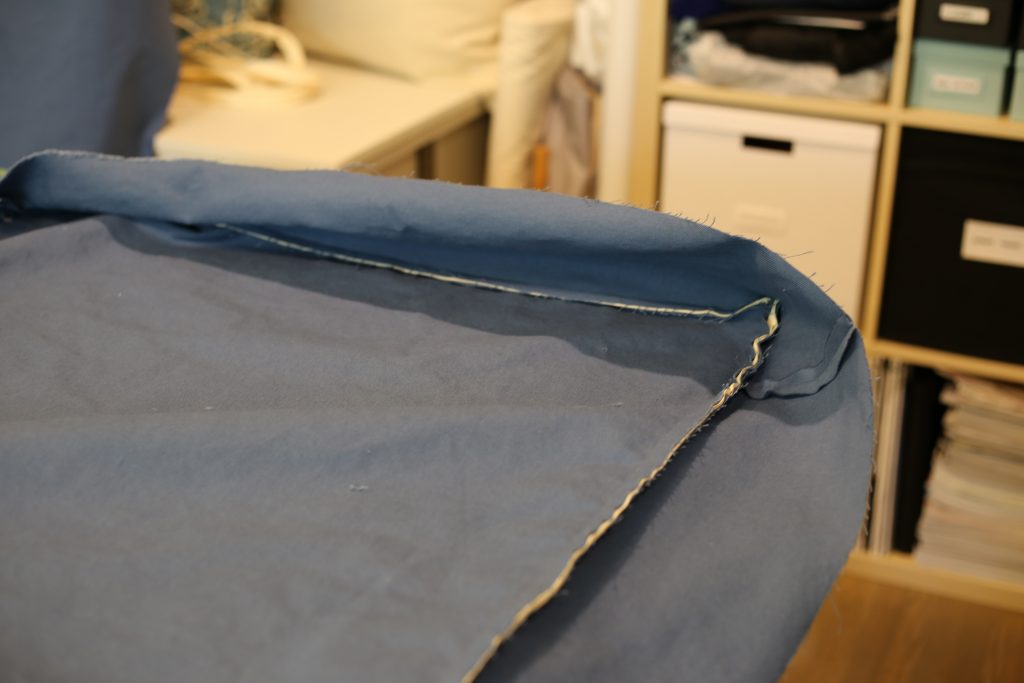
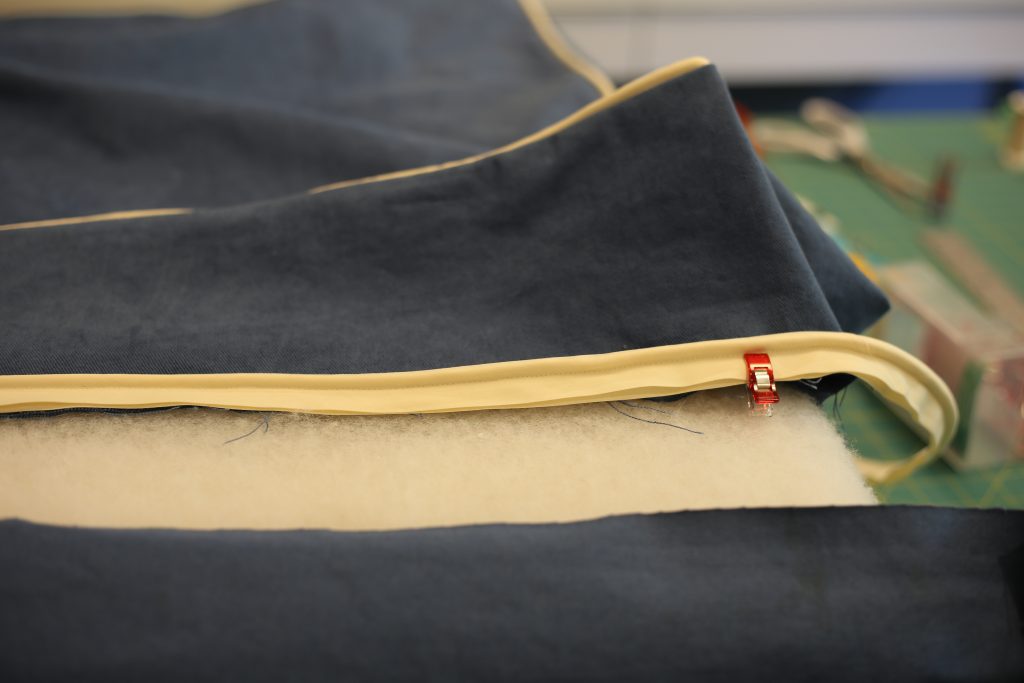
If you look at couches or bench cushions, you will notice the majority of the time that they have piping. Of course I had to do the same! Making piping is simple; you need bias binding and cording. I had planned to make bias strips out of the same fabric but I didn’t have enough, so I decided to buy ready-made bias binding in a contrast fabric. The cording is from the foam warehouse, but you can find this type of cording in any fabric store catering to home decor. To prepare the piping, simply place the cording in the fold of the bias tape (double fold) and use a zipper foot to sew the bias tape close to the cording.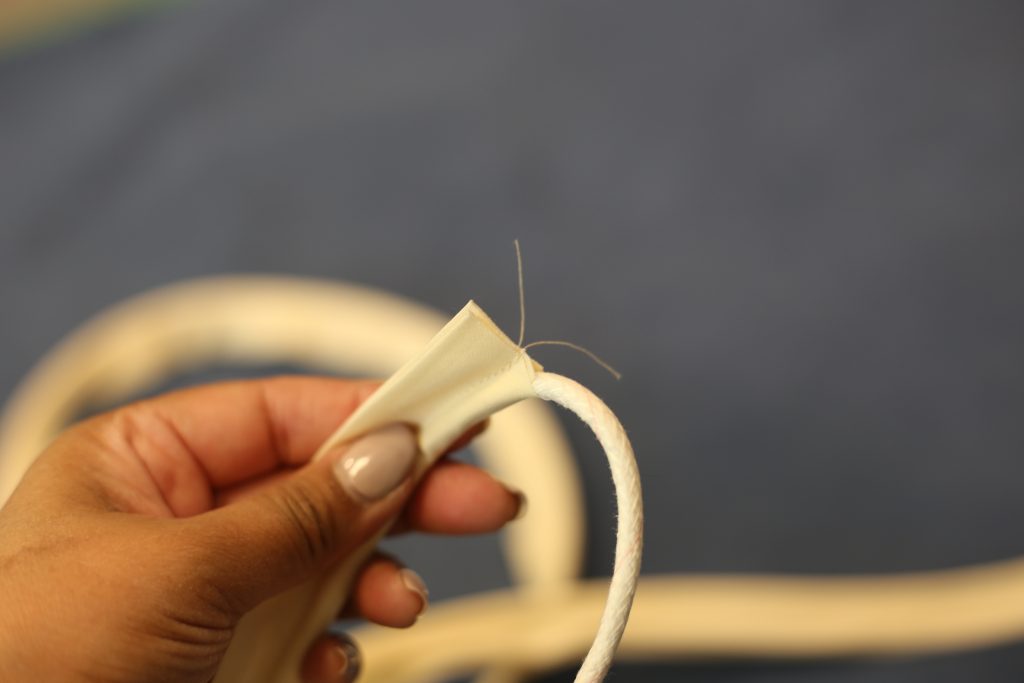
Next, I sandwiched the piping in between my top rectangle and my side piece. Remember – the fabrics should be right side together, and the cording should be facing in!
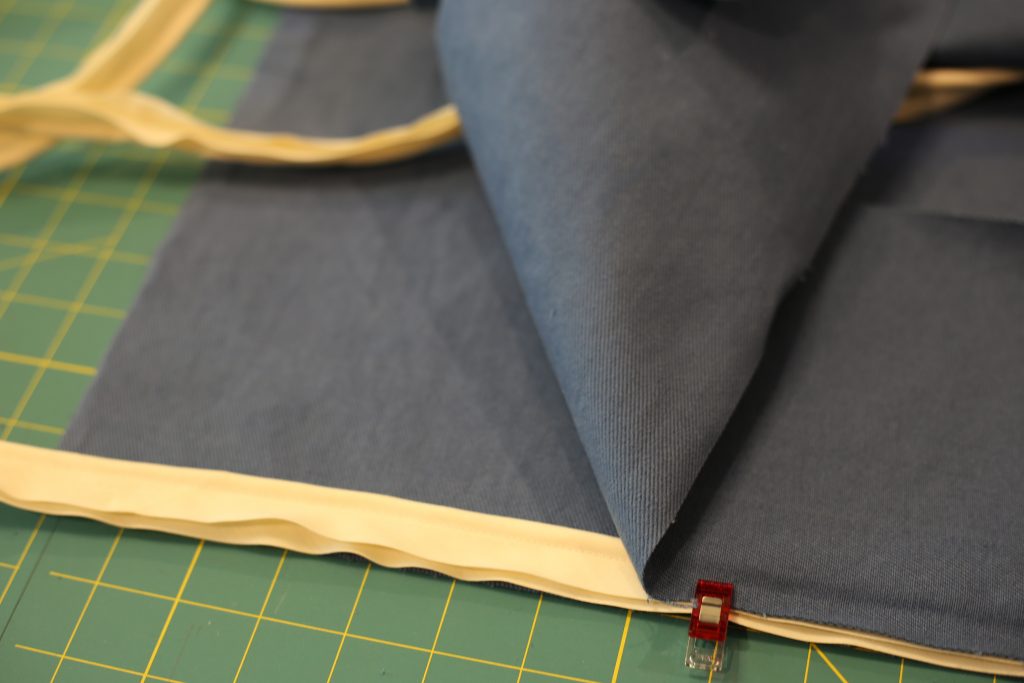
Use that same zipper foot to sew close to the cording, so that when you turn it to the right side all you see is the beautiful piping you created.
Turning corners was a little tricky because of the bulk, but once you clip the piping and side strip to ease around the corner it comes together pretty easily.
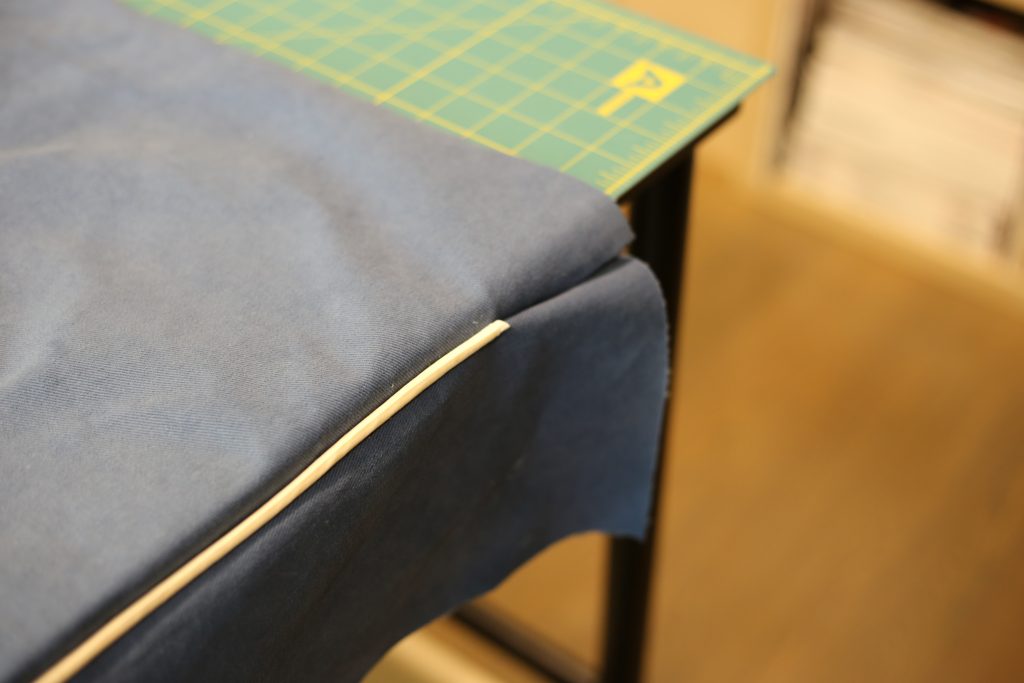
After completing the four sides of the top rectangle, I gave it a fit test on the actual foam:
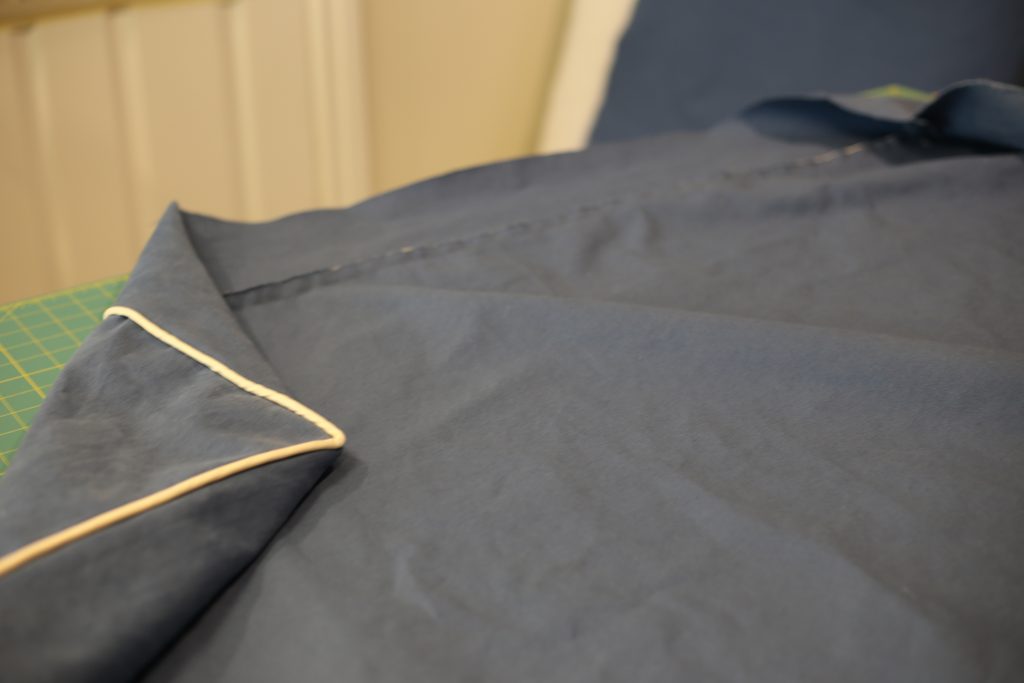
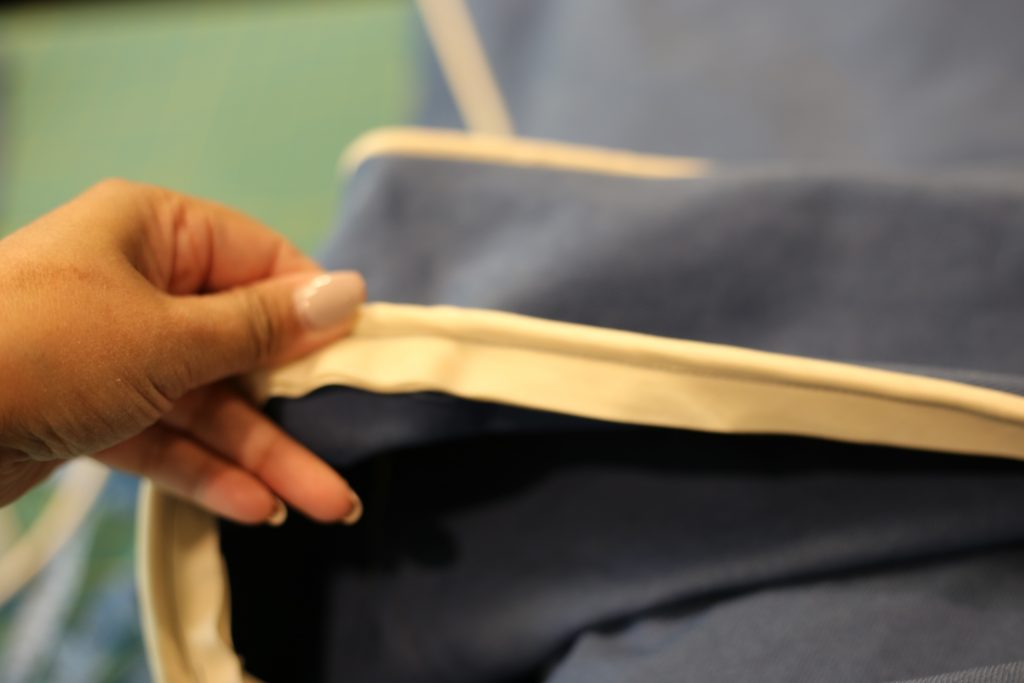
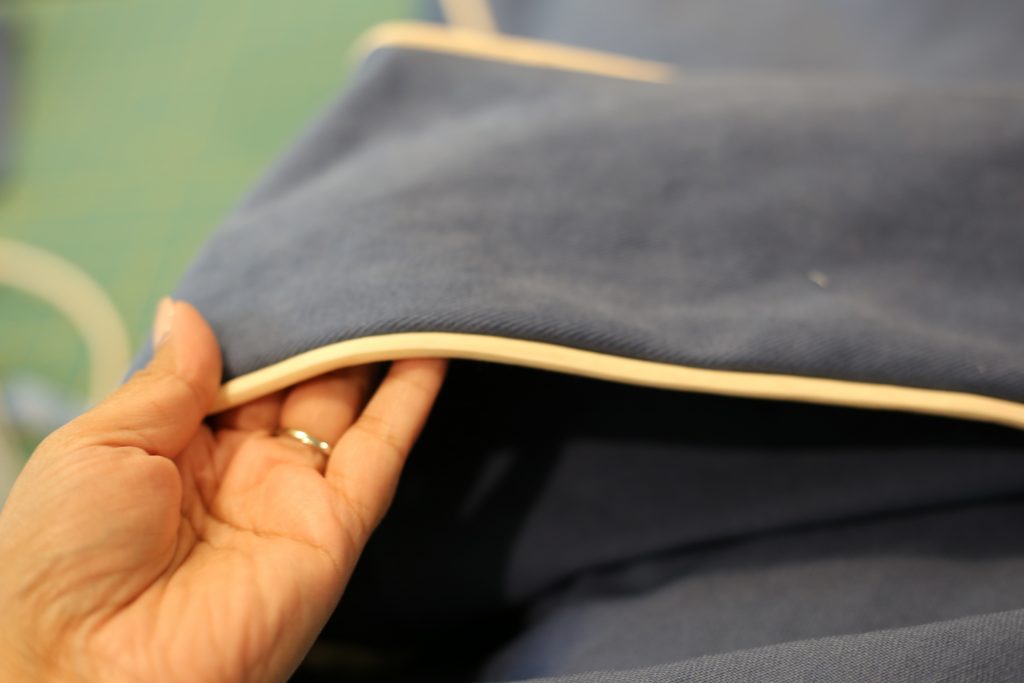
Next was assembling the bottom. I sewed the bottom rectangle the same way I did the top one, but only on three sides. Then I sewed the piping just to the top section, leaving the bottom rectangle loose on that side:
Once the piping was attached to the top section, I just tucked it under:
The bottom rectangle now has one unfinished side, so I used a strip of the fabric I happened to have that had one selvedge, to create a kind of “facing” which I tucked under once sewn. (Sorry, missed that photo!) Eventually I’ll attach snaps to the bias tape and the faced fabric to be able to close it up, but for now that side went on the bottom where no one can see it so….yup….my final “whatevs” of the night.
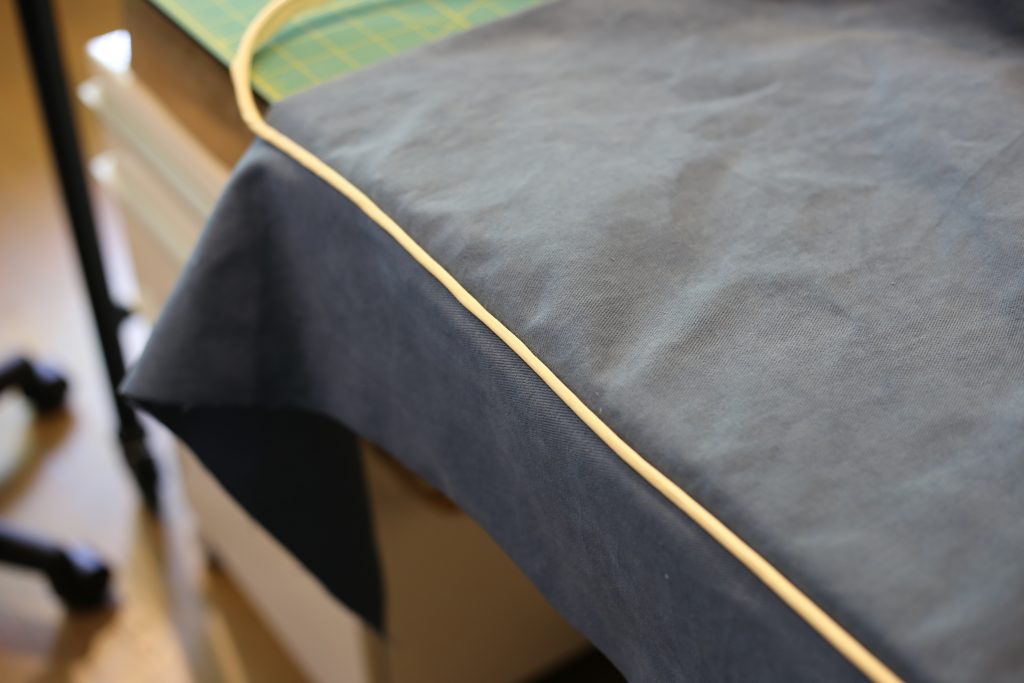
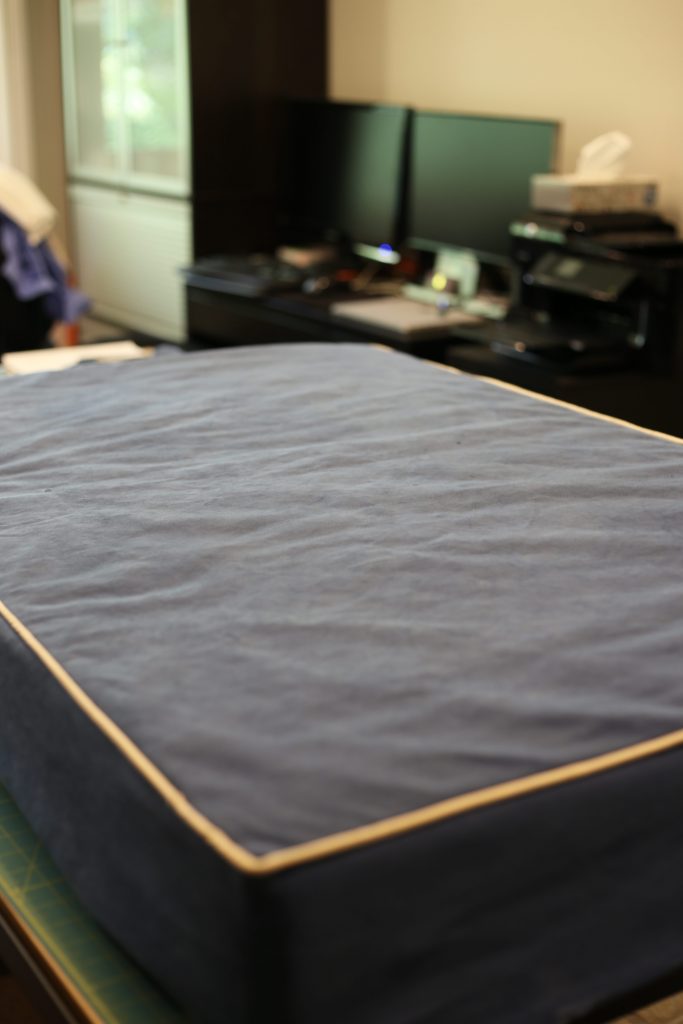
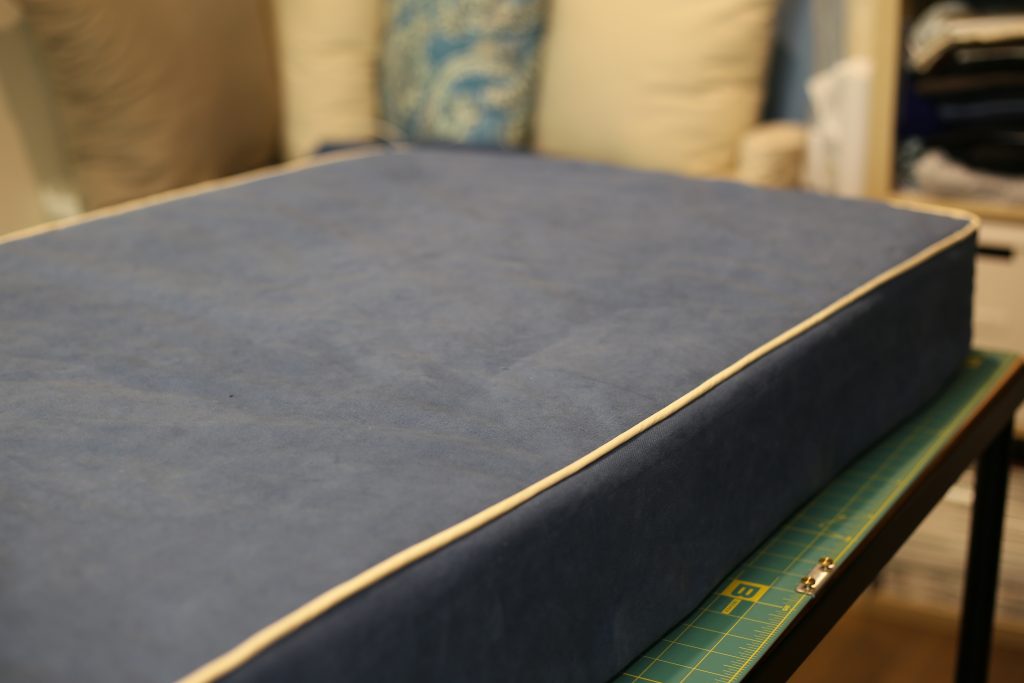
And here you have it:
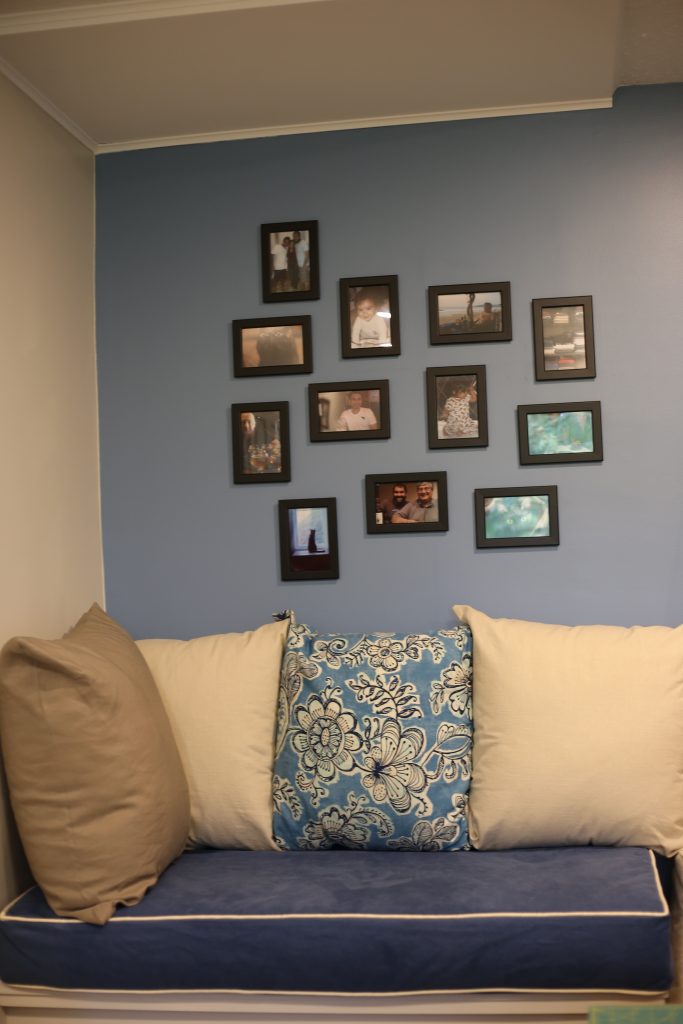
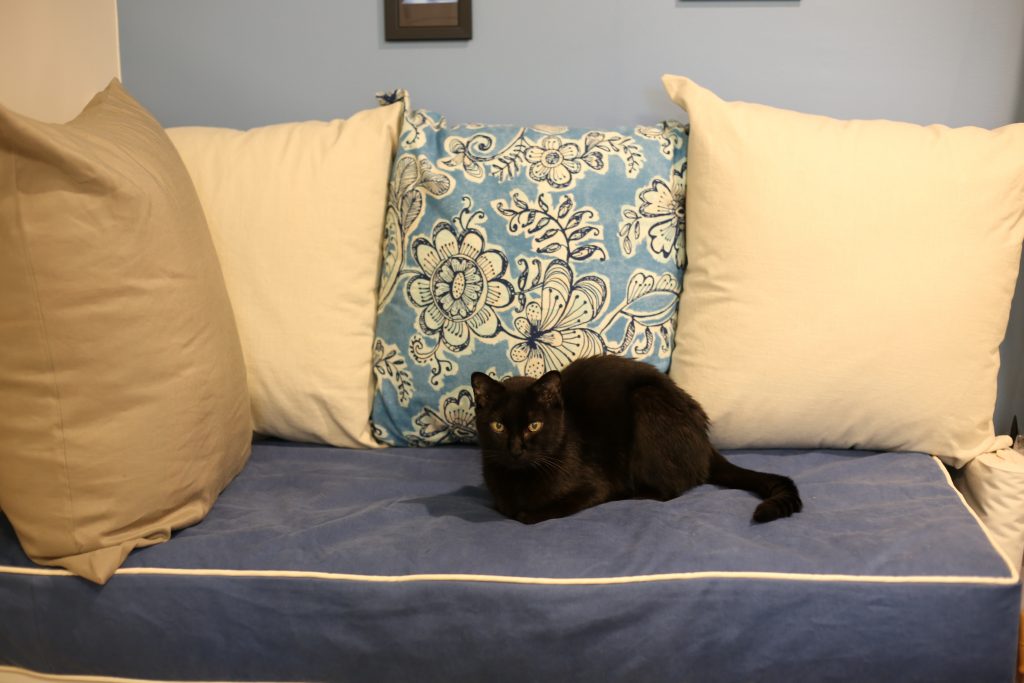
I knew it would become the cats’ favourite spot. 🙂
And that’s it for the Sewing Room series! I don’t have any intention of working on other home decor projects, so all future blog posts should (thankfully) be focused on clothing.
I’m starting to work on my list of blog posts for the remainder of the summer and early fall. Do you have any requests? I always love to hear from you!