
Happy New Year everyone! (Yes, I know it is already January 10th…but I promise I started this post a while ago!)
This post was supposed to be my last of 2017, but I didn’t quite get it all done until the 31st and I’ve been waiting for decent weather to go outside to take photos. It has been minus 45 million outside for the last three weeks. Actually it’s been -25 to -40, but it might as well be 45 million because at some point you can’t tell the difference. Seriously – it HURTS to be outside. Also my car is on the street outside and hasn’t started for three days, so you can imagine what a great mood I’m in.
ANYWAY.
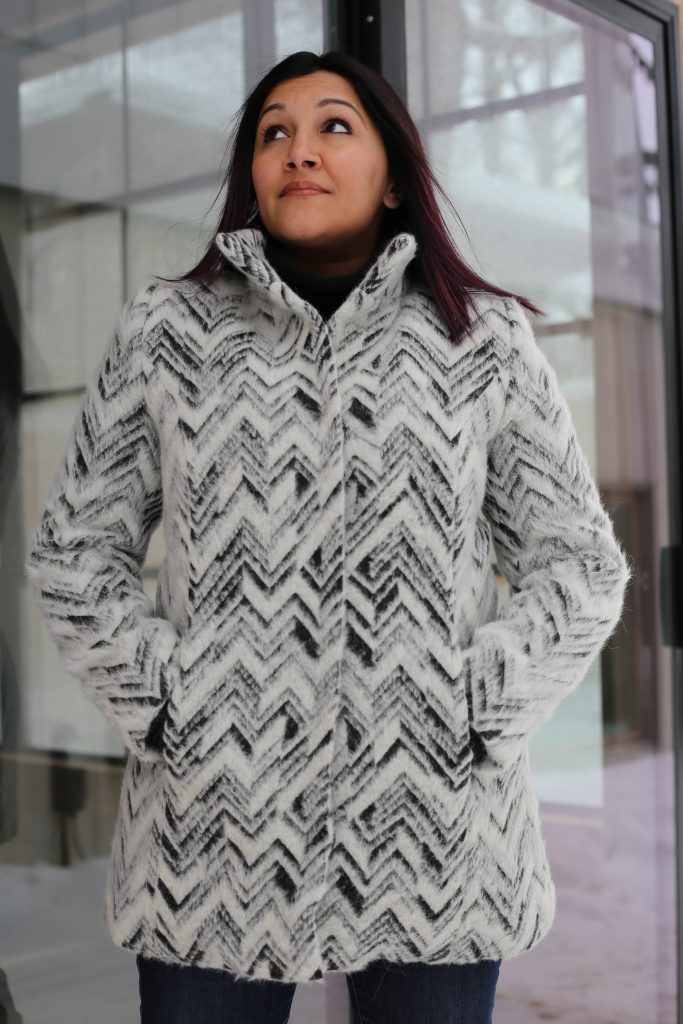
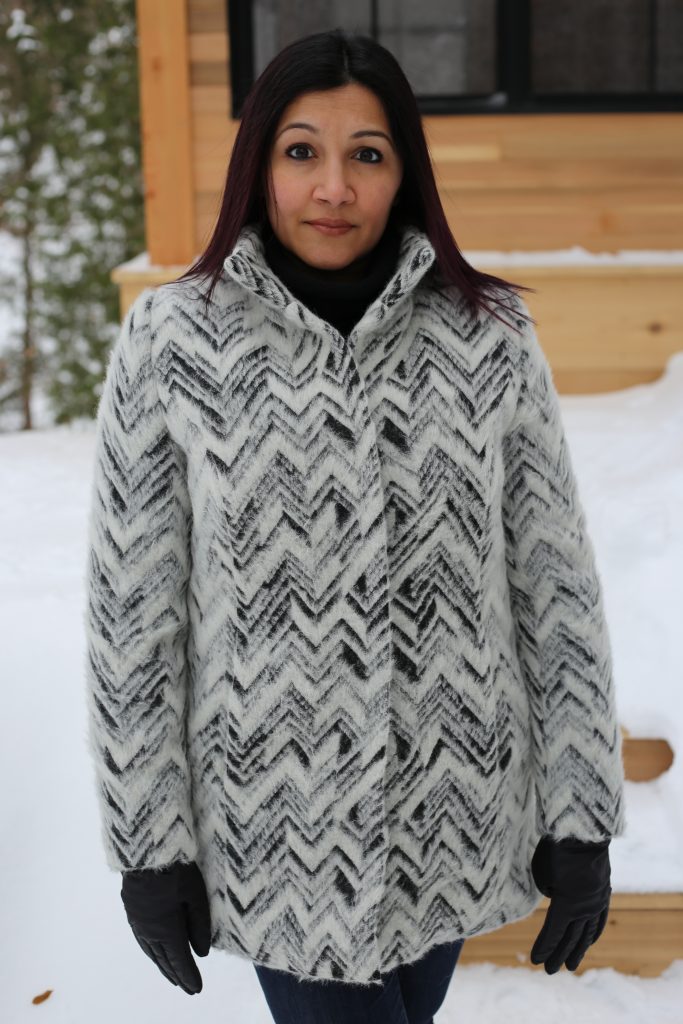
I had very good intentions of having at least three new winter coats to wear by Christmas. While I didn’t get even close to that, I have finally finished the first one and the second is muslin’d, adjusted, and on my cutting table ready to go. Right now I’m in search of the perfect funnel neck / stand-up collar coat pattern! I really love that style of collar, partly because it elongates my body and partly because I can skip wearing a scarf. The subject of this post, coat #1 is made with Burda 8292, view B. I decided to start with this one because it’s the same pattern Darrell uses in his raincoat class! I’ve taken the class and therefore have already got an adjusted pattern based on my muslin fitting with him a couple of years ago, and all I needed to do was swap out the collar style.
Since this is a class at Darrell’s, this post isn’t going to be my usual step-by-step look at how I created the garment. If you want to learn how to make it you will have to take his class!!! Instead, I thought I would focus on some of the advanced tailoring techniques that I used when creating this coat which aren’t covered in his class.
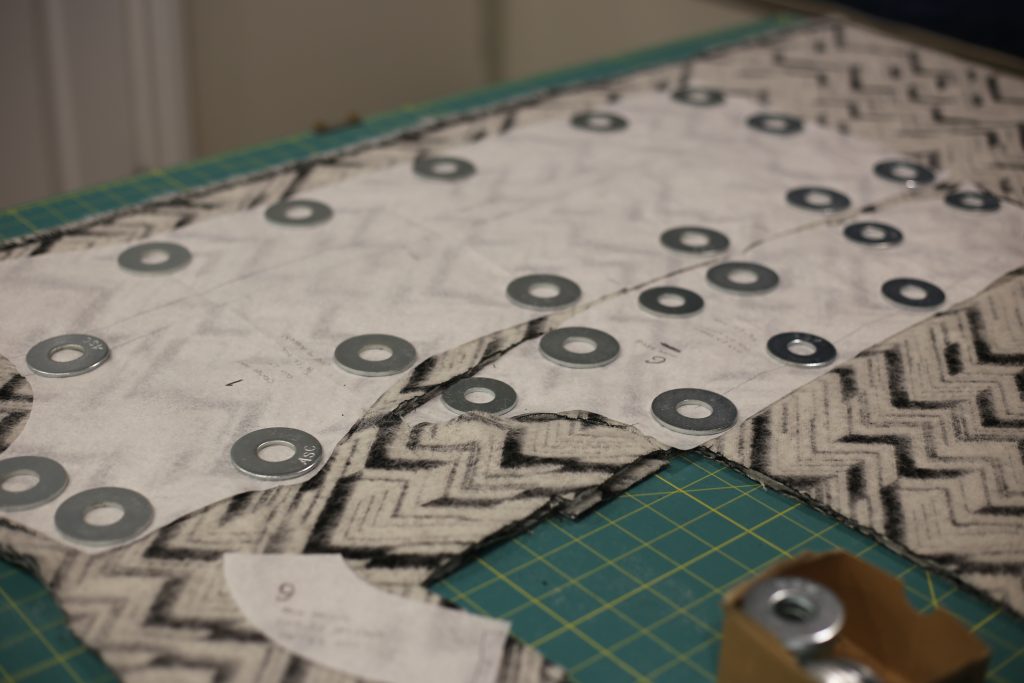
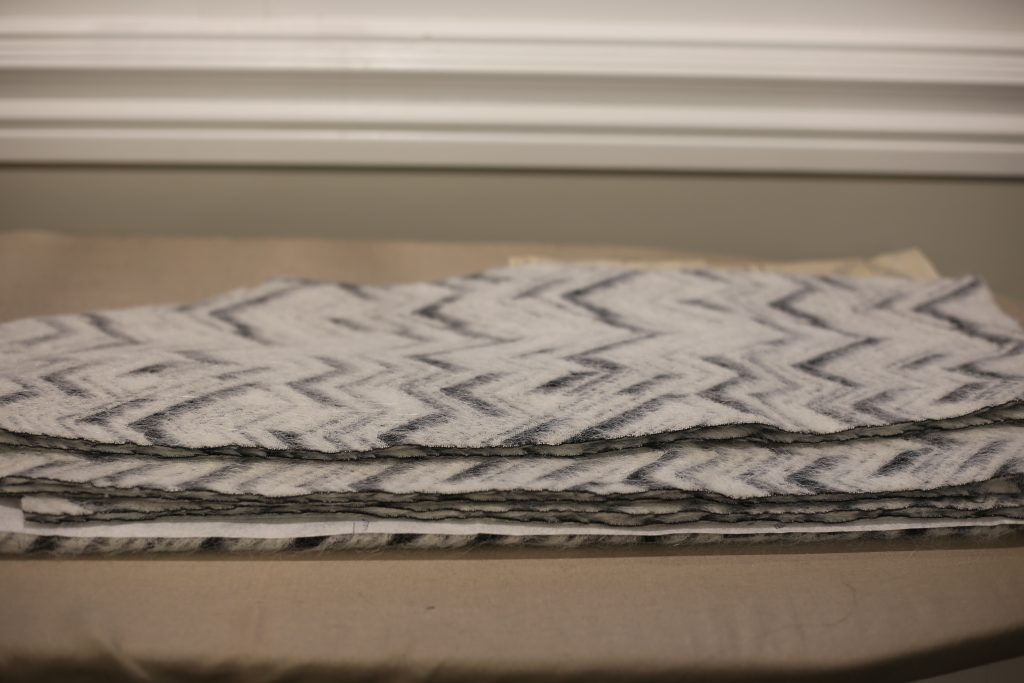
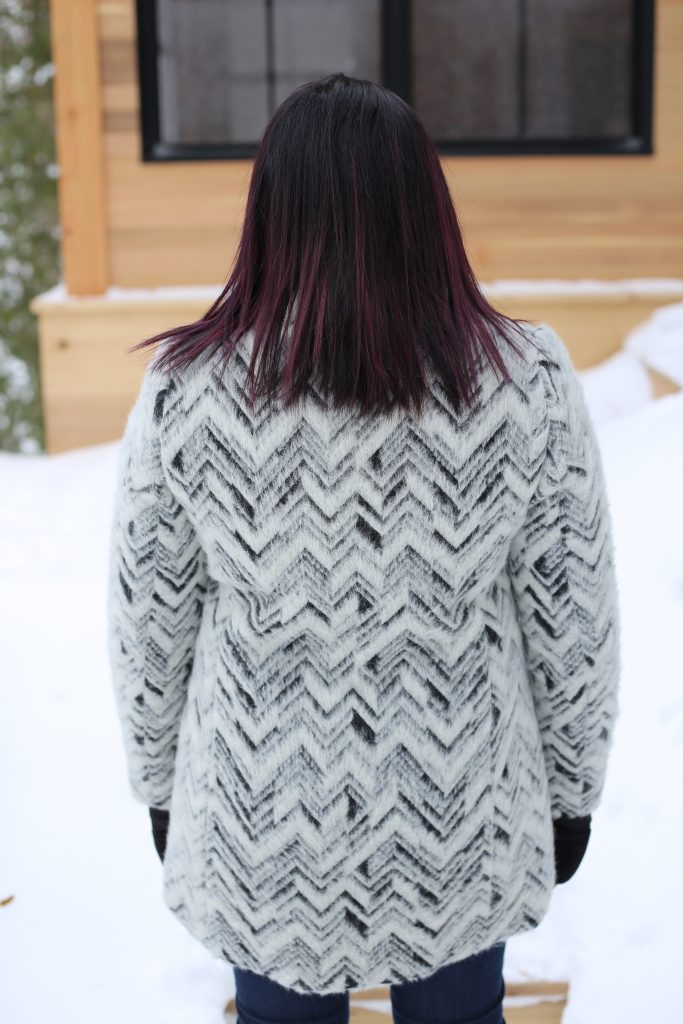
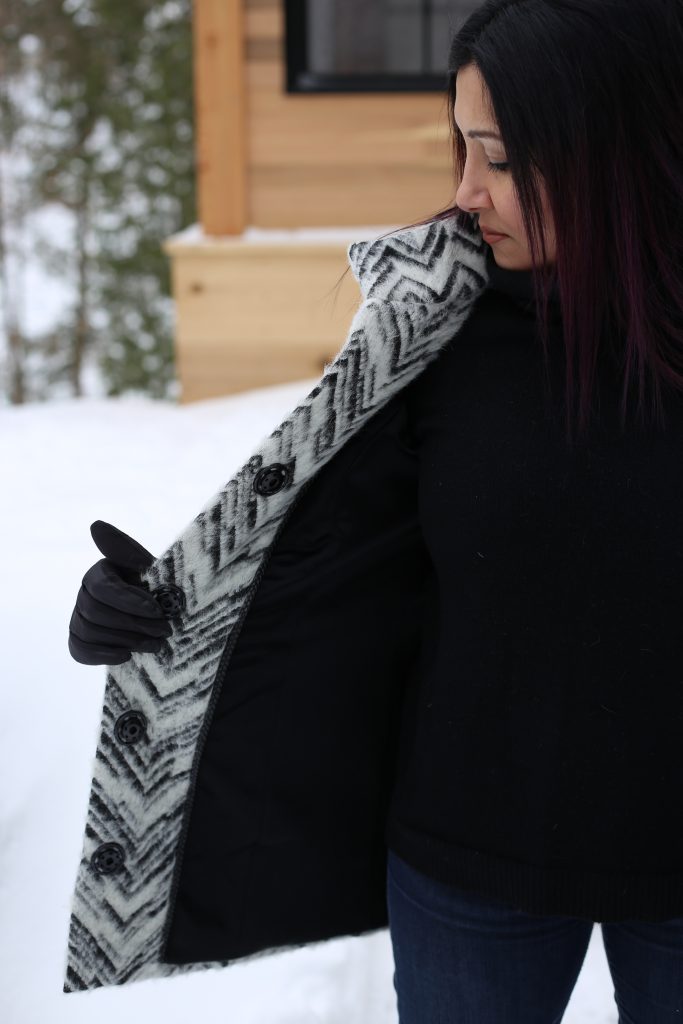
The fabric for this coat is a wool and mohair combination created in rows of chevrons. Of course this fabric is from Darrell’s, and I absolutely love it! The way the chevrons line up it looks more like zig zags to me, and the Zig Zag coat sounds cooler than the Chevron coat. I’m not usually a pattern person but I think this coat will really stand out while also being timeless. The only thing I’ll say about the first step (which was cutting the fabric) is that I made THE classic mistake. This fabric has a very distinct nap (direction of the fibres) and I cut all of my pieces the wrong way. I’m gonna tell everyone it was intentional…you can’t really tell unless you try to pet me (and then we have other issues)….and besides: they did it on Project Runway!!! So whatevs.
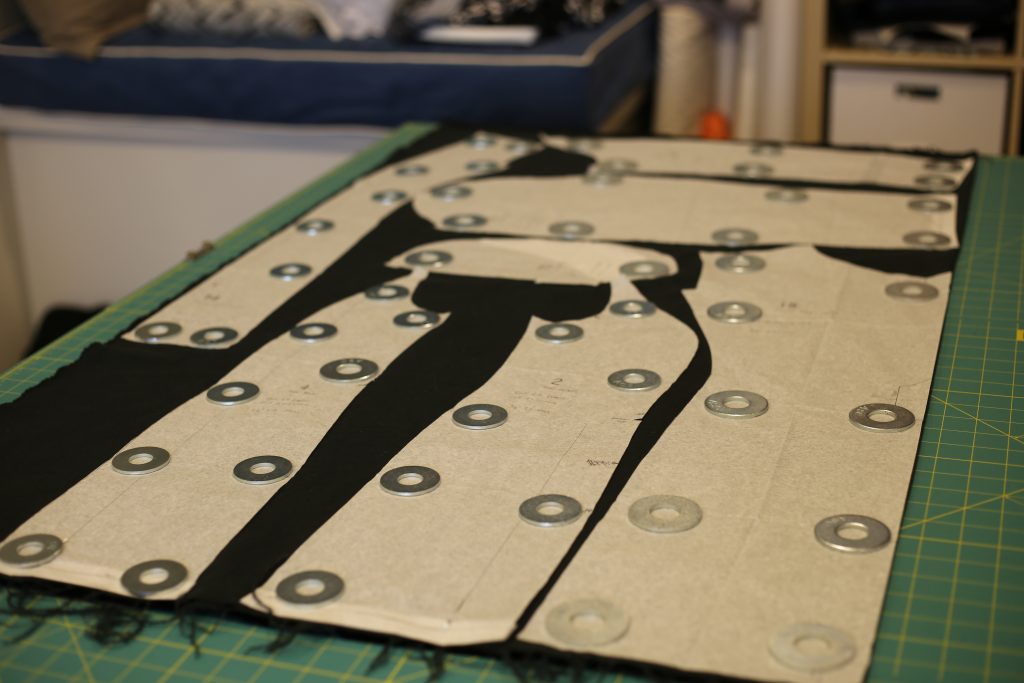
For the lining, I used black Kasha which is flannel-backed poly satin. I got this 1.2 metre remnant at Darrell’s for only $12!! I love Kasha – I used it in my purple cashmere coat a few years ago – it is so easy to work with and very warm. Given our no-joke winters, I would never dream of making a winter coat without Kasha lining.
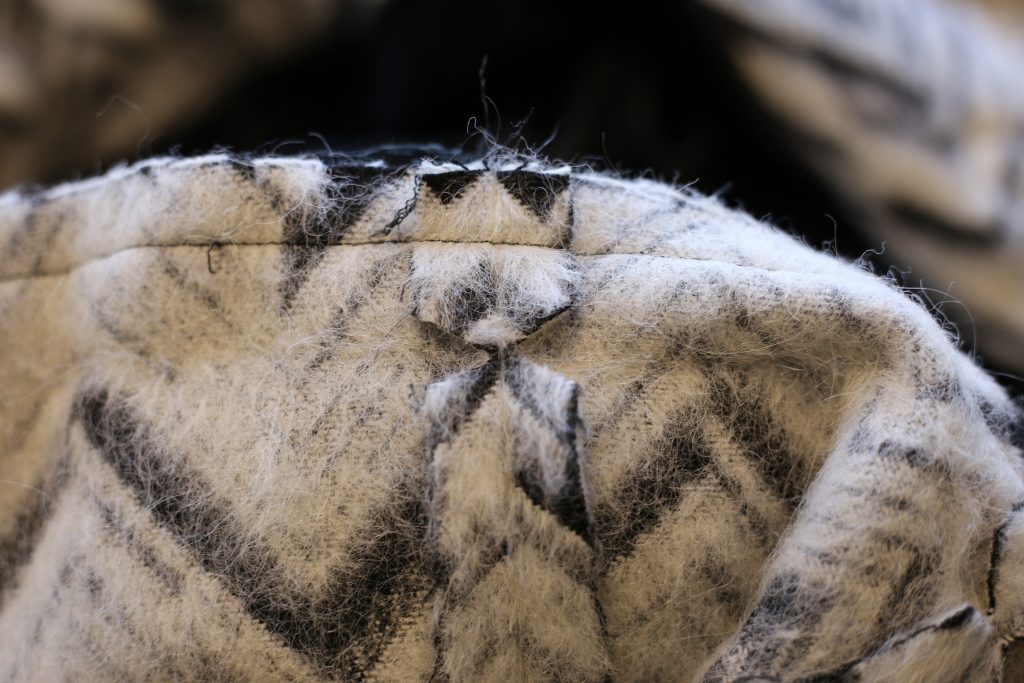
My first “advanced tailoring” technique was to add a back stay in my coat. A back stay is often made of hair canvas or muslin, and it adds stability to the upper part of the back of the coat which typically experiences stretching across/between the shoulder blades. You use your back pattern piece and trace the back stay pattern by creating a line about 3 inches below the armholes and then up a bit (so you are 7 to 9 inches below the neck) and connect the dots. If your back has multiple pattern pieces, you must connect them (or sew your back and trace that) so that the back stay stretches from side seam to side seam. You sew your back stay to your back fabric before doing any other assembly. That’s pretty much it! Gertie has a nice step by step tutorial on making a back stay on her blog. When complete, it should look roughly like this:
The next advanced tailoring technique I used was to add sleeve heads. In the picture below, this is the white strip of fabric you can see clipped into the armhole. A sleeve head prevents the top of the shoulder cap from caving in. Sleeve heads can be made by cutting lambswool or a thin fleece on the bias; you can also buy sleeve heads (Darrell sells it on a roll and you just buy as many inches as you want). I found a good Threads video that shows how to make and insert sleeve heads. This technique I feel really made a difference in my finished product. (You will have to judge for yourself and tell me what you think.)

Of course I also inserted shoulder pads, but what I did to reduce the bulk (on first wear, I felt like a linebacker) was open it up and take out a layer of the batting. I’m definitely going to switch to making my own shoulder pads once I use up my purchased ones. And yes – when I start doing that I’ll post a tutorial!
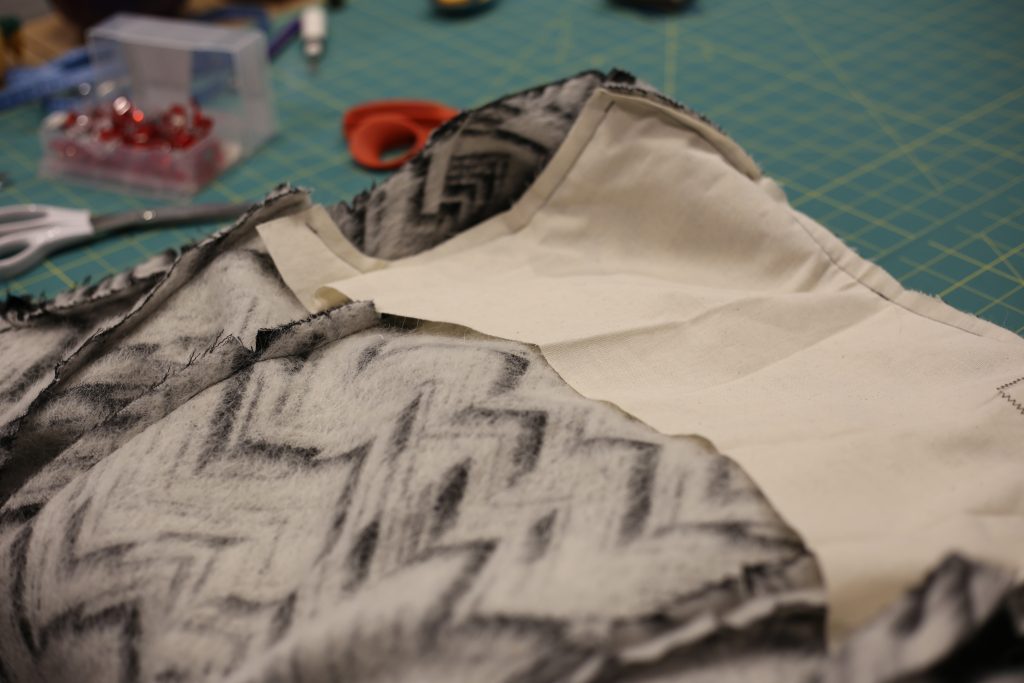
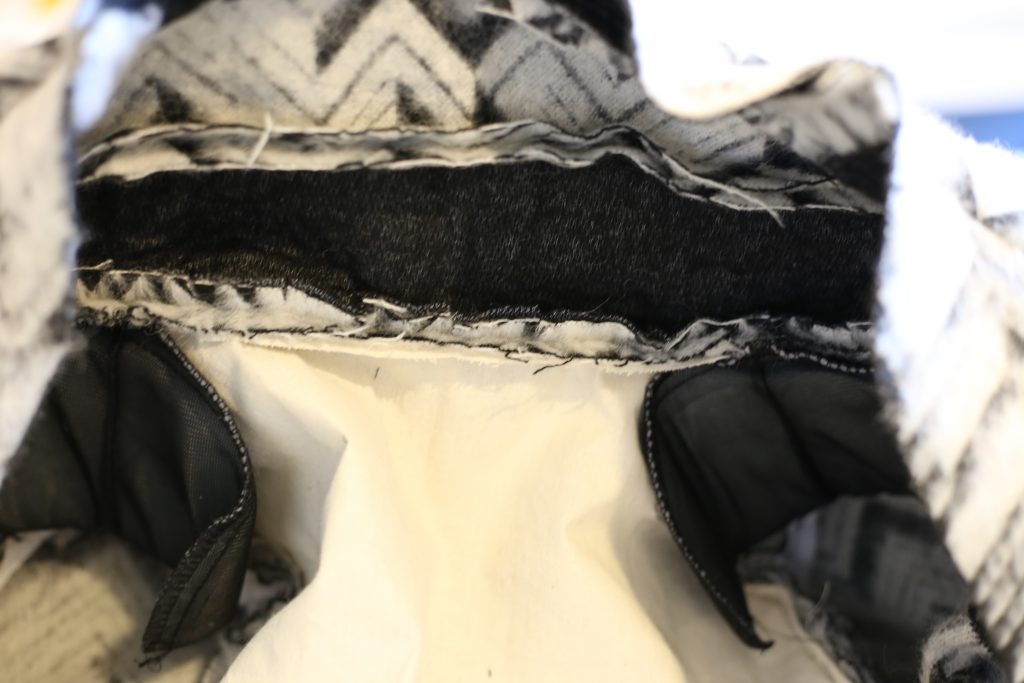
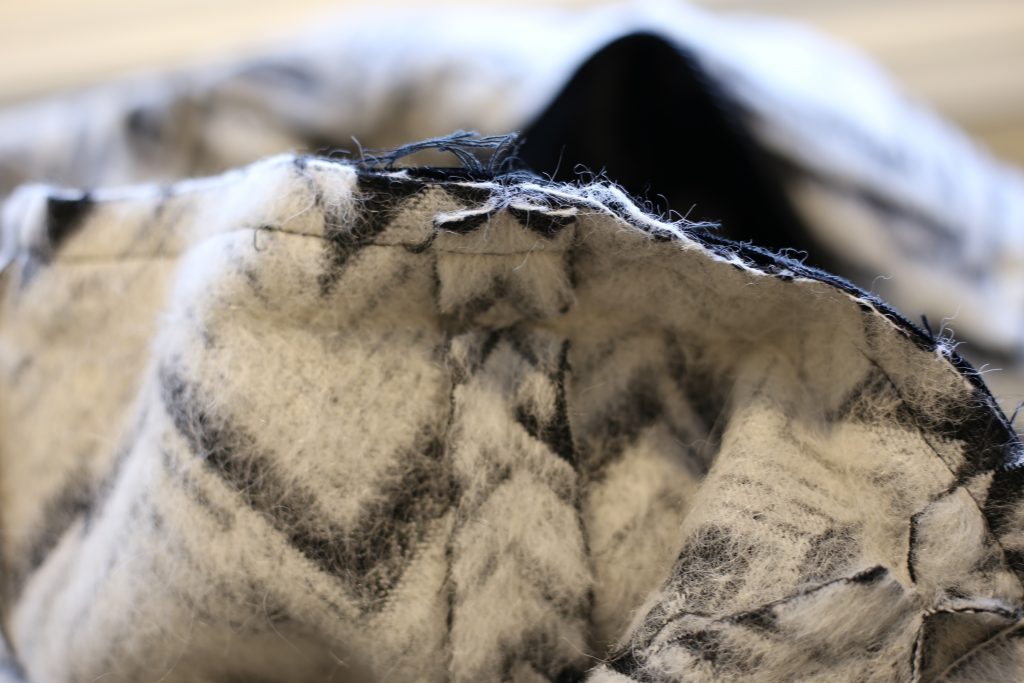
The picture below shows the inserted shoulder pads and back stay. The sleeve heads aren’t very visible but I promise they are there too. I wanted to show you one photo of what the collar looked like before I sewed the collar closed. The interfaced part of the collar is the part facing outward. The non-interfaced part of the collar is the piece at the top of the photo, and it faces inward and lays against the neck. You can see how bulky it gets with all those seam allowances, so I did some trimming of the ones attached to the neck only.
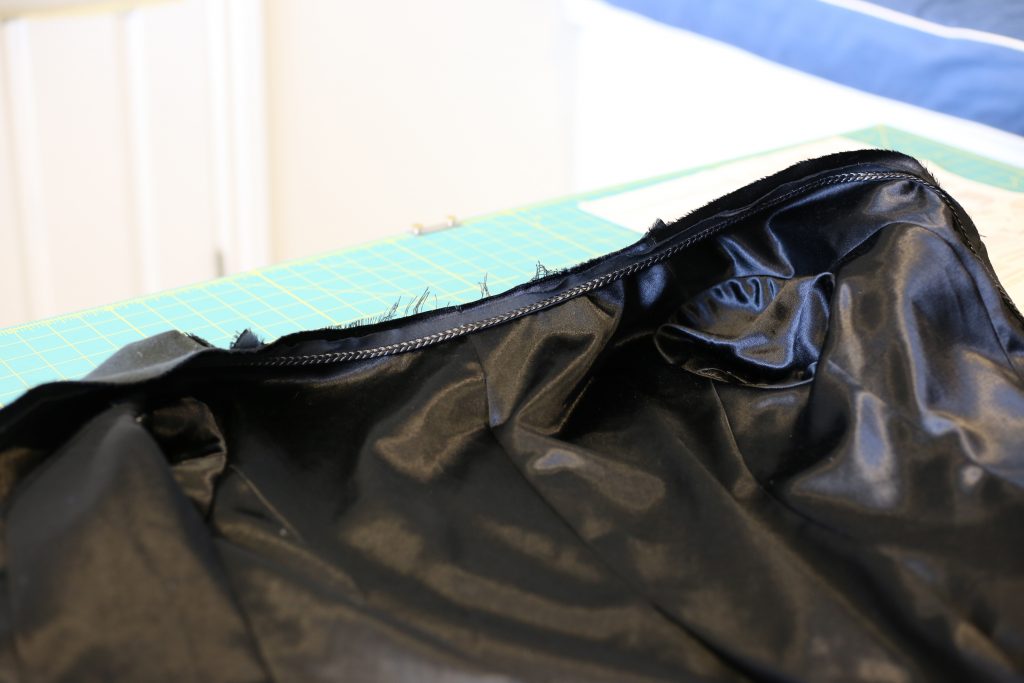
Here is a photo that shows the same view but with the two collar pieces touching, wrong sides together, after I attached them. To attach them I hand-stitched in the ditch from the outside where the collar attaches to the neck, keeping my stitches about 2-3mm long. You can also see that I’ve pressed all my seam allowances open!
I did not choose to top-stitch all the seams to keep the coat looking more formal, but in Darrell’s raincoat class he does teach you how to do that and it certainly gives a coat a professional yet sporty look. Had I made this coat in a plain wool, I would definitely have top-stitched the collar!
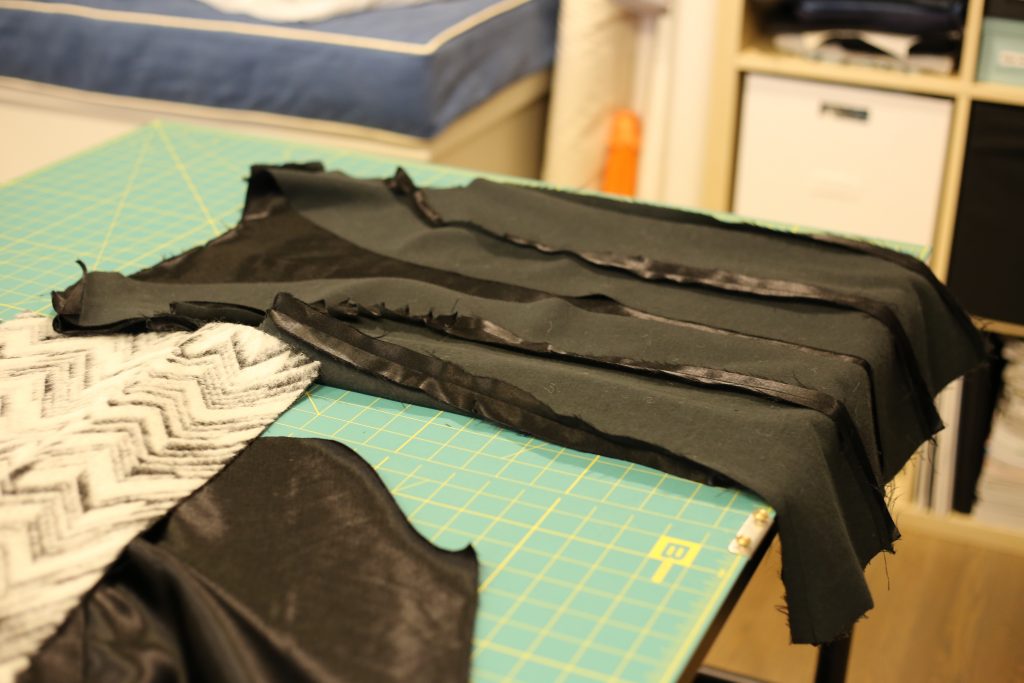
Below is one quick photo of the lining coming together. A lined coat is essentially sewing two coats, because the lining is constructed the same way as the coat itself but with the addition of a back pleat for wearing ease.
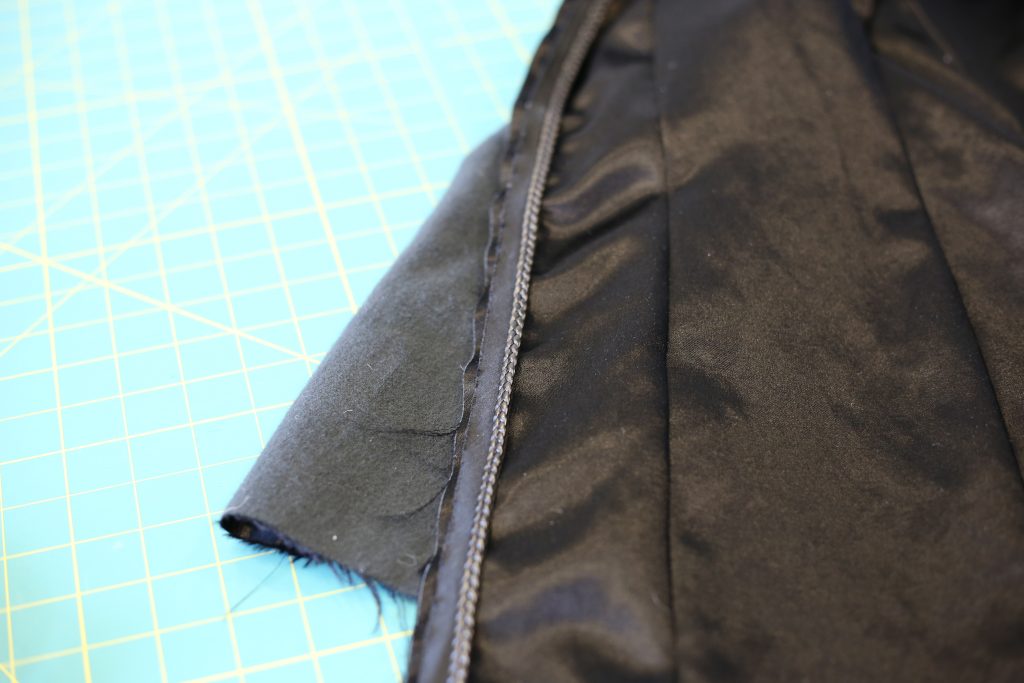
A fun tailoring technique that I used was to add trim to my lining where it would hit the coat facings. You’ll see in my finished pic how beautiful – and professional – it looks! Below, you get a good look at the trim. It is a faux leather braid. (I got it on the slow boat from China – literally. If you want to know more, let me know!) I sewed it to the lining first then sewed the lining to the coat. I found this worked well because if I had tried to sew all three together at the same time, I would have struggled because of how slippery the Kasha is on the right side.
A couple of other common advanced tailoring techniques that I did not use here are pad-stitching and stay tape. These are more commonly used on a notched collar to hold the shape of the collar. I will endeavour to use those on a future project, but if you are curious to know more I highly recommend buying this book called Tailoring. PLEASE NOTE! This book is the EXACT same book as the older Singer Tailoring book. I mean word for word. Even the pictures are the same!! Don’t make the mistake of buying both like me. 🙂
The final technique I want to show you is a simple one – it is a way to reduce bulk at your hems. With a bulky fabric like this one, I wanted to keep the hems as straight and crisp as I could so I notched out at the fold, like this:
Voila! At long last (sorry Inna), I have finally completed and posted my Zig Zag coat!!!
Now to get to work on coat #2 which I am SUPER excited about, the Clare Coat from Closet Case Patterns in a faux fur with teal lining!! It’s been pending for over two years….I promise it won’t be another two before you see it! Talk soon! PS tell me you LOVE my purple hair as much as I do…. 😛
I LOVE the coat! I liked it on Instagram but having read about all the tailoring techniques you used and all the extra steps, I am really impressed now. Very elegant and timeless. And being mentioned in the blogpost makes me feel like some kind of celebrity 😃 I am looking forward to the other two coats. Just make sure they are very-very warm, you never know when the next round of -40 is coming.
Warm regards!
Thank you Inna and Happy New Year! Yes, the Clare Coat will also be Kasha lined and it’s faux fur which I’m hoping is somewhat windproof. What a crazy winter. Thank you for being my top follower and I hope to see you soon!