
Hi everyone!
I can’t tell you how good it feels to be posting another blog article a week after my last one! Yay sewing. 🙂
I actually started working on this top back in the summer, however with the fashion show, getting married, and my day job I didn’t manage to finish this project until three weeks ago. Better late than never, yeah?
The pattern I used for this top is V9006 from Vogue:
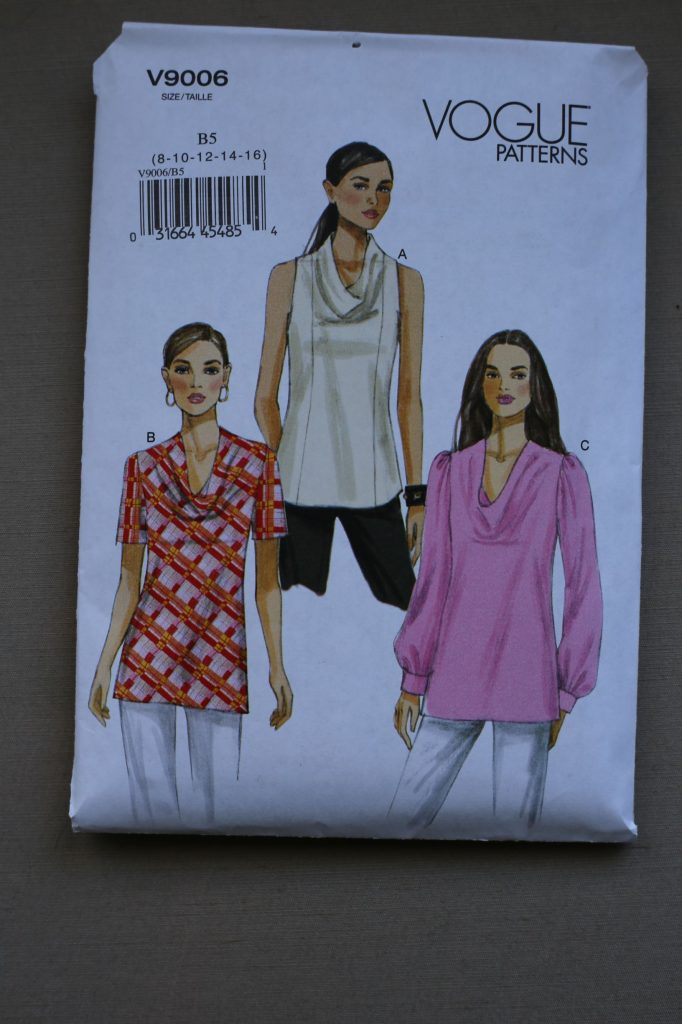
I originally planned to do the version with short sleeves, but I ended up doing a sleeveless version. More on that later.
I think I have mentioned before that I’m always on the lookout for great, simple, versatile top patterns. I love cowl necks which is what drew me to this pattern, and I also love when the pattern consists of only two pieces:
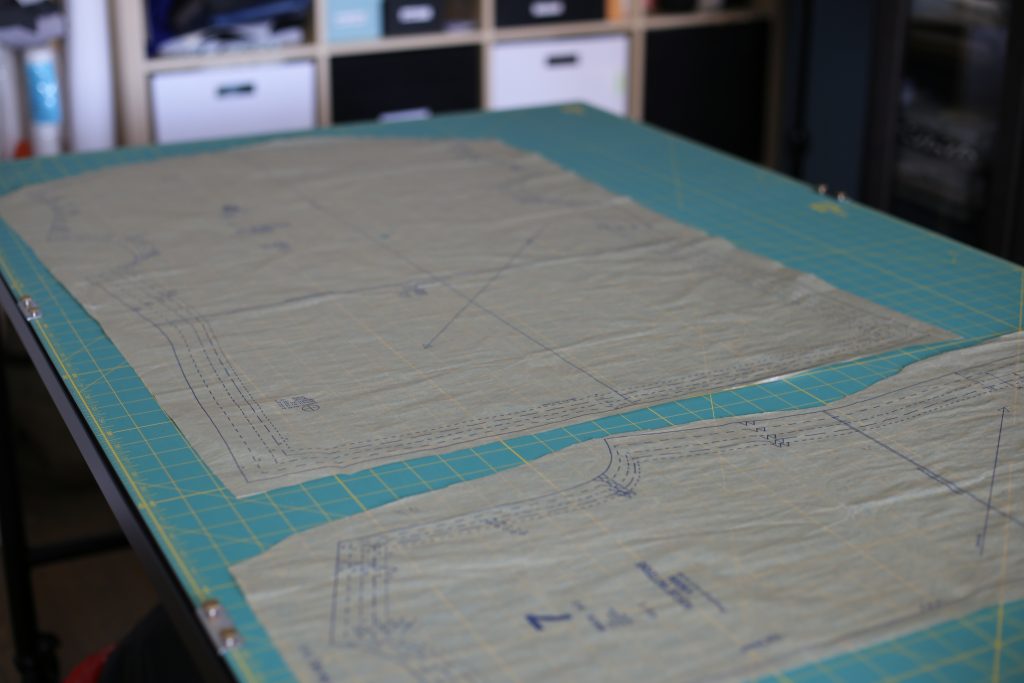
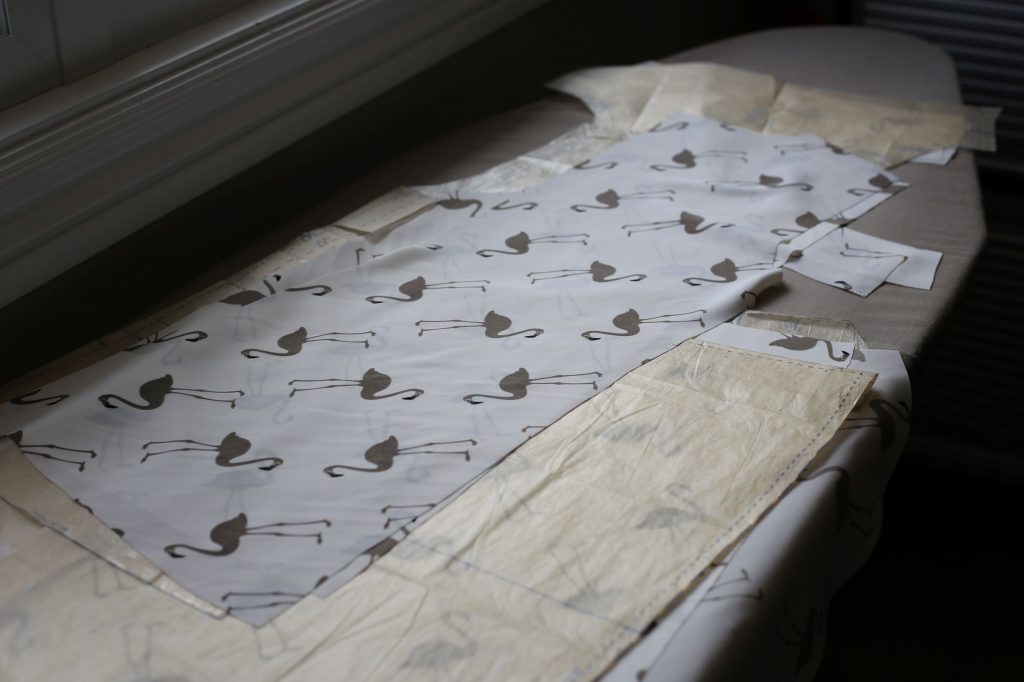
First step, as always, was to cut out my pattern pieces and make my adjustments. I always shorten the bodice by 2-3″ since I have such a short torso. I also did another adjustment which in hindsight was a mistake – I took the garment up at the shoulders by folding the pattern to a smaller size at the shoulder seam. See that tucked under part of the pattern on the bottom?
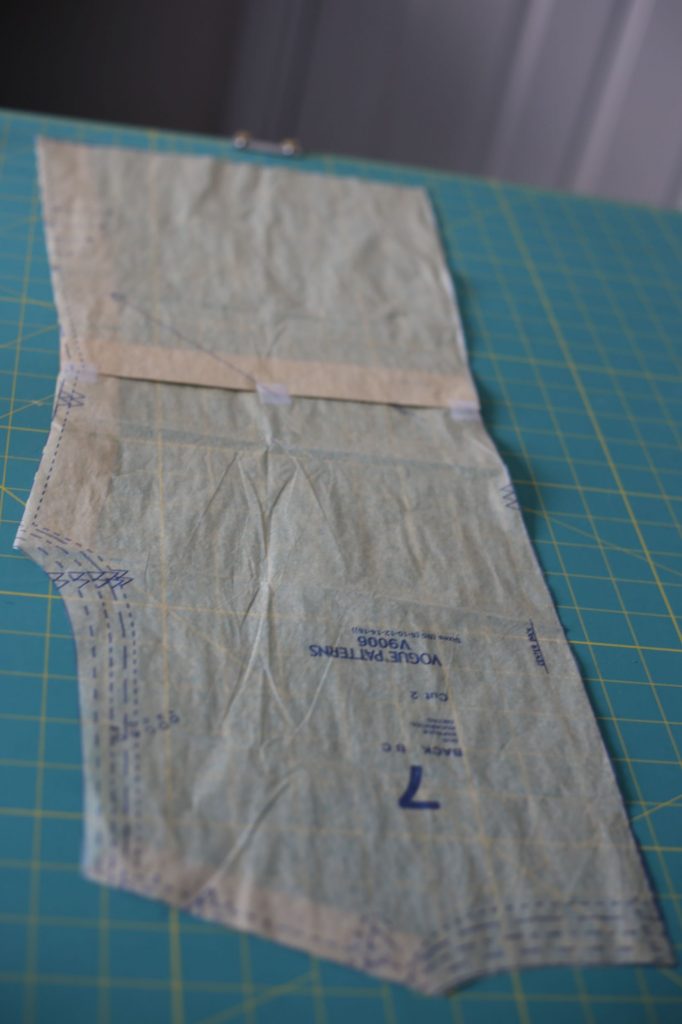
So, learning lesson here. When you take a garment up at the shoulders, you also reduce the armhole size. I had made a muslin and I did need to reduce the armhole size, which is why I did this adjustment, however I ended up reducing it too much. It’s hard to tell from the picture, but I cut the shoulder seam at the pattern size three sizes smaller than the size I used for everything else. In hindsight, I should have left the shoulder seams alone and just reduced the armhole at the armpit (bottom curve). Someday I’ll be an armhole pro, I swear!
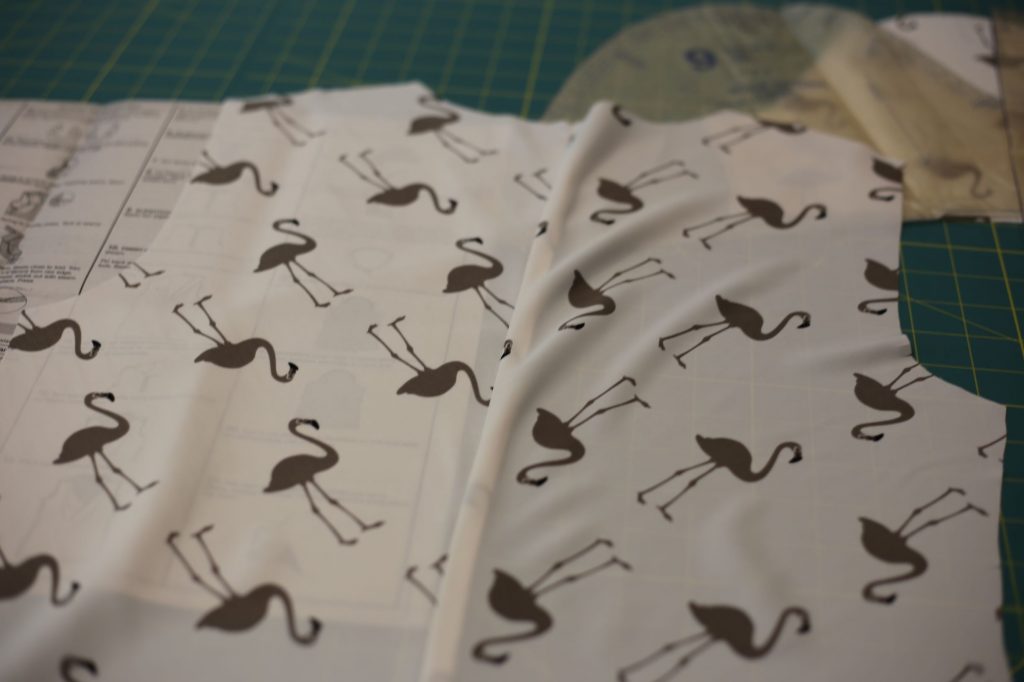
Next step was to cut my fabric. This fabric is a gorgeous rayon from Darrell’s (of course) with flamingos! I seem to recall this is a replication of a designer print, but for the life of me I do not remember who did it. What I love about this fabric is that the flamingos are brown and not pink. Pink is just too cliche!!
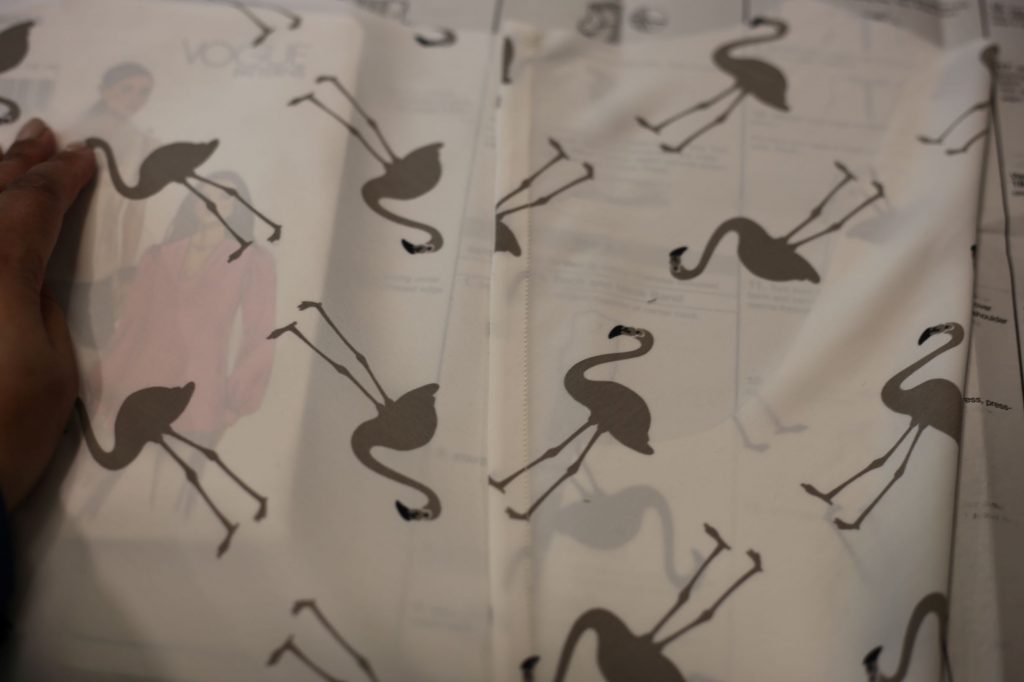
You may have noticed in the first photo of the pattern pieces, the grainline arrow is at a 45 degree angle rather than vertical. This is because the pieces for this top are cut on the bias! The arrow placement is still parallel to the selvedge, which means the arrow still runs with the grain of the fabric. Cutting a garment on the bias gives it an inherent “stretch” since this is the most unstable direction of the fabric. My favourite word to describe bias cut garments is “slinky”.
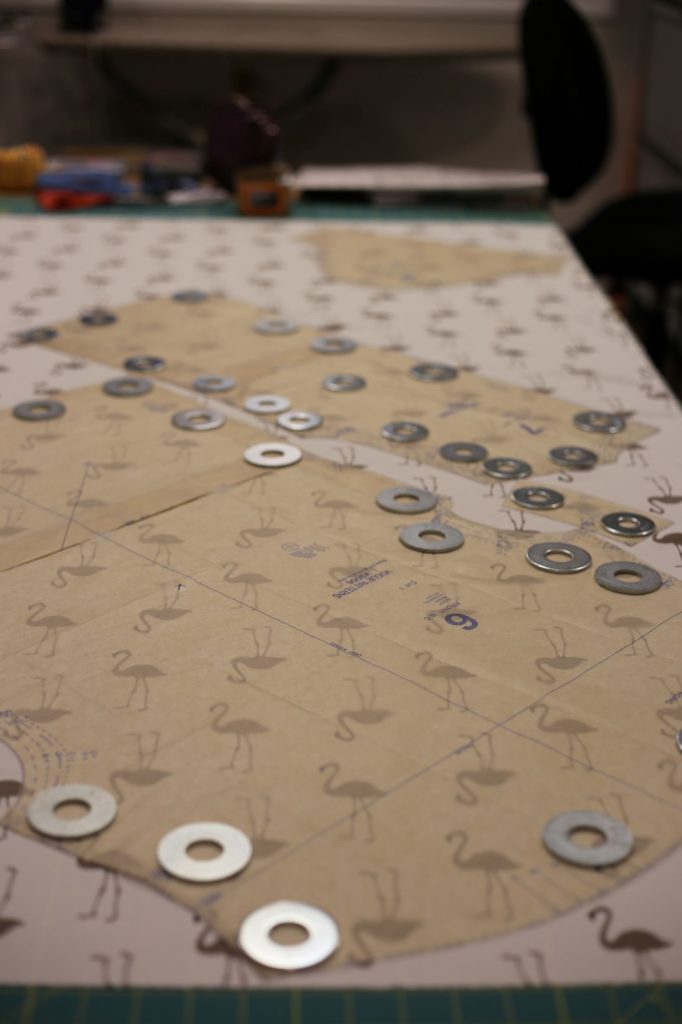
Once all the pieces were cut:
…it was time for some sewing!! I decided since this fabric is so lovely and slinky, and also slightly see-through, I would do french seams instead of serging the raw edges. First step was joining the two back panels:
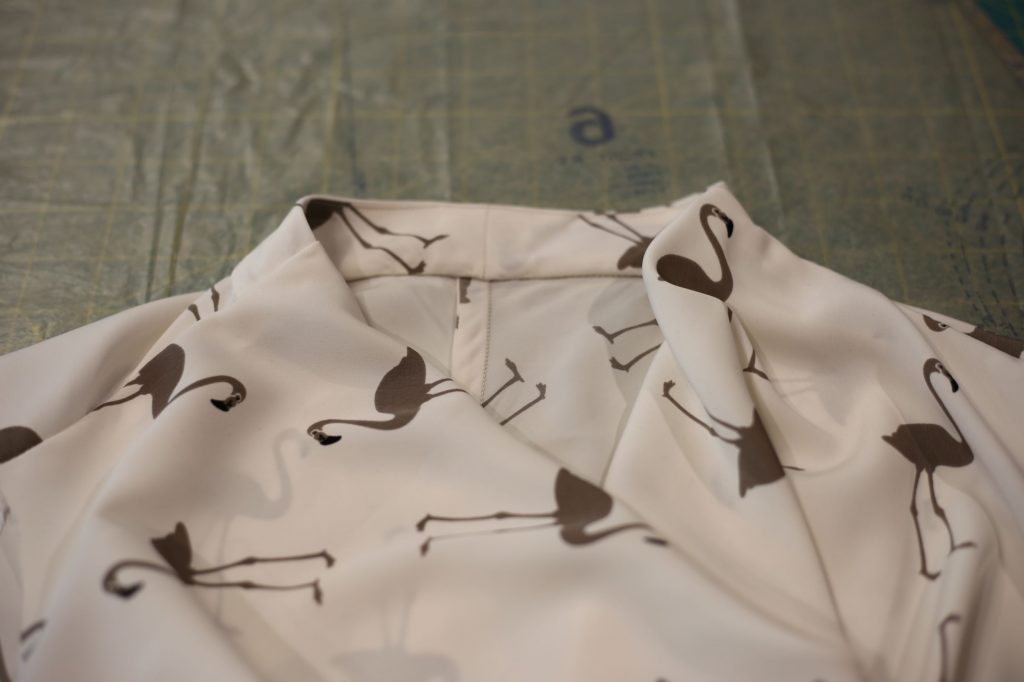
The next step was sewing the front and back together and finishing the neck. I don’t have a picture of what it looked like before sewing, but here is the finished product:
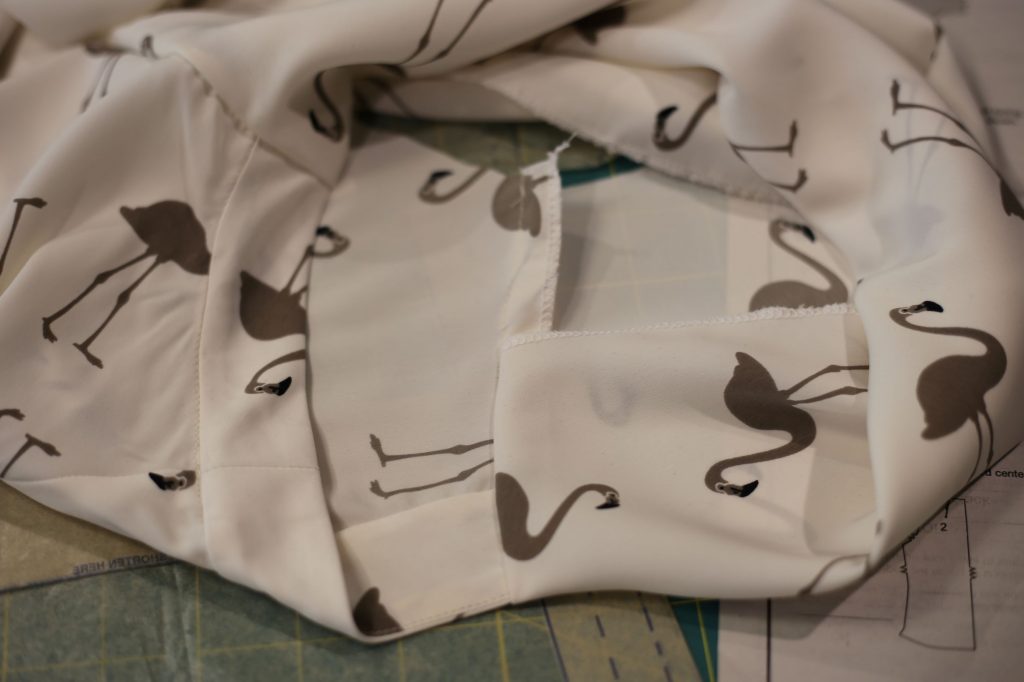
What you are seeing here is the inside of the garment, looking at the right shoulder seam. You can see on the bottom right the cowl part of the top, which was folded in on itself (self-facing). On the left of the picture, you can see the neck piece which flows right into the back piece of the garment. The assembly of this was hard to visualize, but I followed the directions and they didn’t steer me wrong. The only thing I would do differently next time is finding a different way to finish the raw edge of the cowl self-facing. This serging looks yuck.
Remember I promised to discuss the sleeve situation? So, right after this picture I sewed the sleeves onto the top. I tried it on, and sadly the garment was pulling at the armholes in a very unattractive way. I think it was the combination of the armhole being too small plus the circumference being pretty tight at the bust. Regardless, I knew if I left the sleeves on I would never wear the top, so I scrapped them.
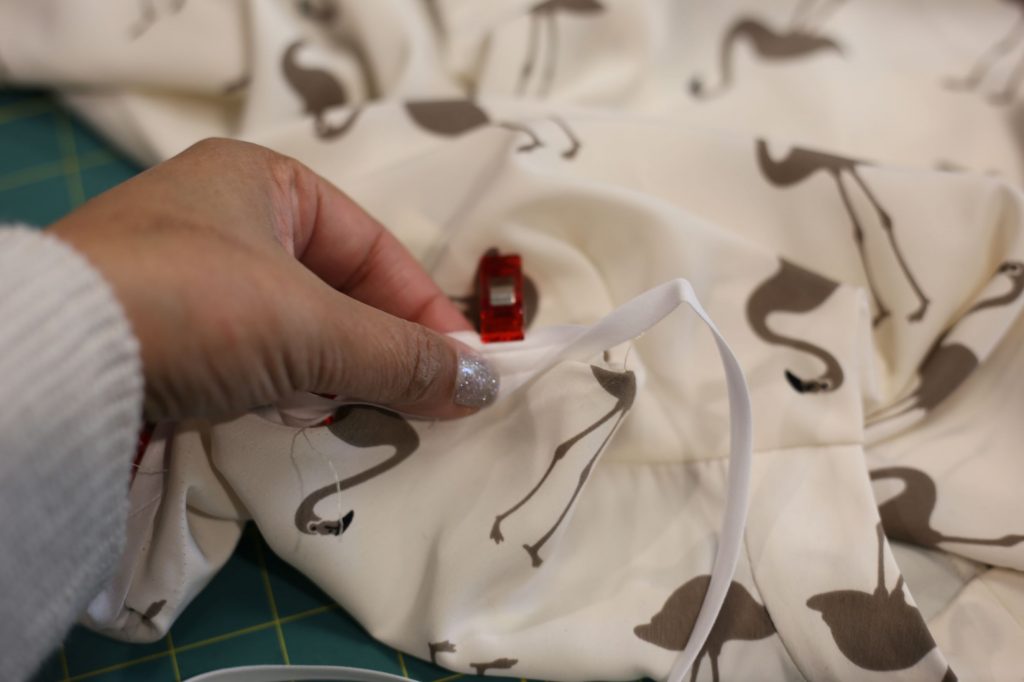
To finish the armholes, I decided to use some plain narrow bias tape from my stash. I did debate making some bias tape out of the leftover flamingo fabric but I got lazy. 😛
And voila – a sleeveless cowl top in flamingo!
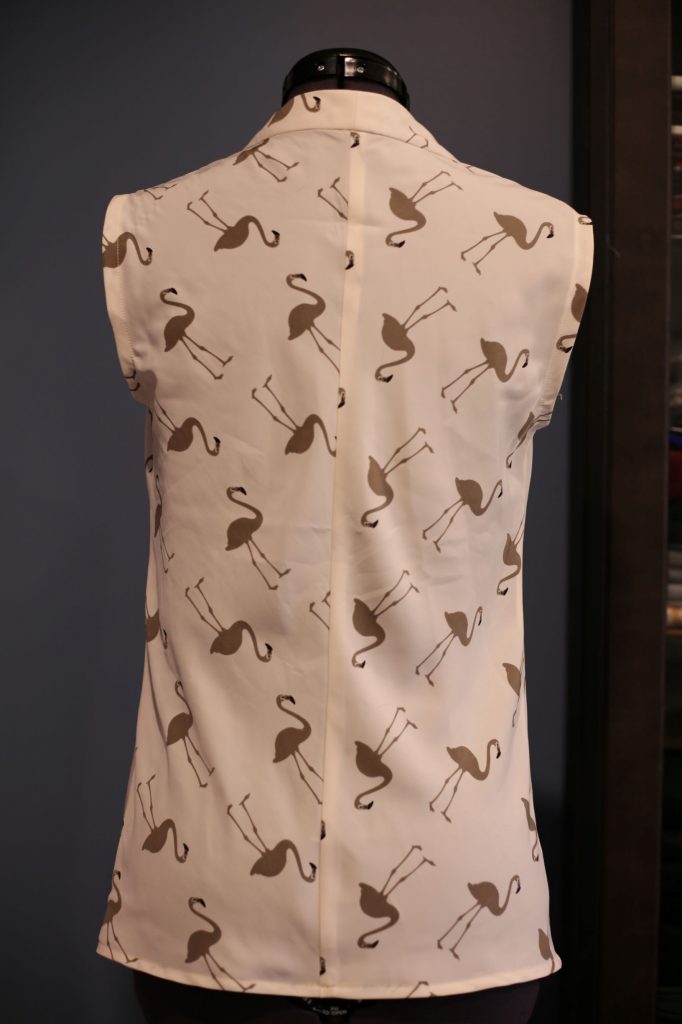
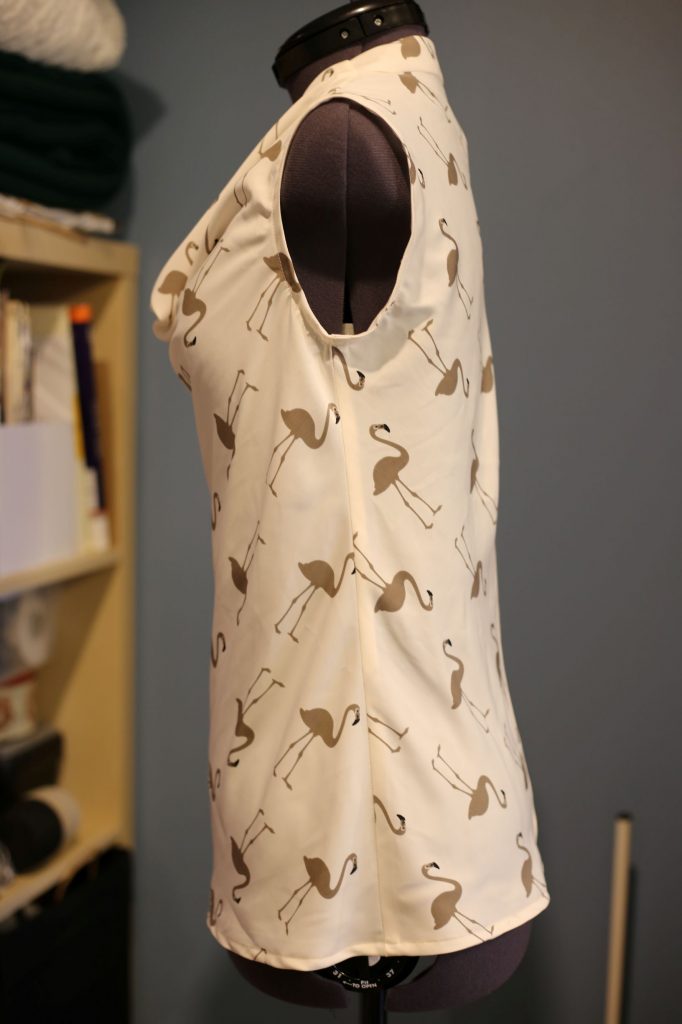
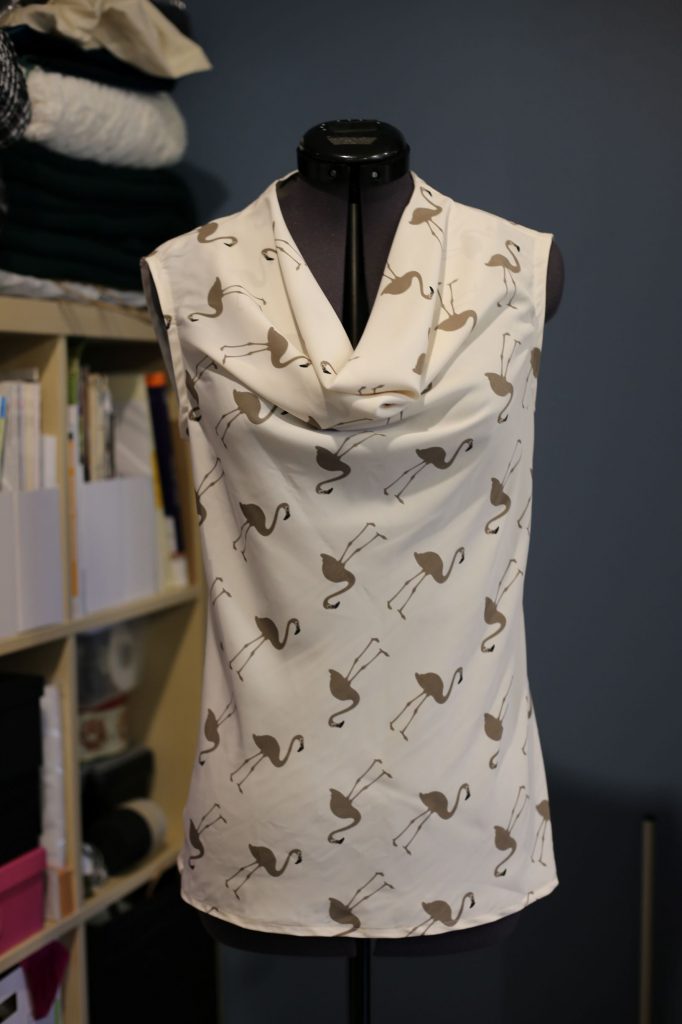
I am pretty pleased with this pattern and will definitely sew it again! I’d like to resolve the fitting issue so the next one can have sleeves. Just one note: the actual sleeveless version of this pattern calls for princess seams (meaning the front is not one solid piece). I’m really not sure why they decided to do that, maybe for visual appeal? I personally don’t see any issue with simply using the solid front piece and leaving the sleeves off.
In case you are wondering what’s next, I have two unfinished projects: the Clare coat (which I’m renaming the three year coat ’cause that’s how long ago I started it!) and the McCall 7199 knit zipped sweatshirt. Which do you want to see first??
Make a more new posts please 🙂
___
Sanny