
Hi everyone! I’m pretty excited about today’s post. Not only did I finally finish another garment, but I also bought a new toy that I’m super excited to tell you about!
First, the pattern I used for today’s make is M7199 from McCall’s. It’s been on my to-do list for over two years:
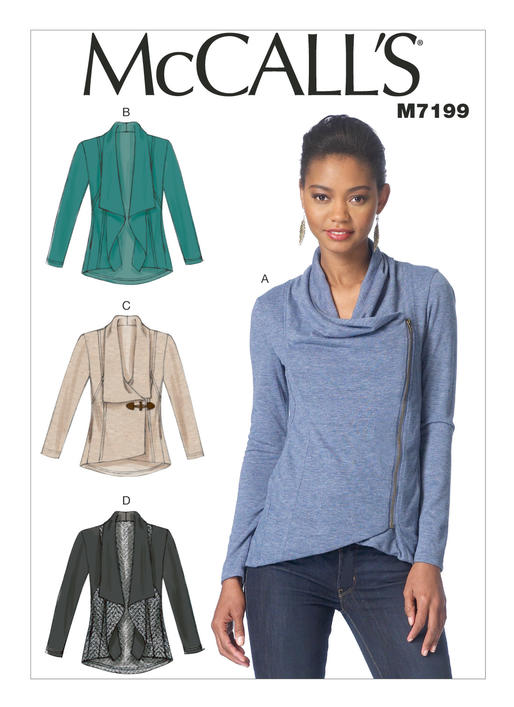
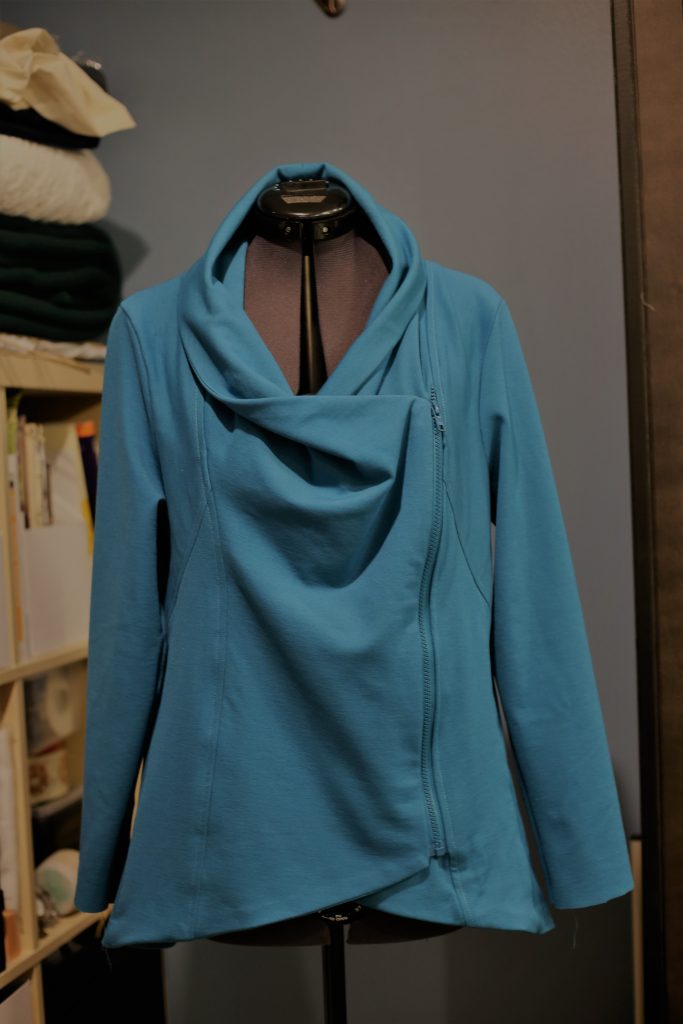
I’ve been sewing a lot of tailored pieces and woven fabrics this year, so this knit garment was a nice break. I made view A, the one with the zipper. I actually have a similar top that I bought years ago, so I was pretty excited when I found this pattern. I love the slouchy shawl collar-style neckline. I plan to make it in a few different colours!!
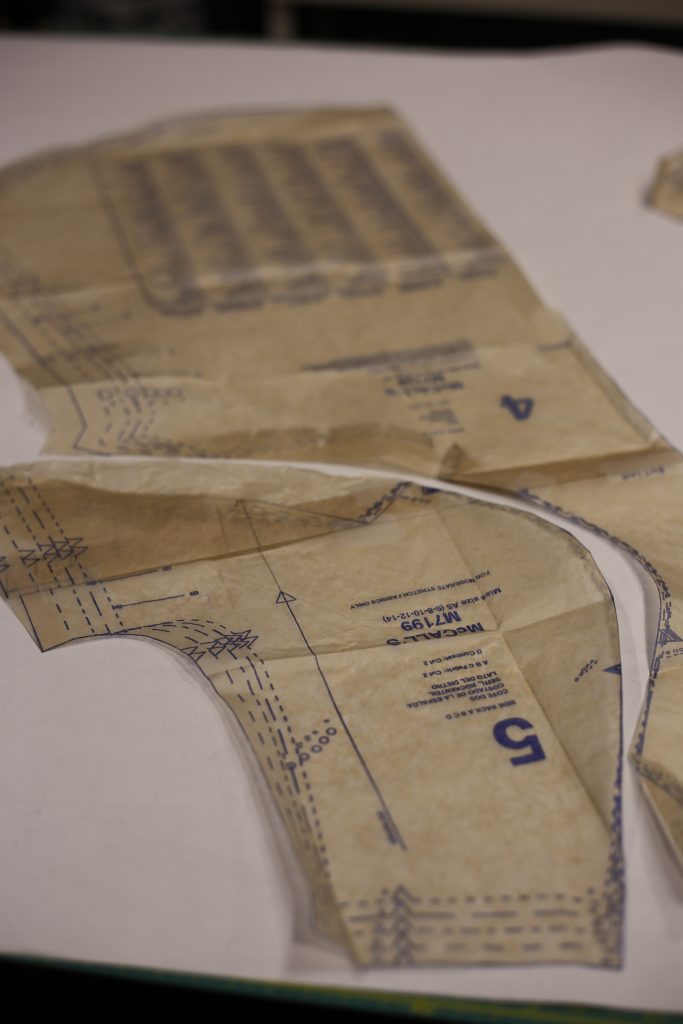
First step, as always, were some pattern adjustments. I am very short in the torso so I took out my usual 2 inches. This was a little bit of an interesting pattern to adjust, due to the various unusual shaped pieces. There were also no guide lines telling you where to make the adjustment. I typically need to make the adjustment somewhere between the shoulder and bust. In this pattern, I decided to do it right at the bustline just because it was an easy point of reference. Once I measured and folded the pattern pieces, I laid the adjacent pieces next to each other to be sure the adjustments were correct before taping them down.
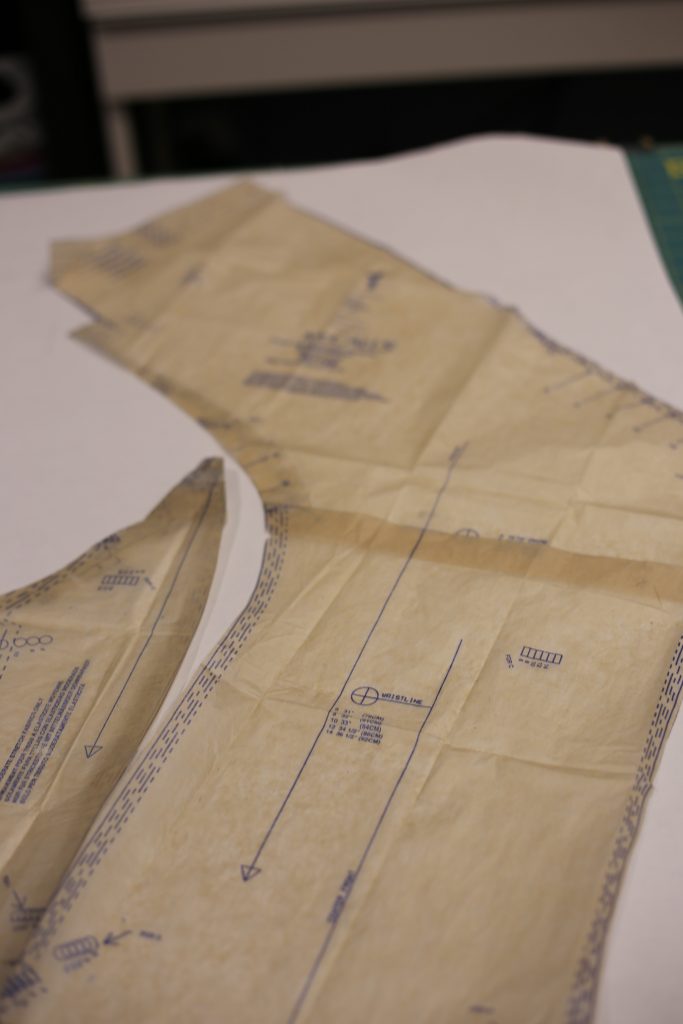
To ensure I was making the adjustment at the same place on the back pieces, I measured up from the waistline to find the “bustline” on the back. Again, I placed my adjusted pattern pieces next to each other before taping them down to make sure the adjustments matched. A recent copy of Threads magazine actually talks about “walking the seams” to make sure your pattern pieces fit together – it was an interesting read for anyone who wants to know more about advanced pattern adjustments.
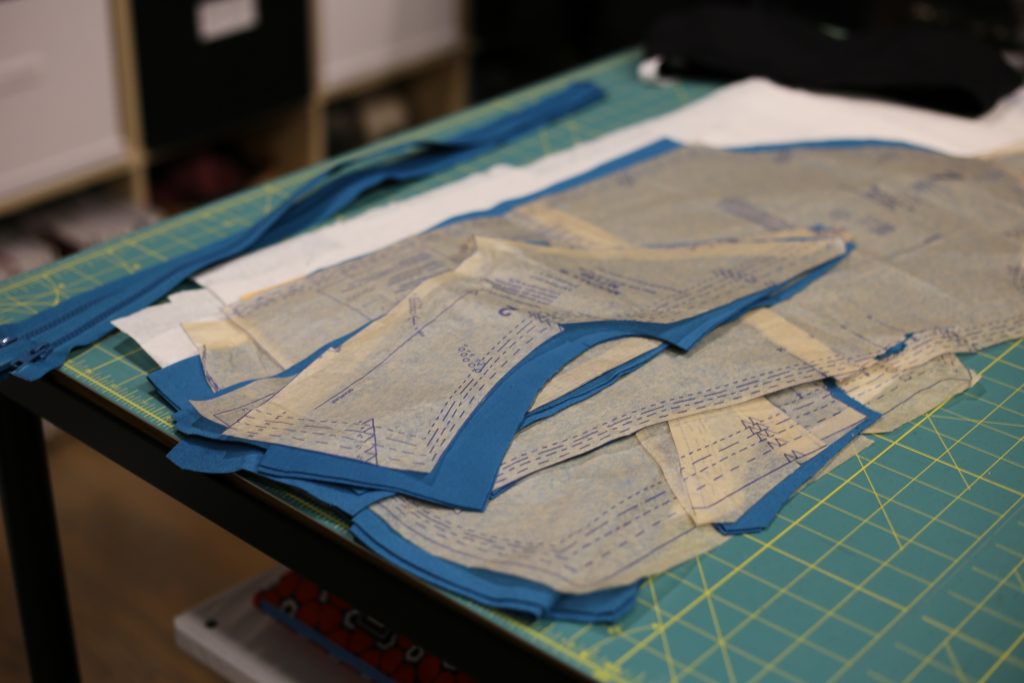
Once all the pattern pieces were adjusted, I cut my fabric using my usual weights and rotary cutter. I bought the teal coloured fabric from Darrell’s not long after I bought the pattern – pretty excited to finally cut into it!
You’ll notice in this picture, at the top of the table, is the perfectly colour-matched zipper. I am so happy about this!!! I actually bought the YKK colour card earlier this year which has little pieces of all of their zippers so that you can find exactly the right shade for your project. I did consider a contrasting zipper, but the colour is so specific that only a perfect match would do (for me).
Once the pieces were cut, assembly began. It came together pretty fast, other than the finishings for the lining – will get to that in a bit. First step was sewing together the upper and lower side front pieces:

Now, I decided to sew all the seams for this garment on my regular sewing machine. I wanted to show that you don’t have to have a coverstitch or serger to be able to work with knits. As I was sewing the seam, I gently stretched the fabric using my left hand behind the needle and my right hand in front. I was careful to stretch the fabric evenly and also not to hold on too tightly, as this could have broken the needle. You don’t want to hinder the feed dogs from doing their work, so just go slow and carefully.
Once I sewed these two seams, it was time for a good press. Behold, my new toy!
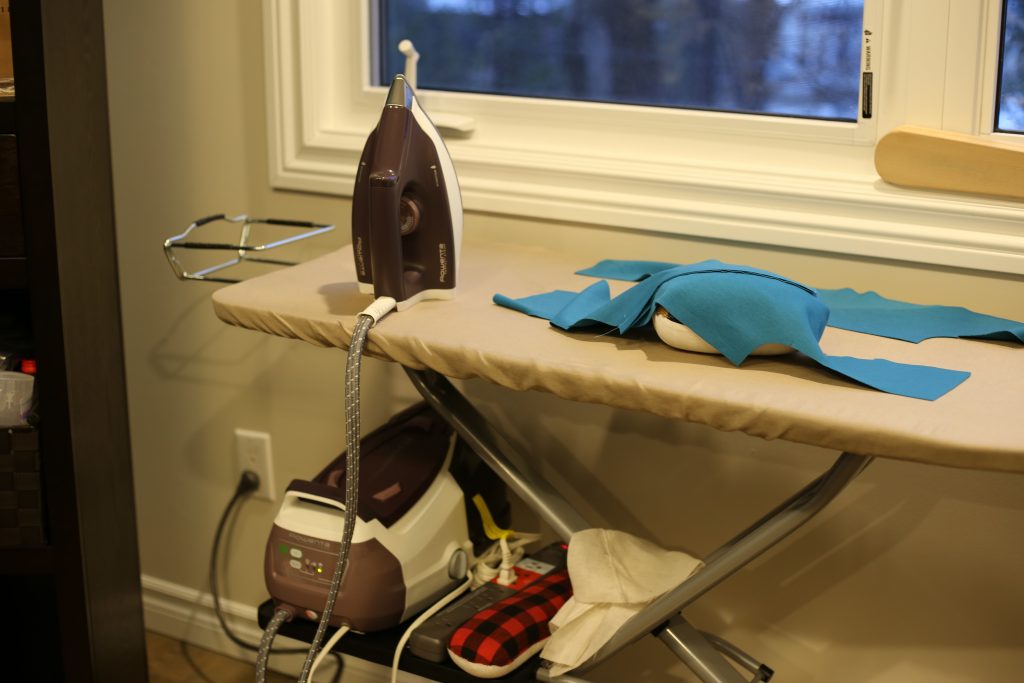
It’s a Rowenta Steam Station!!!!!! My beautiful Rowenta iron which I loved died a couple of weeks before the fashion show in September. (I am pretty sure there was a power surge in my office and that is what fried it. I learned my lesson – my new baby is on a power bar with surge protection.) This is the DG8520 model, also known as the “Perfect Steam”. There is a lower model (Compact Steam, I think the model is 7510?) that is cheaper, but after looking at a lot of reviews I decided to get the nicer model. So what is a steam station, you ask? Basically, the base unit has a boiler and a large water reservoir. The water actually passes into the boiler where it is boiled (duh), then the steam actually travels into the iron through that grey cord. The result is a very hot, very powerful steam that is WAY beyond anything I’ve seen from a normal steam iron! I’ve been using this iron for a few weeks now and I am crazy in love with it. There are a bunch of sewers out there who prefer gravity fed irons and I did consider one of those also, but a gravity fed iron is pretty much a normal steam iron but with a hose that feeds water from a large tank. I don’t really have a good spot for a tank in my office and didn’t want to hang it from the ceiling. Plus, I did a bunch of reading on the subject and found out that in the garment industry, nobody uses gravity fed irons. Everyone uses boiler-style steam generators. The Rowenta one is not industrial and is definitely made for consumer use. Most of the parts are plastic, as opposed to some of the industrial ones I’ve seen which are all stainless steel and metal. But the industrial ones are really expensive (like, starting at $500-$1000) and plus I like Rowenta. And purple. 🙂 Just look at this sharp crease:
The seam allowances were pressed up. I then top-stitched both of these pieces using my sewing machine, increasing the stitch length to 3. I didn’t stretch the fabric during this step because I wanted to ensure the stitch length stayed even. Sorry, I totally forgot to take a picture at this stage but you will see the top-stitching in a future pic. The top-stitching turned out great, no issues with using a regular machine so far!
Next, I basted the zipper to the front pieces. I normally never baste anything, but this zipper baste was pretty essential, given that #1 it’s a separating zipper and #2 it’s placed on a curve. I hand basted so that I could really control that curve and make sure the zipper stayed flat.
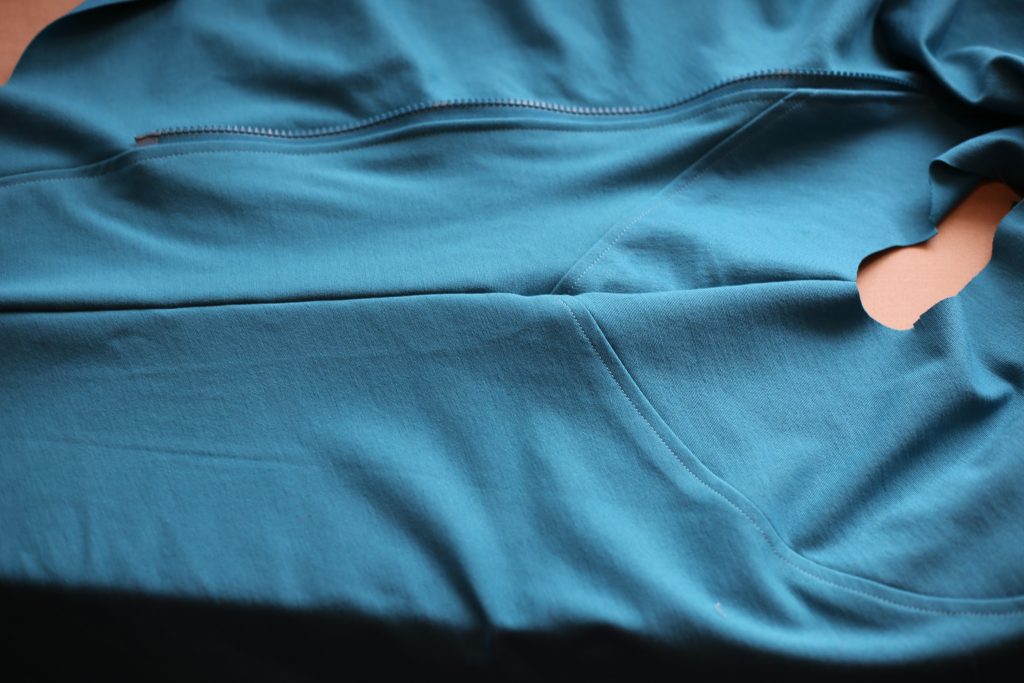
Once the zipper was basted, I clipped then sewed the side front piece to the front piece: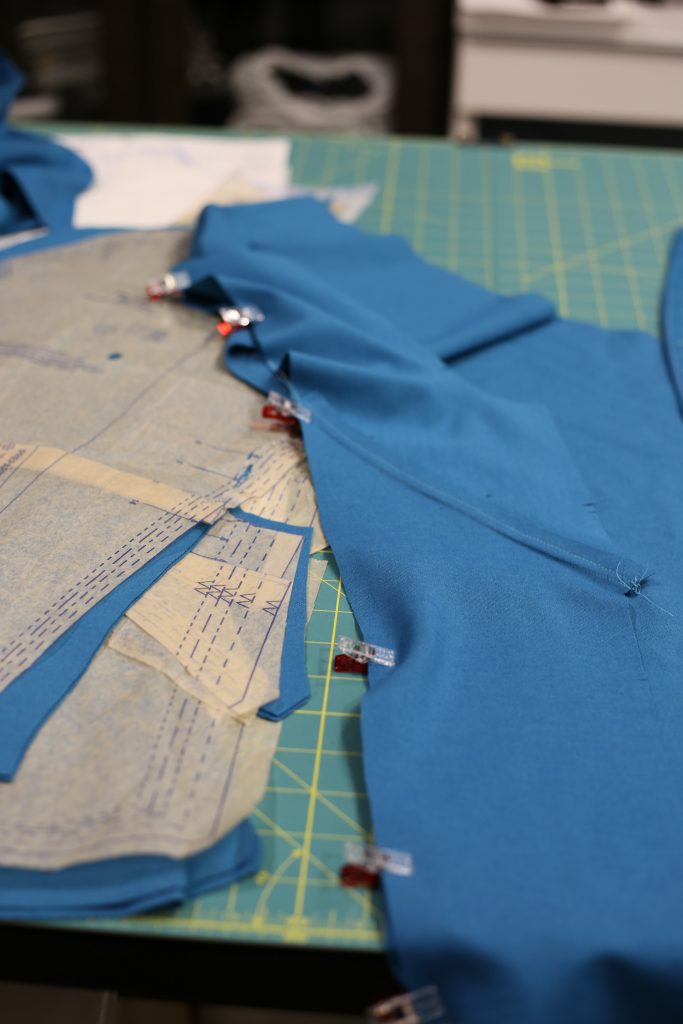
And then pressed the seam allowances toward the side seam and top-stitched that seam: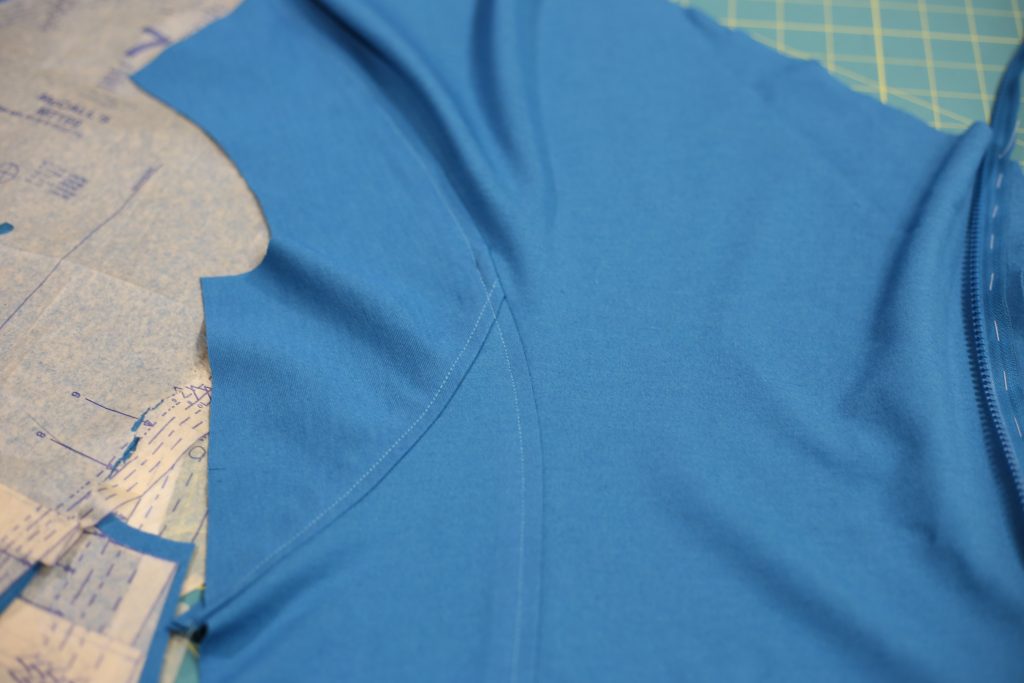
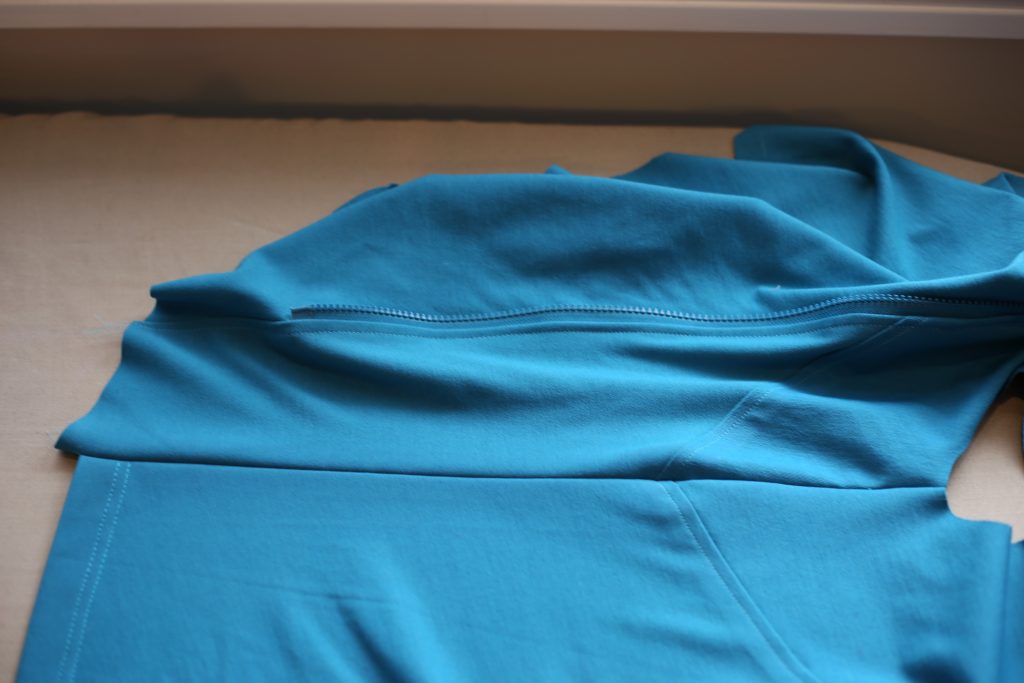
At this point I quickly zipped up the zipper to make sure everything was lining up well and laying flat. Pretty good eh?!
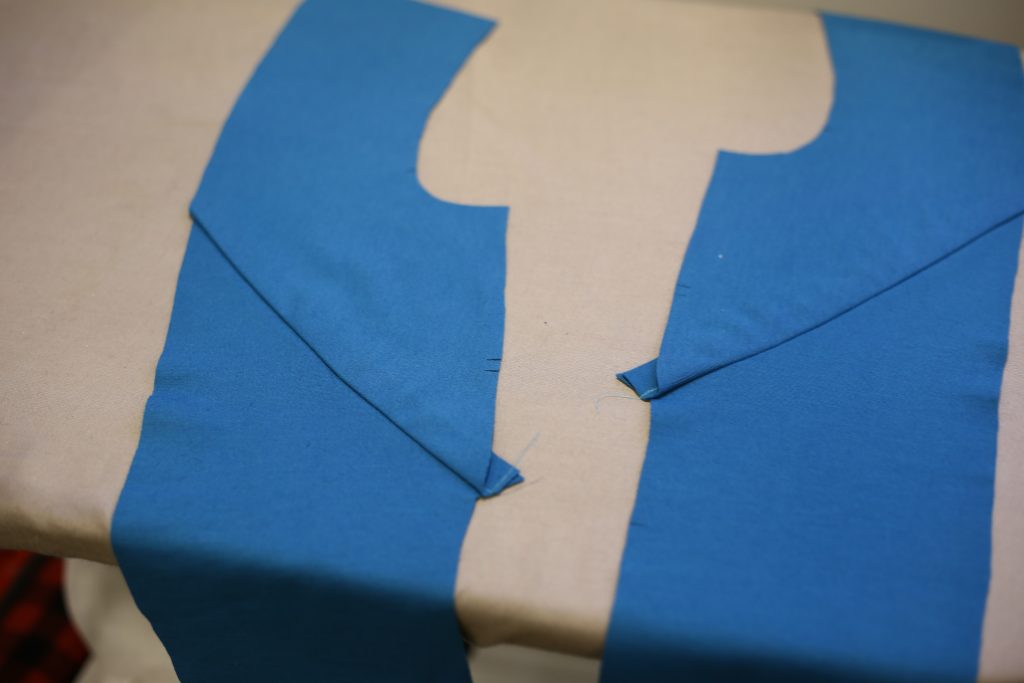
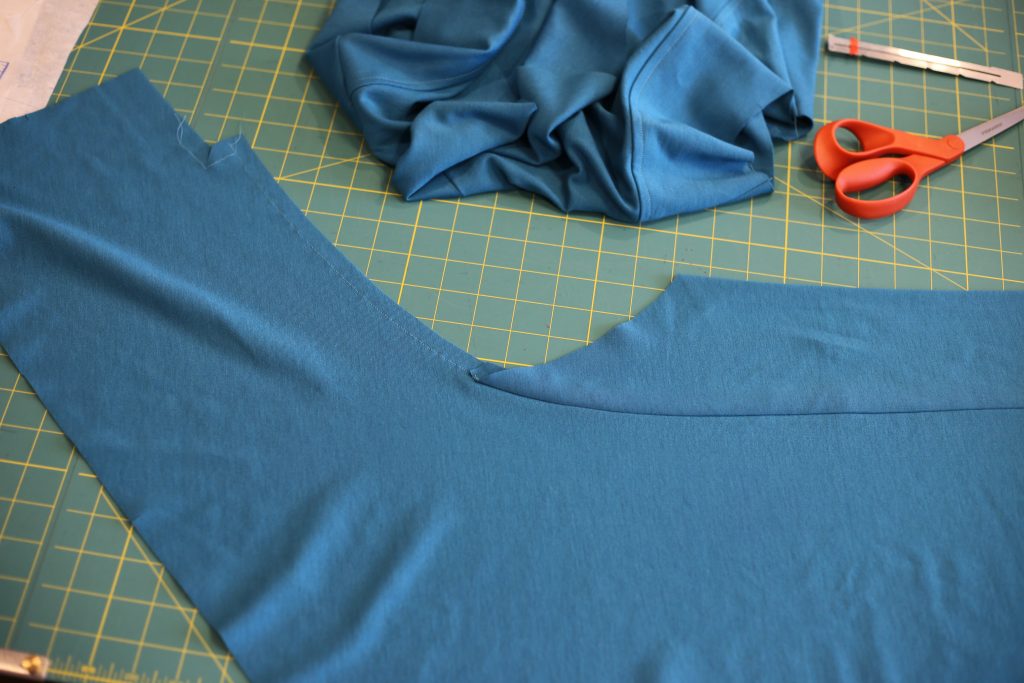
The two front pieces actually extend and attach at the neck to form the collar. At the top of the front pieces there is a little square which later gets attached to the back neck. I stay-stitched these corners before clipping into them:
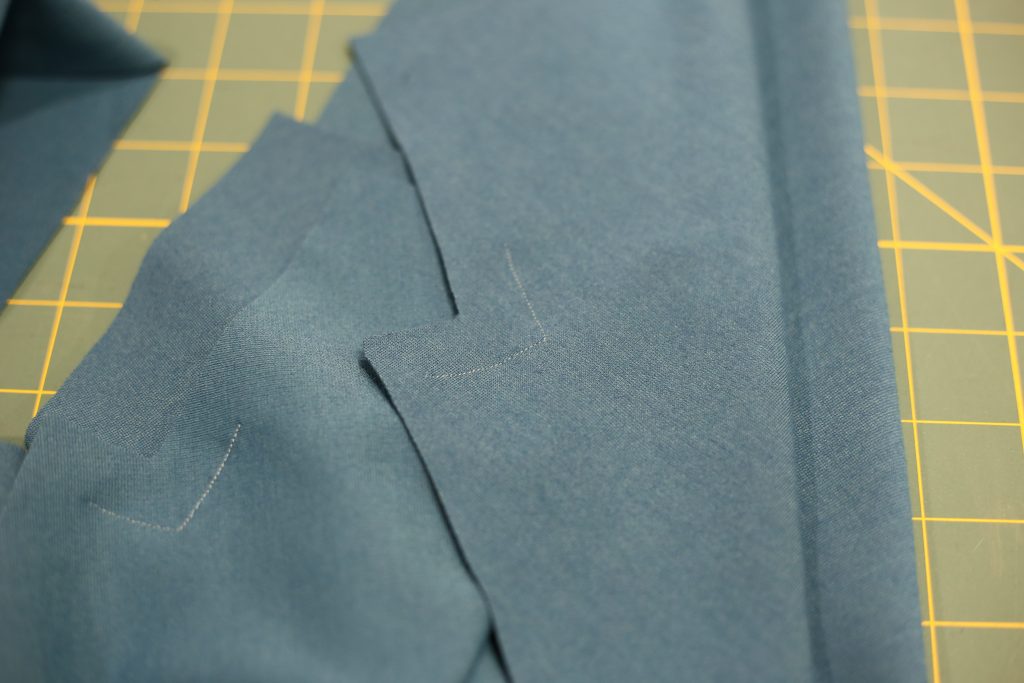
I then sewed the two front pieces together at that neck seam: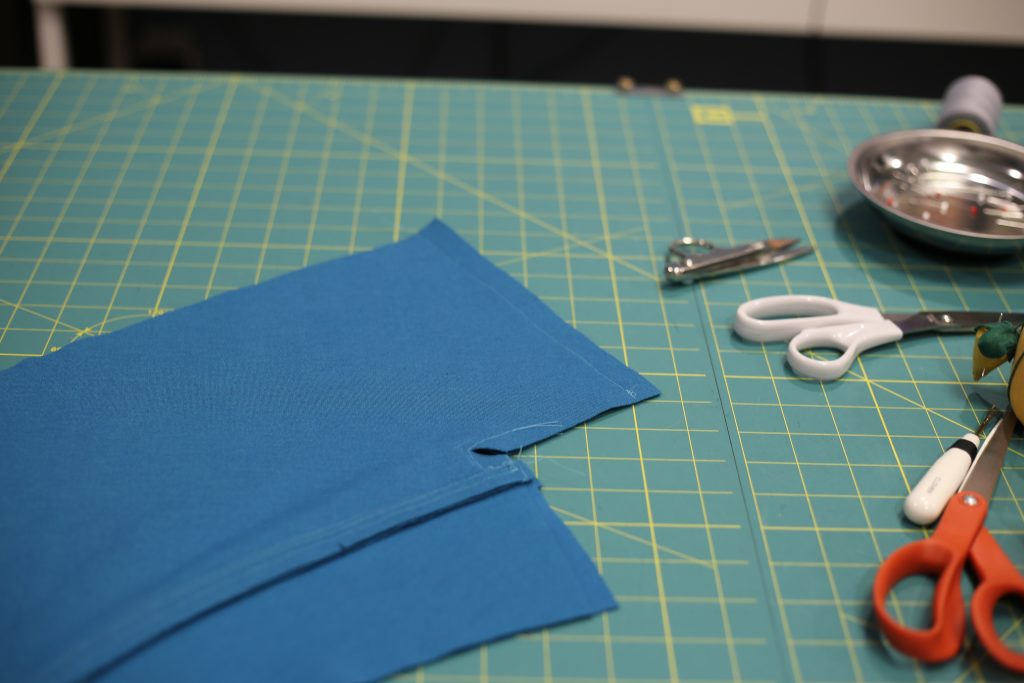
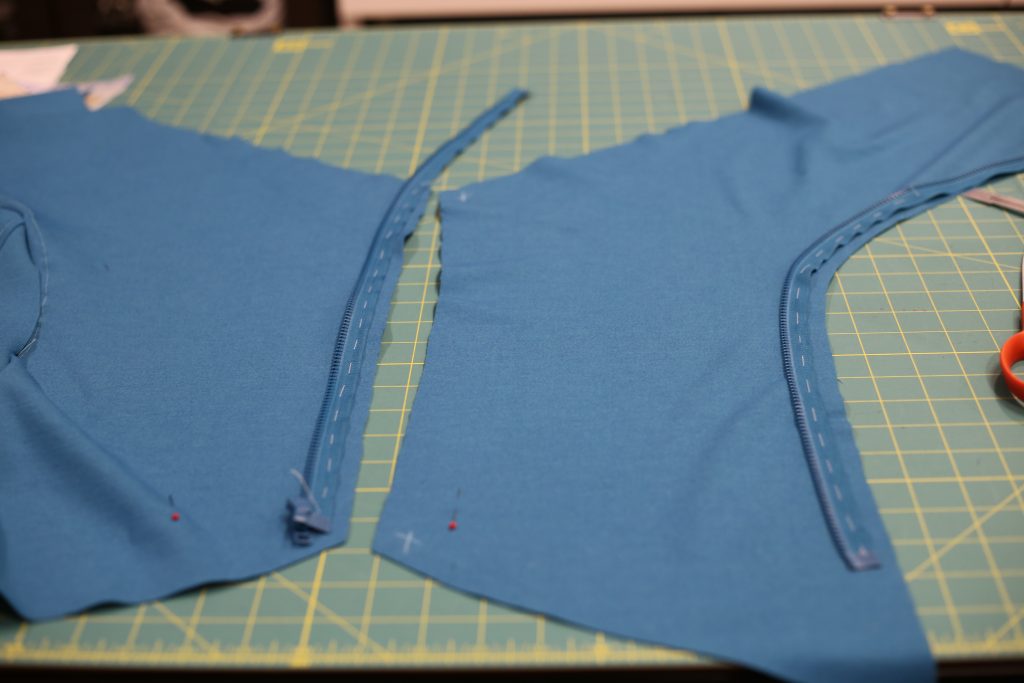
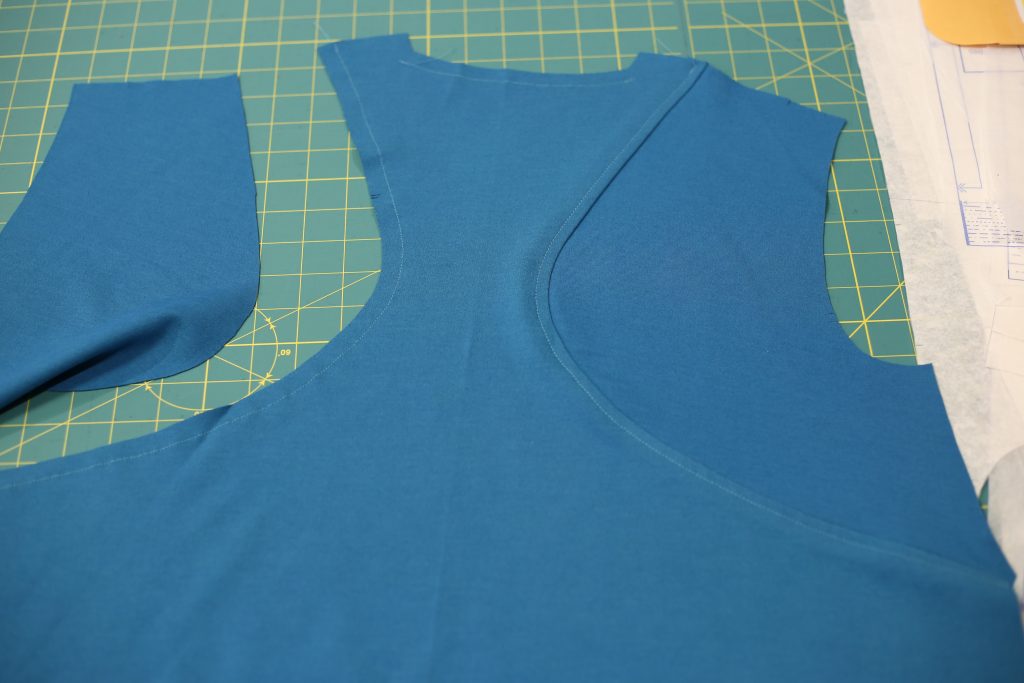
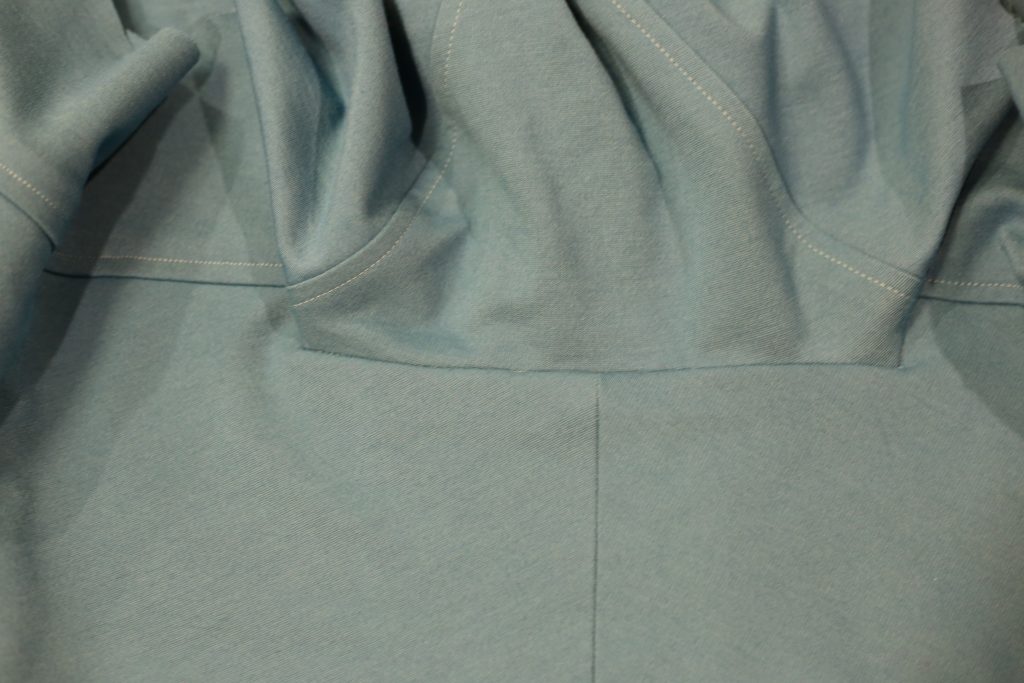
Now for the back! I stay-stitched the back neck and curved seams; this is to prevent them from stretching out over time. Then I sewed the side back piece to the back piece, trimmed the inner (back) seam allowance down to 1/4″ but left the outer (side back) seam allowance at 5/8″, then pressed the seam allowances toward the centre back and top-stitched:
I turned up the back hem by 1″ and used my Baby Lock coverstitch to do the hem. I don’t have a photo here, but you’ll see the back hem in the last set of photos at the bottom of this post. I frikkin love my Baby Lock!! That coverstitched hem is flawless, and I never have tension issues with my Baby Lock like I used to with my old Janome. Plus it has air-threading for the looper. Badass I tell ya.
At that point it was time to attach the shoulder seams and side seams. Here are some more pictures that show why steam is so important when pressing (and may also make you jealous of my Steam Station.) 😉

Next it was time for the facing. The front facing is sewn to the side front facing, seam allowances are pressed towards the side seam and the seam allowance on the side front raw edge is pressed under at 5/8″:
Then, the front facing and front of the garment are sewn together, right sides together, at the centre front and bottom front edges.
At this point, the pattern tells you to hand sew the facing onto the side seam and at the neck edge. No way I was gonna do that – I avoid hand-sewing as much as possible and definitely wasn’t going to do it on a knit garment. Instead, I kind of turned the front inside out and sewed the facing to the side seam by going over the side seam again, then turning it back out. The result is a machine sewn facing!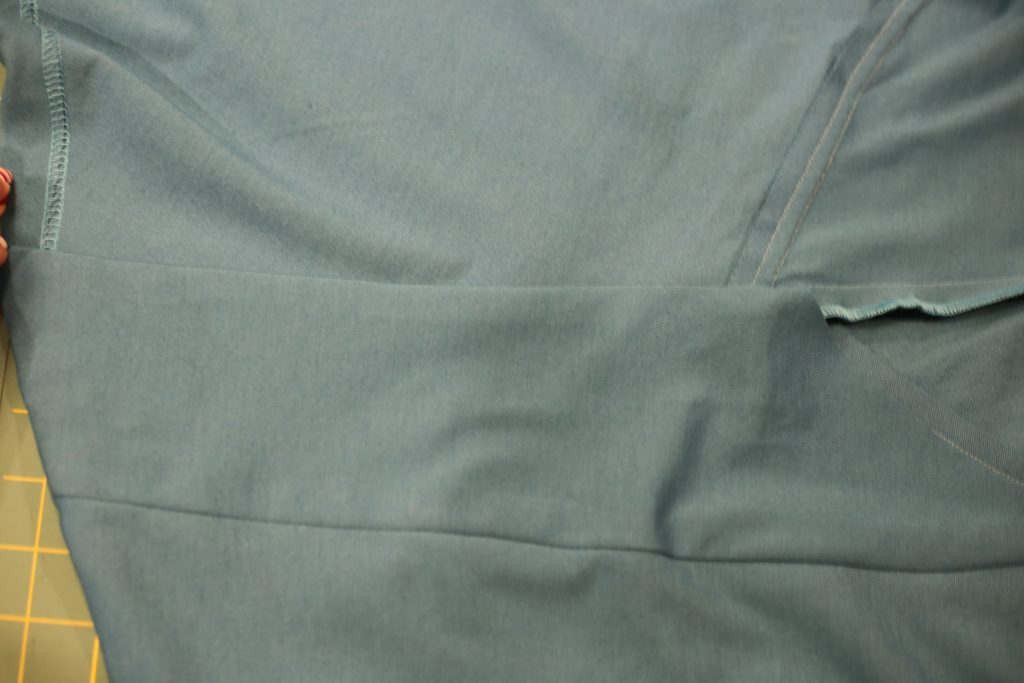
I also serged the facing to the collar to secure them together, rather than hand sewing. I don’t mind the look of serging in a garment like this at all, and it was way faster than hand sewing!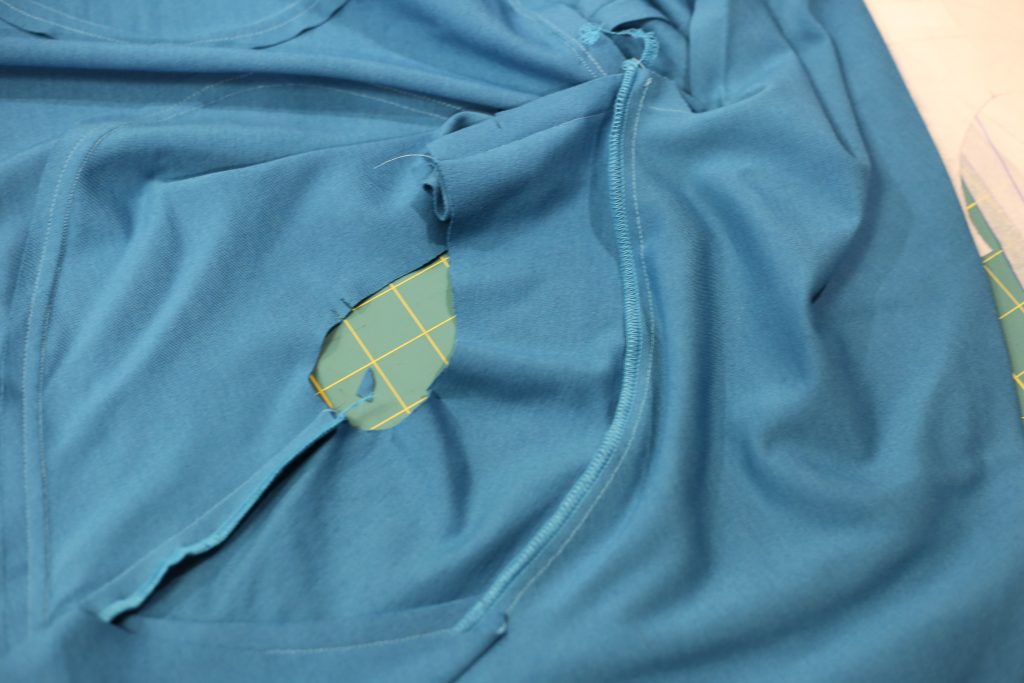
Finally, I pinned down the facing at the back neck and stitched in the ditch to secure the facing to the neck, rather than hand stitching. I dare you to find my seam!
The last step was to sew and attach the sleeves. I was feeling super lazy at this point and just wanted to finish, so I seamed the sleeves with my serger rather than my sewing machine. I did sew the sleeves in, however, with my regular machine. I didn’t bother doing two rows of ease stitching as the pattern calls for because the fabric is stretchy, so I just gently stretched it while sewing to ease in the sleeves. Worked like a charm.
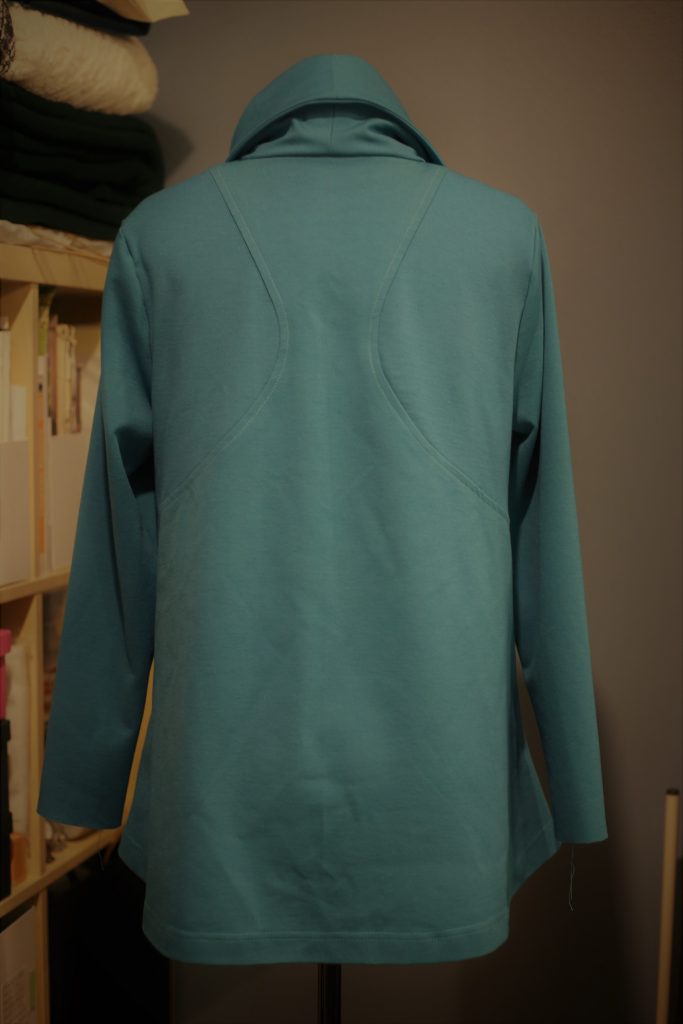
And voila! The finished top:

I am so excited that tomorrow is the 17th! It’s my last week of work before Christmas, which means I get 10 days of uninterrupted sewing time. First I’ll be working on that Clare coat and then I’ll be reorganizing my pattern cork board with my 2019 makes!!!! What are you going to be working on over the holidays??