Hi everyone! Did you enjoy the posts on the tailored blazer? I am actually pretty excited to start a second one with a bunch of mods. I was chatting with the fabulous Niq at Darrell Thomas Textiles (you HAVE to check out his unbelievable costumes and sketching) and he gave me some advice on fitting the next blazer – I’m actually going to try using a stretch cotton or wool to make a slightly more casual and fitted blazer.
However! The next blazer will have to wait until I finish some of my queued projects. The next post will be all about the Clare coat which I’m making in faux fur – it will be my first time using faux fur, so expect another tutorial-type post.
For this post, I want to share a make that I actually mostly completed last year but has been languishing in my UFO pile waiting on hems. (UFO = Unfinished Object = bad Anokhee… or possibly distracted Anokhee? My goal is to get through the entire UFO pile this year!)
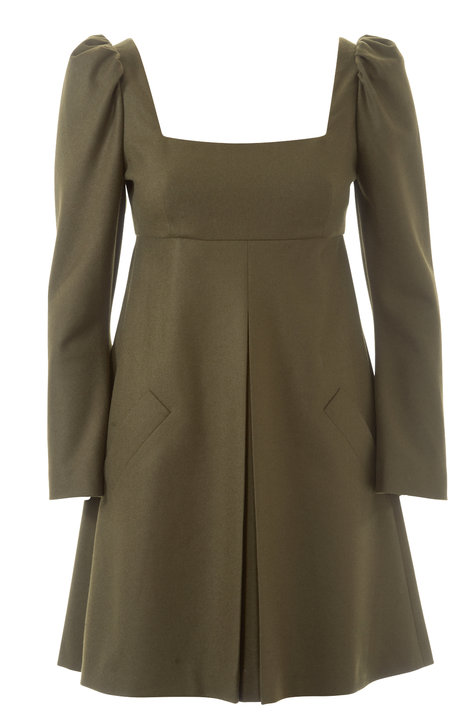
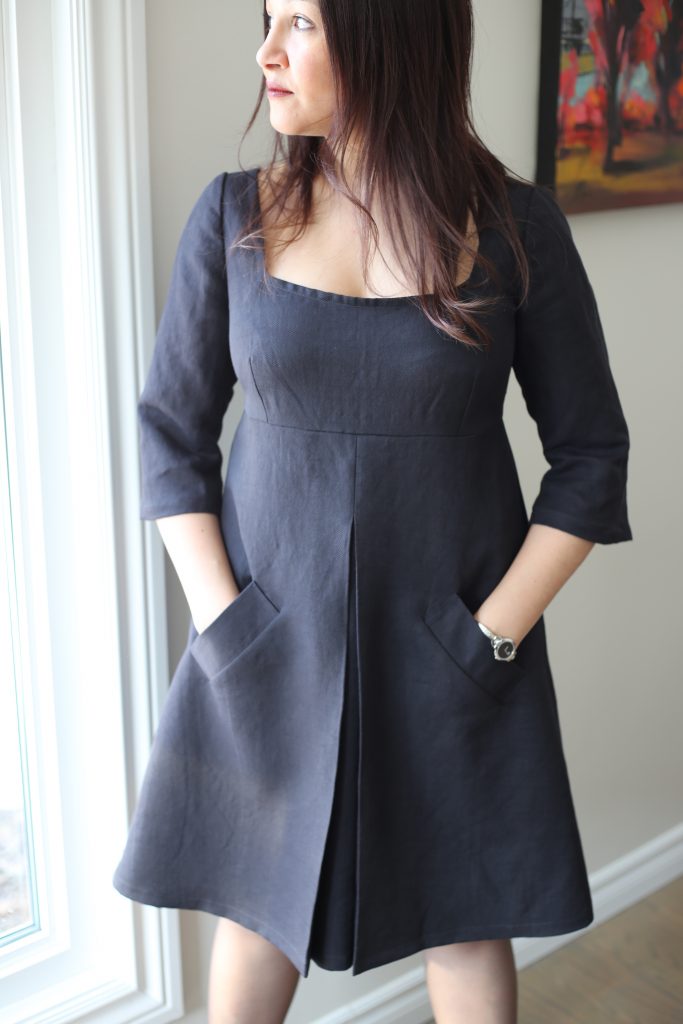
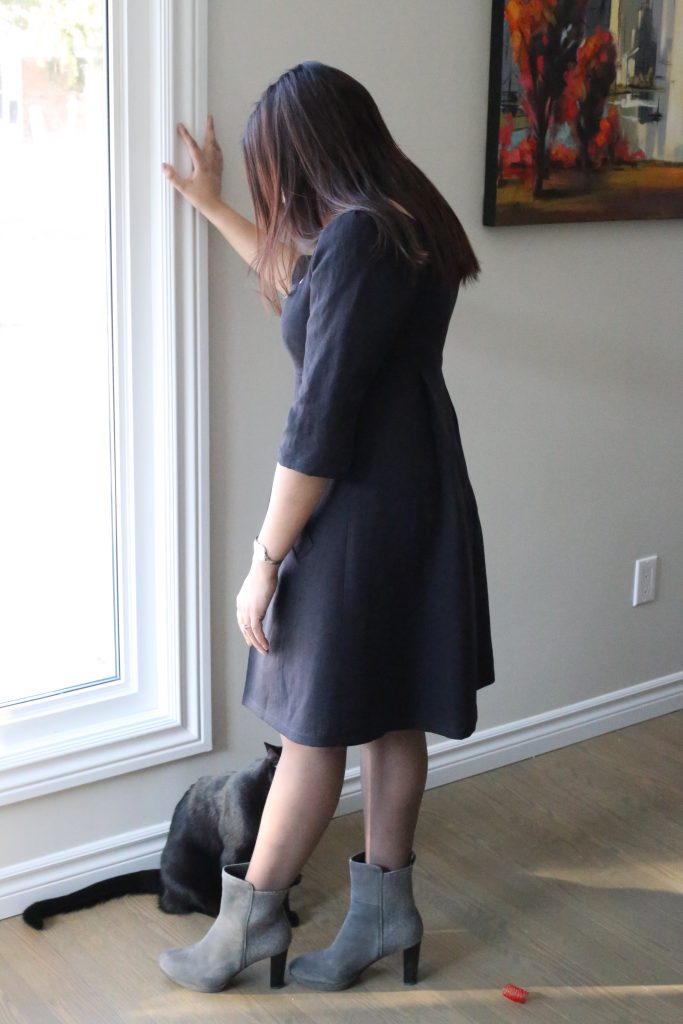
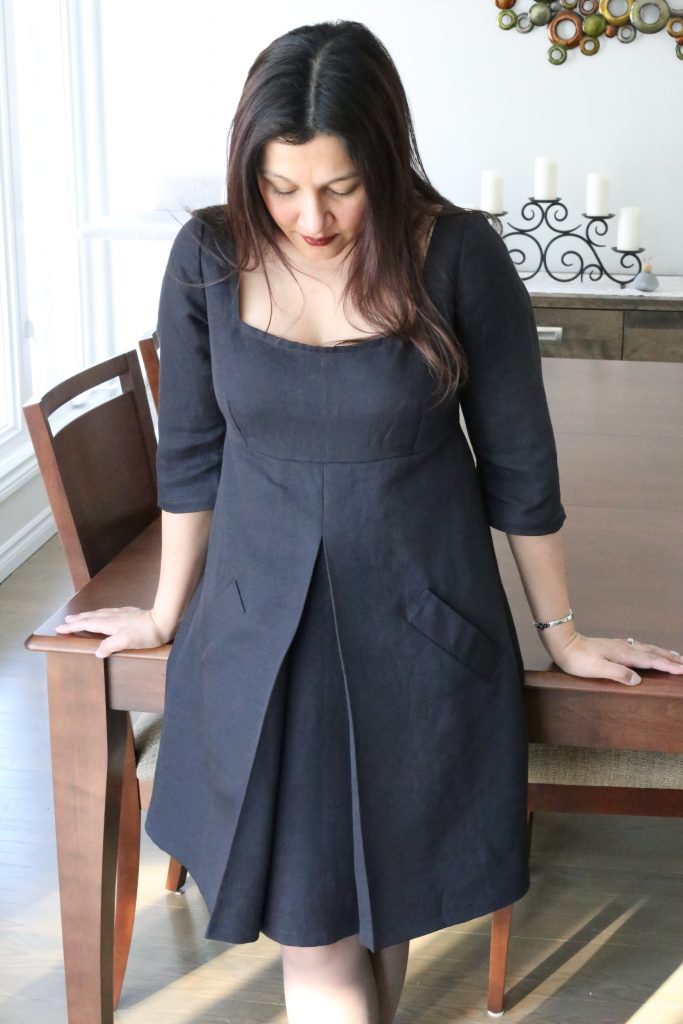
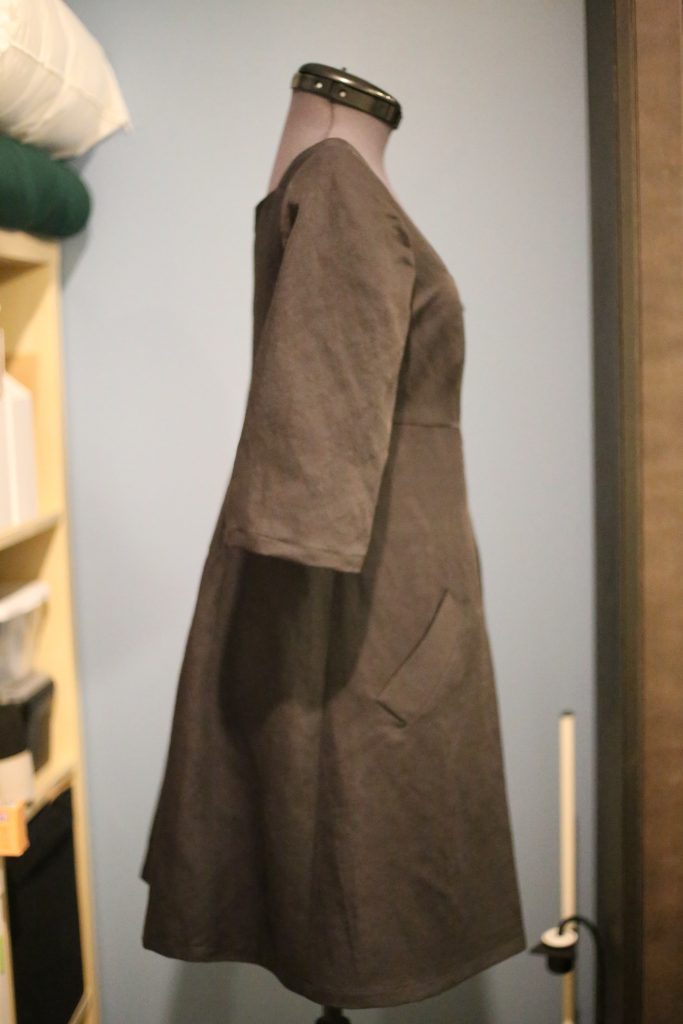
This dress is the empire waist dress from the December 2014 issue of Burda (Europe) magazine, look 127A. You can buy it as a PDF download from Burda USA, or you can track down a copy of the old magazine which contains quite a few nice patterns! I made this dress almost identically to the image above, but with two mods. I’m not crazy about the poofy sleeves so I eliminated the fullness. I also shortened the sleeves to 3/4.
I didn’t take photos during the early construction phase, but basically I followed my normal process of picking a size (in this case based on bust measurement), making a muslin, fitting the muslin to myself, altering the pattern, then cutting out my fashion fabric. The pattern suggested to line the bodice only, but I actually lined the skirt as well. The material I used was slightly drapey and I wanted to add just a bit of body to the garment. I love how the version above actually maintains its A-line shape.
I did something I have never done before, which is to line the bodice but not the sleeves. After setting in my sleeves via a basting stitch, I used my serger to sew the sleeve in, attach the lining to the sleeve, and trim the seam allowance to 1/4″ all at the same time. It’s a really clean finish! I’ll be doing this again!
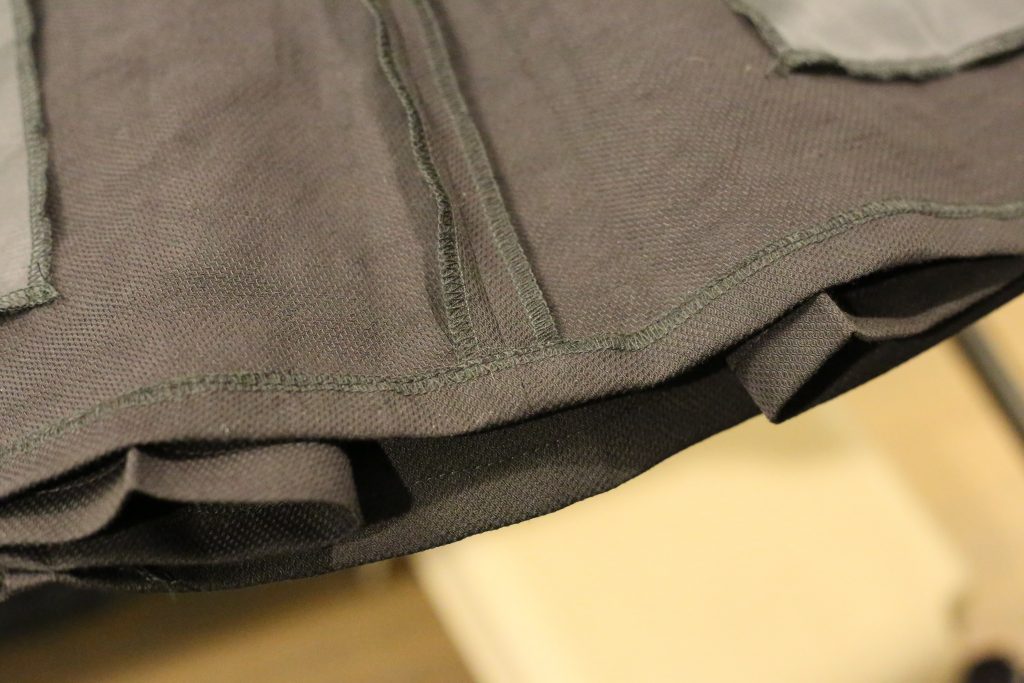
Let’s take a look at one of the highlights of this garment: the welt pockets. Remember I mentioned during the blazer post that I decided to skip welt pockets but that I have done them before? I wasn’t lying:
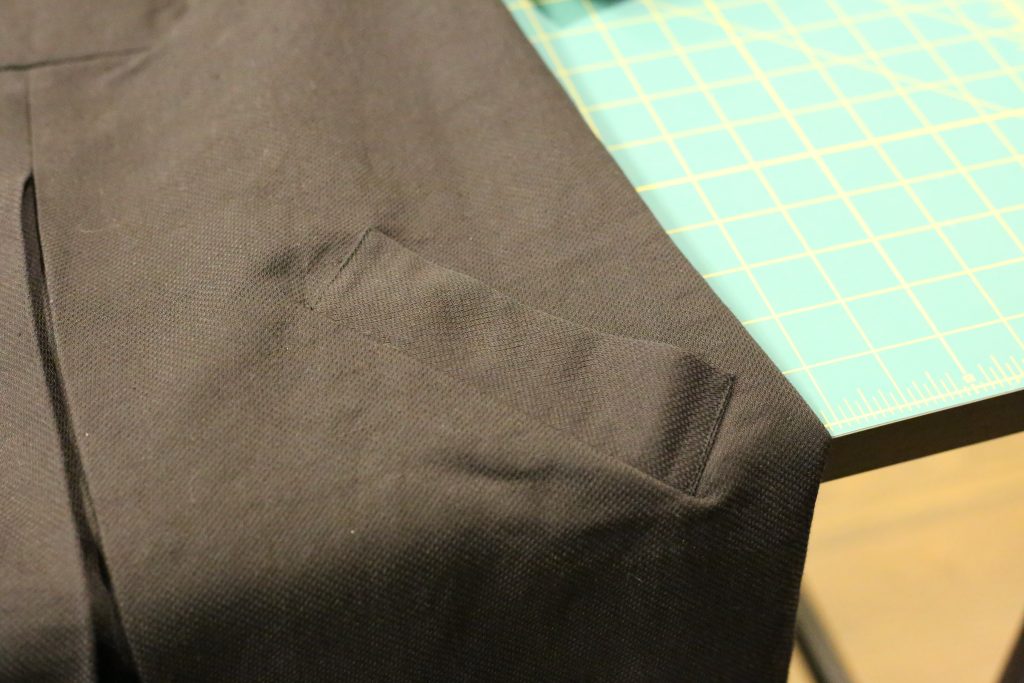
In order to put in welt pockets, you have to literally put a slice through your garment. Scary – yes! The pattern instructs you to do the welt pockets first which makes sense not only from a construction perspective, but also ’cause if had screwed them up I could have chucked the whole thing in the bin and moved on with my life. Fortunately it didn’t come to that – I actually think my welt pockets turned out great! If you want to learn about putting in welt pockets, please see my discussion in the Blazer Part 2 post.
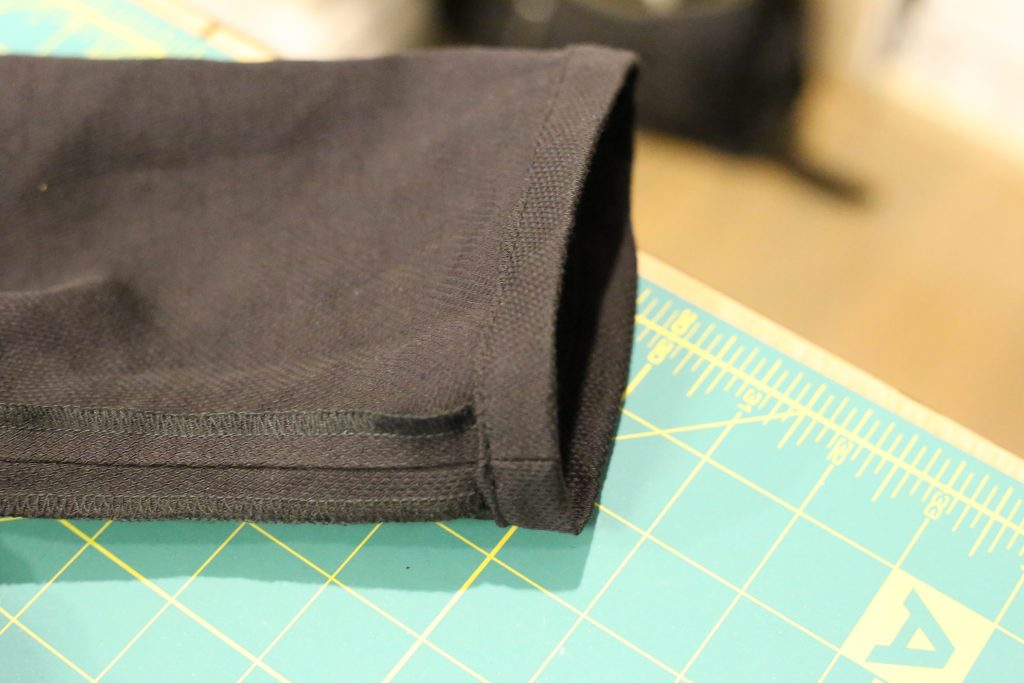
I had wonderful intentions to finish my hems with a new technique. I have never used hem tape before, and I thought it might give the garment a very pretty look. You can check out the hem tape and lace hem tape finish on Colette’s awesome tutorial post on finishing hems. When I retrieved this dress from my UFO pile and took a second look at that hem tape, I decided “Meh. Too much work.” I promise I’ll use it in the future! For this dress, I stuck to a simple double turned up hem on the sleeves, and a serged and single turn up on the skirt:
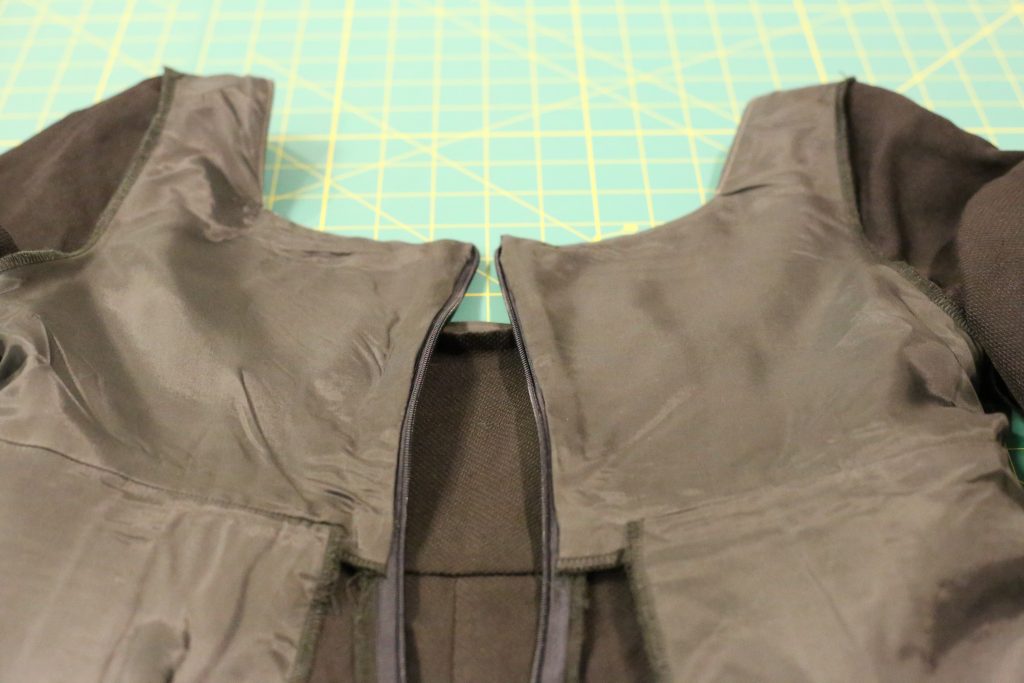
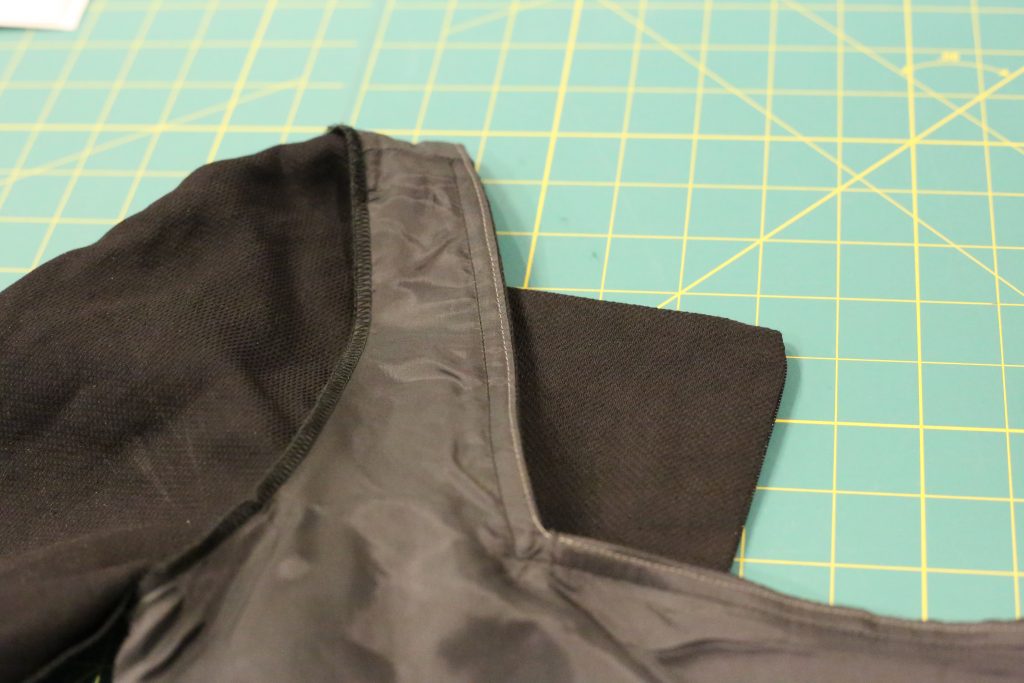
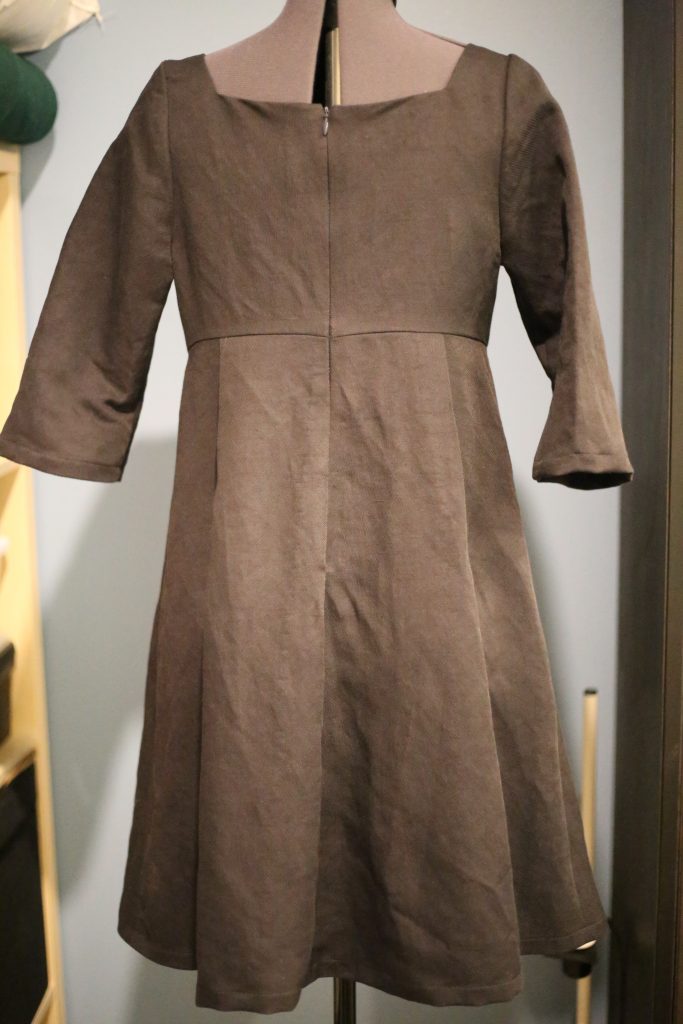
By now I’m sure you’ve heard me talk about invisible zippers ad nauseum, so I won’t babble on. Here’s the one in the back of this dress: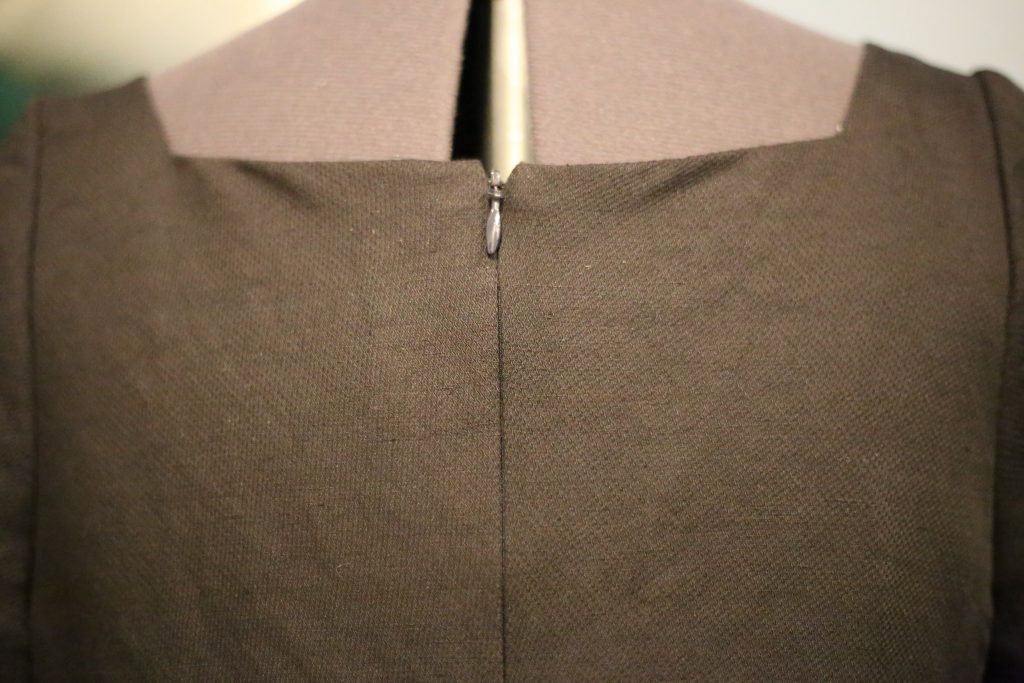
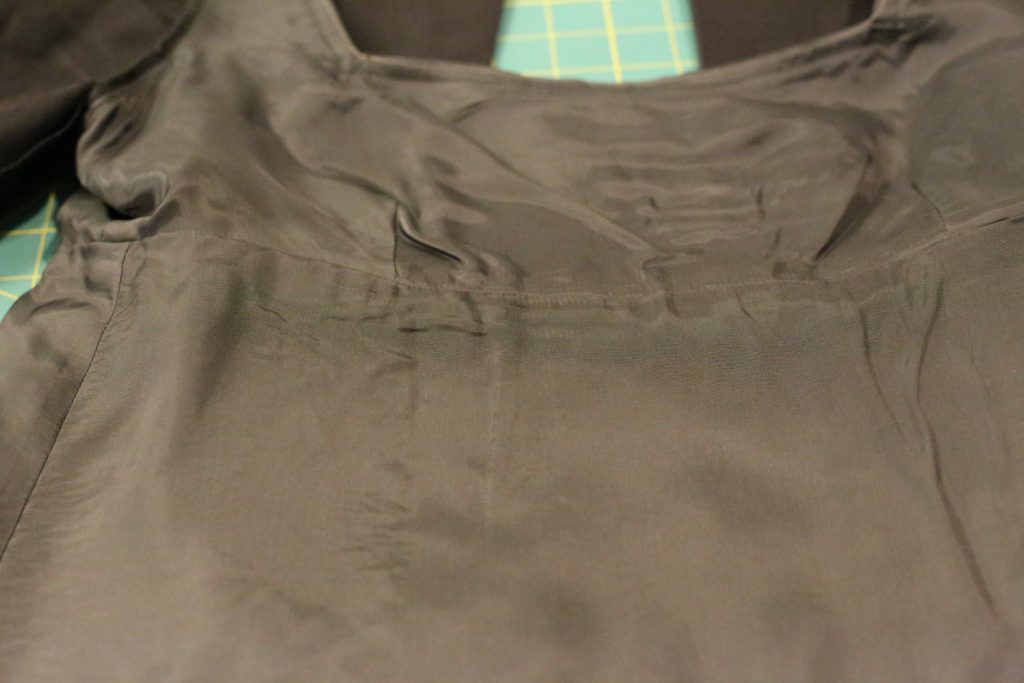
Last thing I want to talk about is this square neckline:
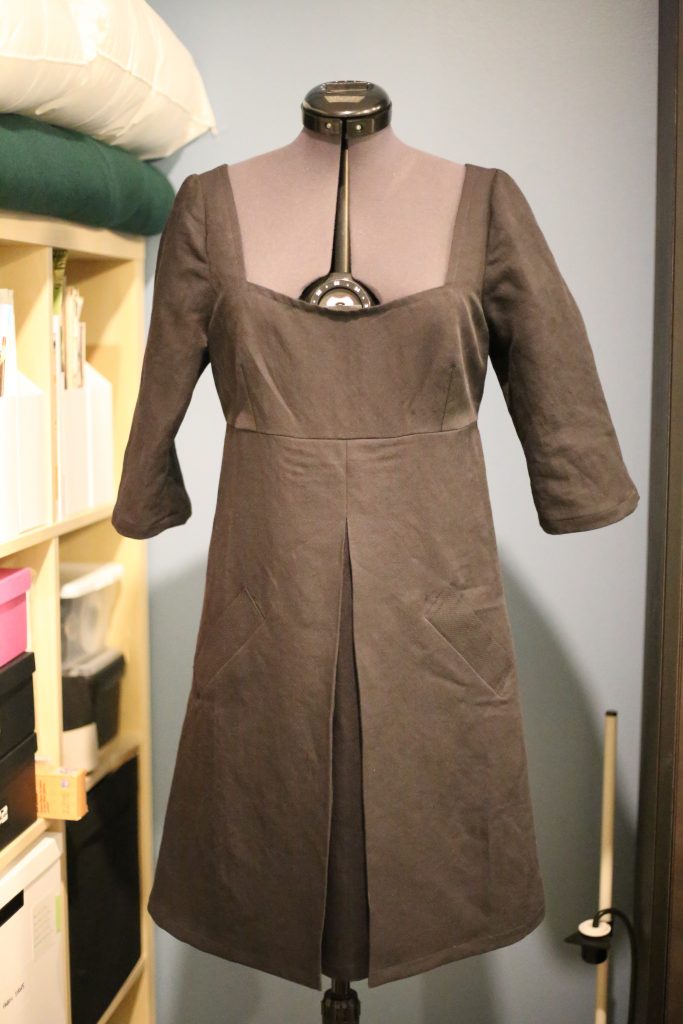
When I sewed the neckline, I understitched the lining so it would roll inwards nicely. However when I put it on, the lining was trying to escape to the front. To prevent that, I decided to topstitch all the way from one shoulder to the other, along the square, to hold the lining to the dress and prevent it from rolling outwards. In this picture above, it clearly looks like I’ve stretched out the neckline in that process but when you see the dress on me, you will see that it is completely fine. I will post a photo of me in the dress tomorrow, so keep an eye on Instagram! Not only will it look less wrinkly, it will also hopefully look navy and not this weird khaki colour I seem to be getting in the photos in my sewing room!
Have a lovely evening everybody, and before I go HERE IS THE BIG NEWS!!! I will be showing my first mini-collection in a fashion show in Ottawa this spring!!! Please follow me on Facebook where details will be posted soon!
UPDATE: Here are a few photos taken with my awesome Canon 6D camera. See, I told you – the dress is navy!