
Happy New Year! Man, I’m really very sorry about the significant lag in blog posts. 2016 was a bit of a tough year due to family illness, and I also got massively busy at my day job. Anyway, moving on… so here we are in 2017! I’m one of those people who loves to plan and set personal goals for the year, and I spend a significant amount of time in late December reflecting on the year gone by and laying out the plan for the new one. This year, my theme is “nurture” and my biggest goal is to nurture my passion – which means a heck of a lot more time sewing and blogging about it!
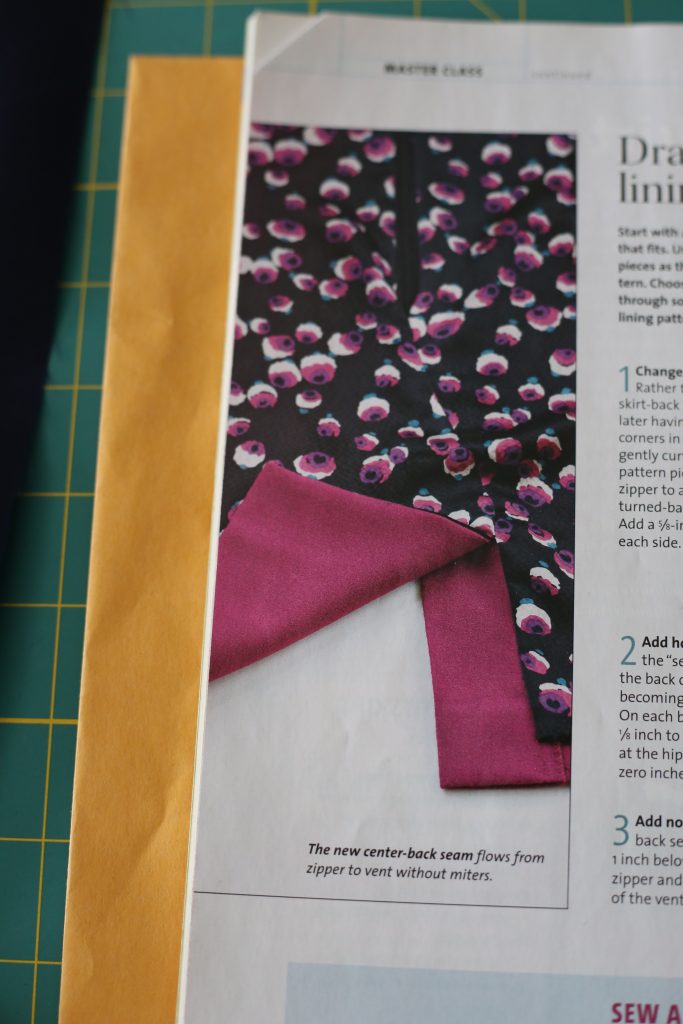
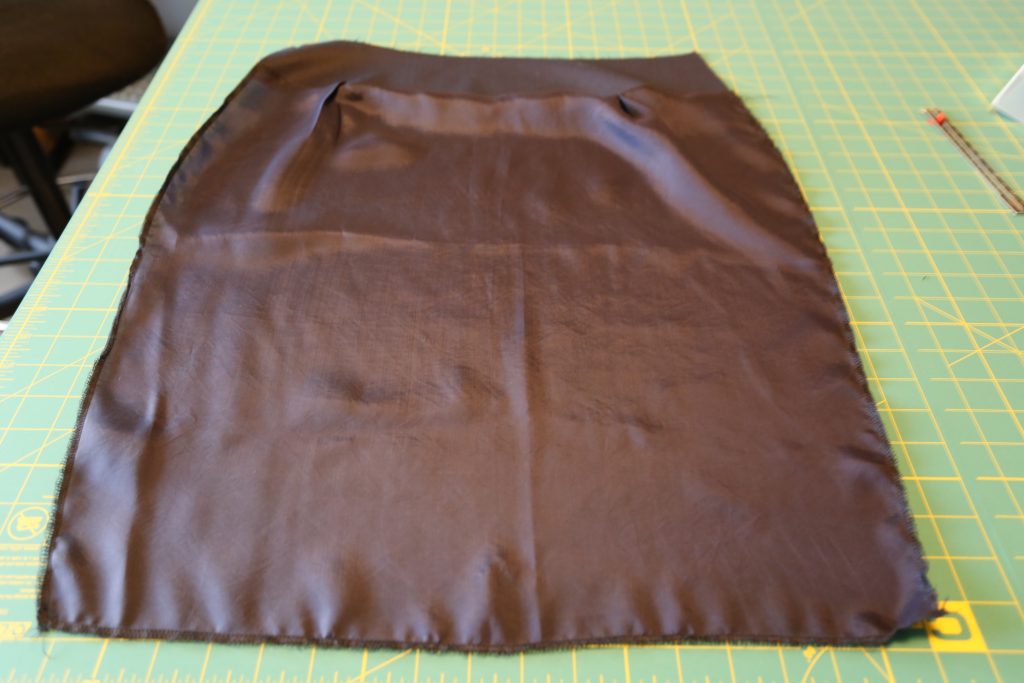
In this post, I want to talk about lining a skirt with a back vent. When you have a vent, the lining will often be visible when you walk. Therefore, I think it’s important that the lining is put in as elegantly as possible! I recently tried the method outlined in Threads Magazine issue 150, from September 2010. This Master Class was written by Annalisa Tay. Look how pretty!
I also discovered that Sunni Standing of A Fashionable Stitch has posted an almost identical process to the one I’m outlining below on BurdaStyle. Sunni’s tutorial is accessible to anyone on the internet and has some great pictures which I’ll link to below, so if you don’t have this particular issue of Threads then you can also check out her post.
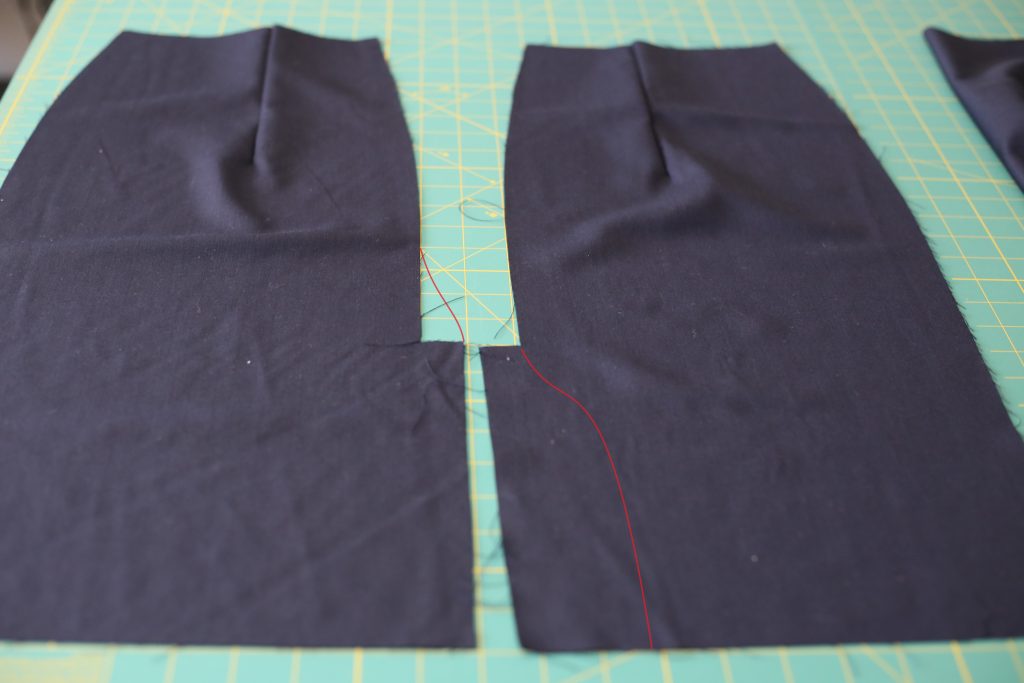
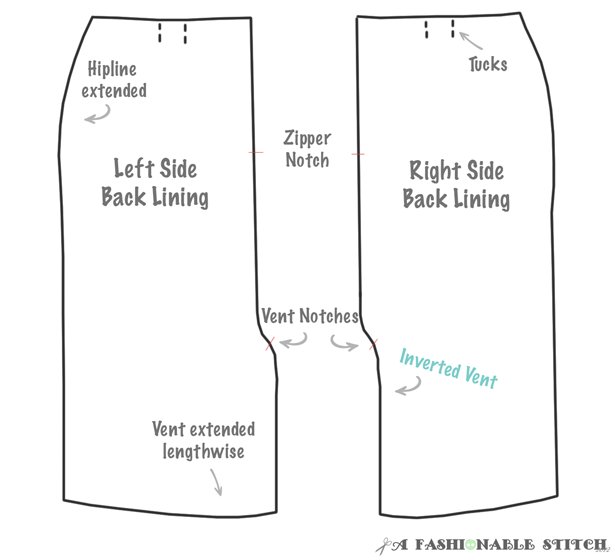
Step one is to alter a basic lining pattern. Start by taking your skirt front and back pattern pieces and tracing them out (so you can modify them to make the lining pattern). Make two back pattern pieces, a left and right because each pattern piece will be different. Next, modify the area around the vent to create gentle curves on the back pattern pieces as seen below (red lines).
For step two, they recommend adding a bit of horizontal ease by adding about 1/8 inch at the waist and 1/4 inch at the hips on the side seams on all three pattern pieces.
Step three is to add notches to the back pattern pieces 1 inch below the bottom of the zipper and 1/2 inch below the top of the vent edge. These notches will be transferred to your fabric to allow you to line up the centre back accurately for sewing.
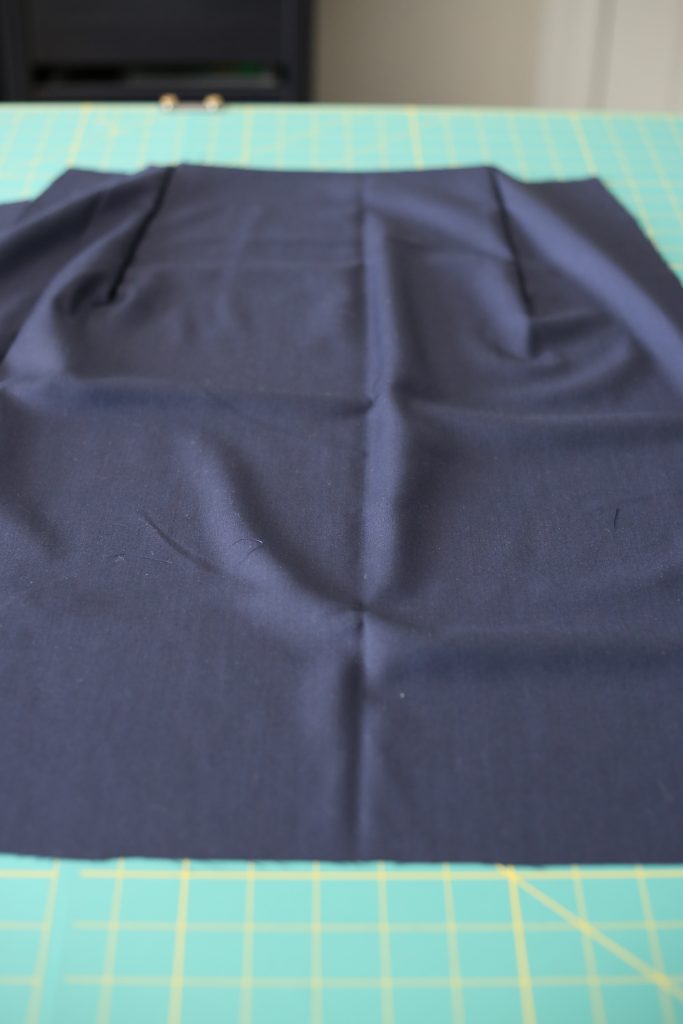
I found the next step very interesting. For step 4, you are going to add vertical ease by dropping the hemline at centre back and smoothing out the hemline with the rest of the pattern. Cut a horizontal line in each back pattern piece about 6 inches long, 3 inches below the bottom of the zipper. Then cut a vertical line to the bottom of the pattern, which will essentially have you cutting out a rectangle from each back pattern piece. Drop each rectangle 1/2 inch from their original positions, tape it back together and smooth out bottom hem by creating gentle curves. The finished pattern pieces will look something like this:
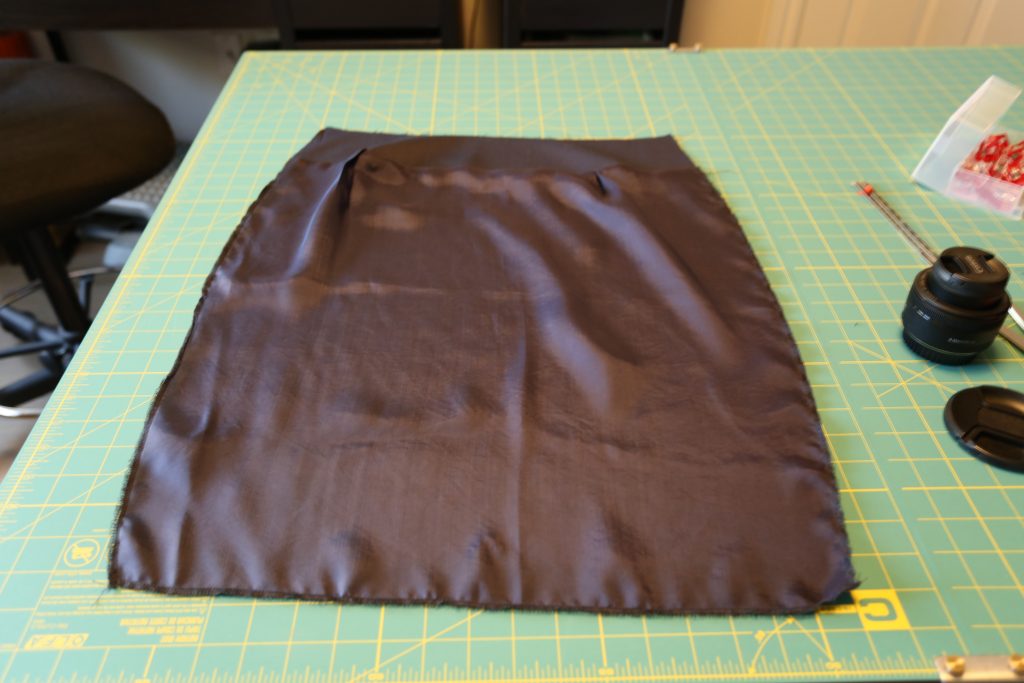
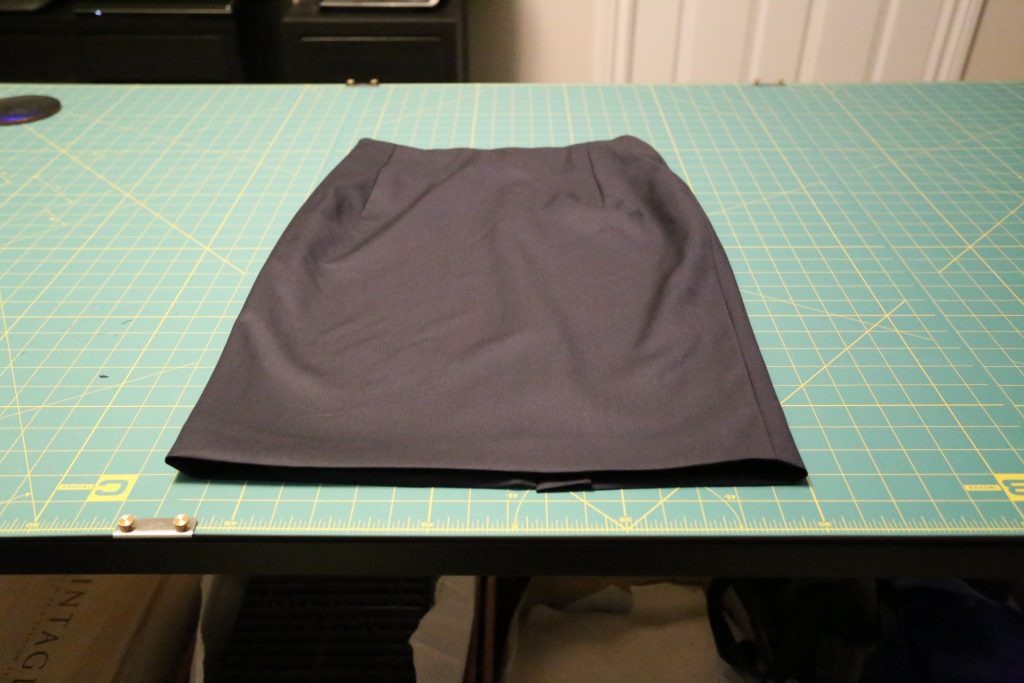
 So! The hard part is done. Now you can cut your lining pieces using your new patterns.
Next comes skirt assembly. I personally always use facings and attach my linings to my facings, so my first step was to assemble the facing-lining units:
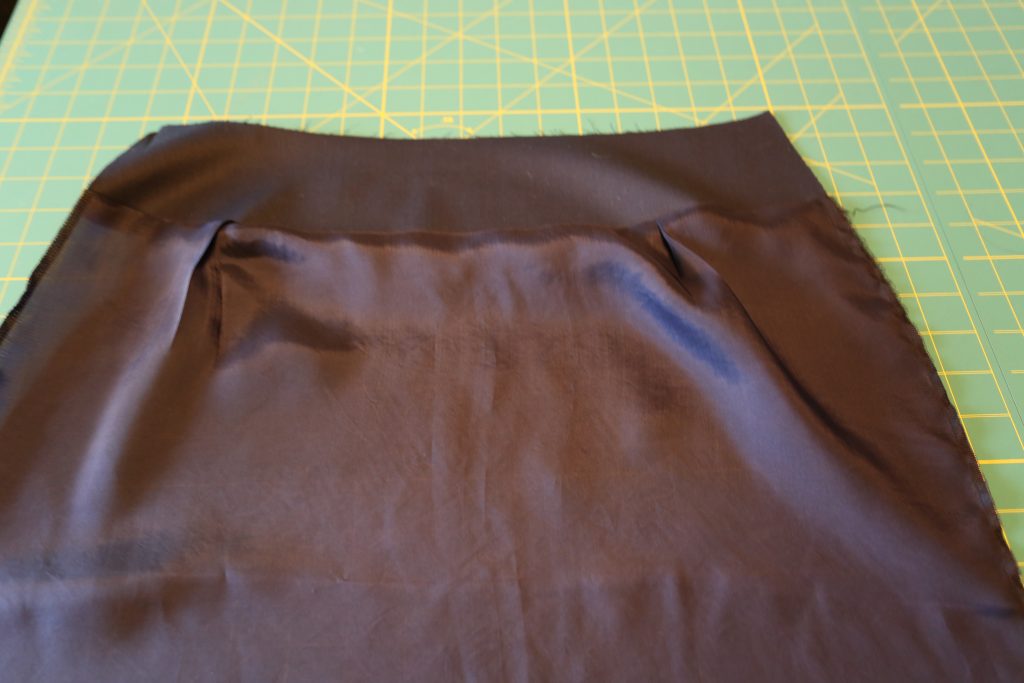
I did the same to the back pieces. Next (let’s call it step two), I assembled the skirt shell by sewing all the darts front and back, and then step three I inserted the invisible zipper. No pictures because hey – you already know how to do that stuff right?! Okay, okay, just one picture:
For step four, it is suggested to sew the back lining pieces together at centre back (just up to the zipper stop point) and attach the back lining pieces to the back skirt pieces by attaching to the zipper tape. Sorry I don’t have more pictures of this while in progress:
So at this point you will not have sewn your side seams, and you will not have actually attached your back skirt and lining/facing units at the waist. This is going to feel really weird to those of you who have followed most commercial patterns for skirts with linings! Stick with it, because the end result is worth it!
Step five! Sew the lining to the skirt at the hem. The fact that this lining is actually sewn to the skirt is what makes this technique so different. If you have done linings for skirts or dresses before, you know that typically the lining and garment are hemmed up separately. Occasionally you might see instructions to tack the hem to the skirt at the seams, but it’s not very common to see a partially attached lining like this. This step actually has many small steps which I will outline below, but if you’re visual like me then it may be useful to see this technique in action. There is a nice YouTube video that demonstrates this part well.
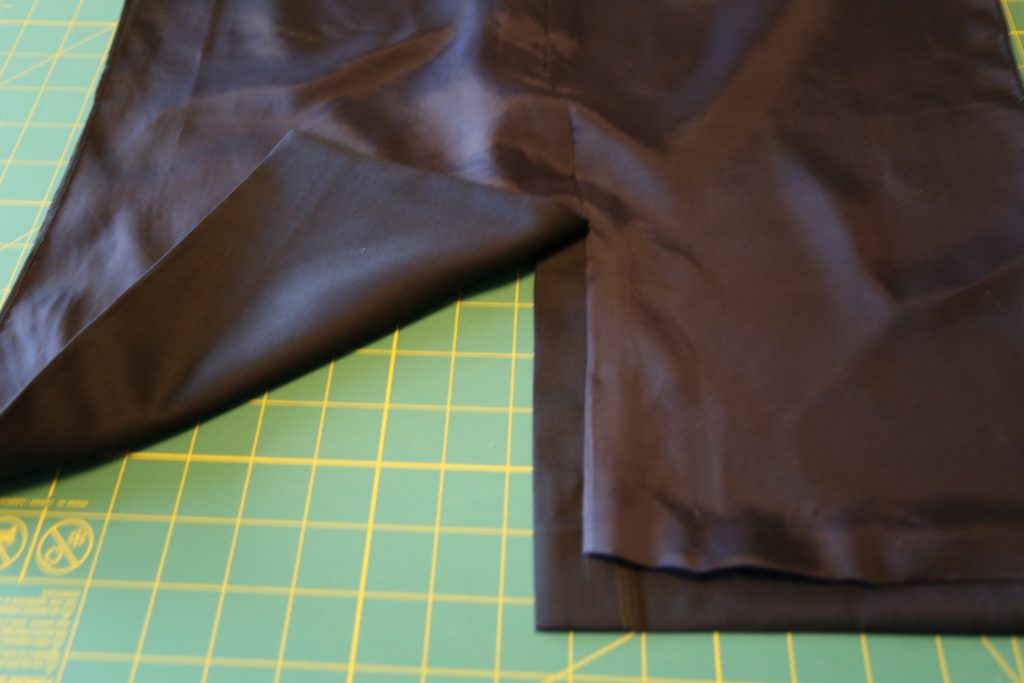
- Sew the lining to the vent underlap, right sides together and 3/8″ seam allowance. Be sure to match notches.
- Sew the lining to the vent overlap, right side together and 5/8″ (or normal for your pattern) seam allowance.
- Align the lining hem edge with the skirt edge; sew using 3/8″ seam allowance. Sew across the full width of the front and right back panels from edge to edge.
- On the left back, sew from the side to 1″ from the vent edge.
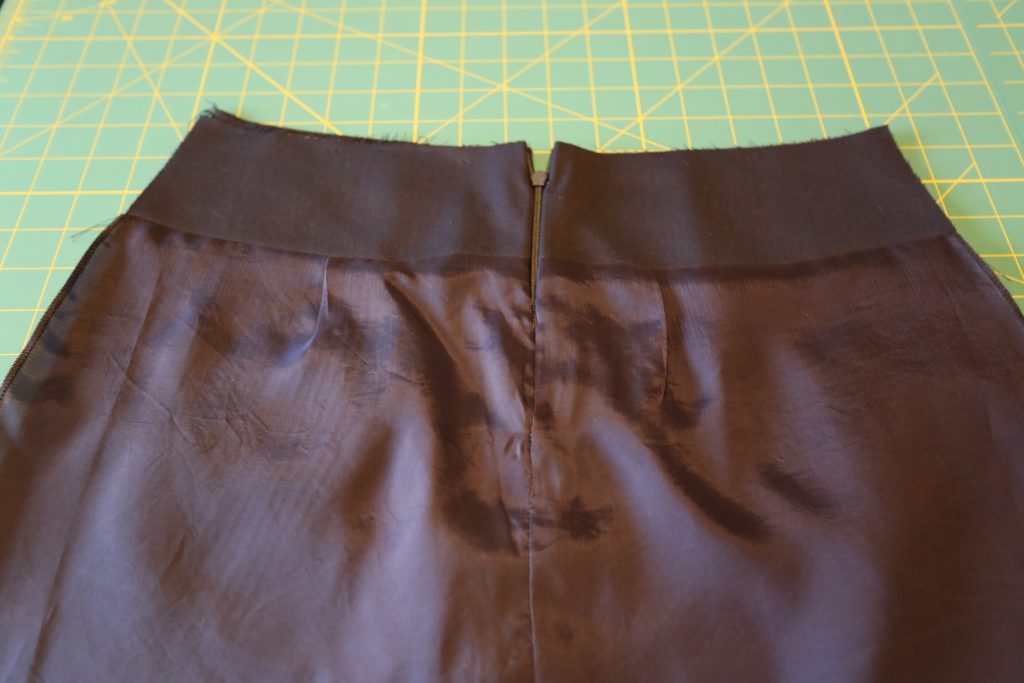
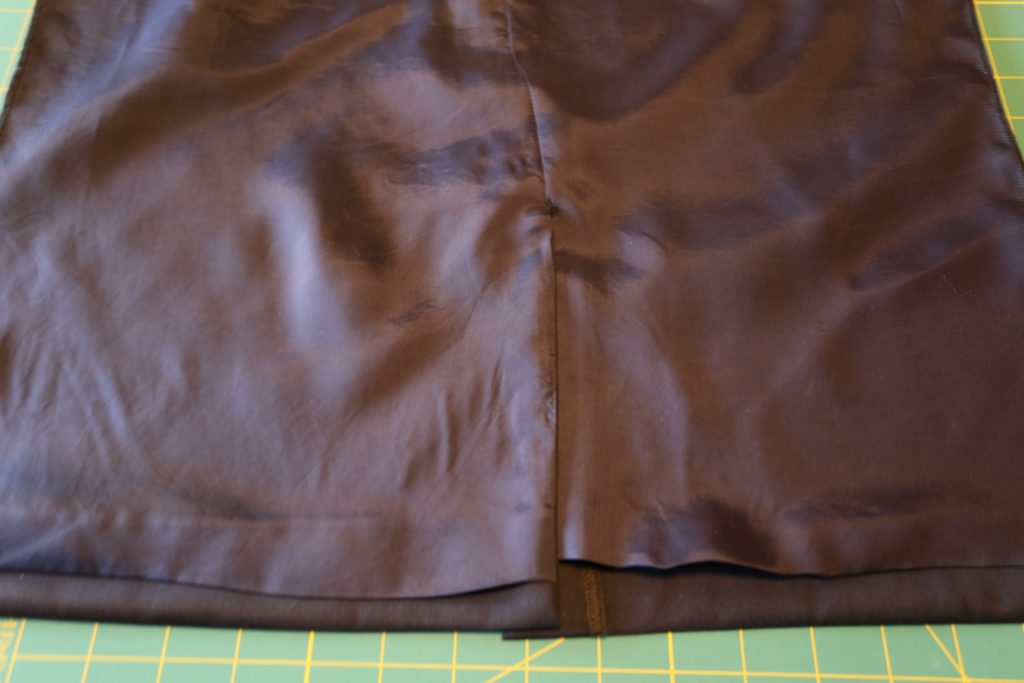
Step six is to sew the side seams. Match skirt seams right sides together and lining seams right side together, then sew in one continuous line from the skirt waist all the way through to the lining waist.
Step seven – finish the waist seam by putting the facings and skirt right sides together. Sew. Don’t forget to edge stitch to keep the lining from rolling outwards!
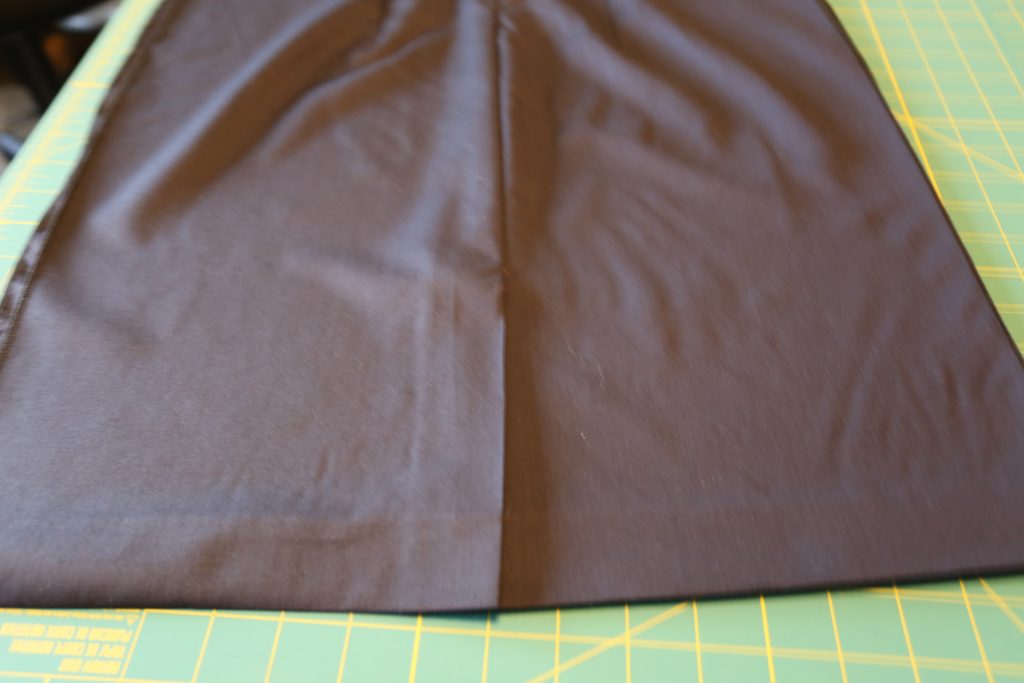
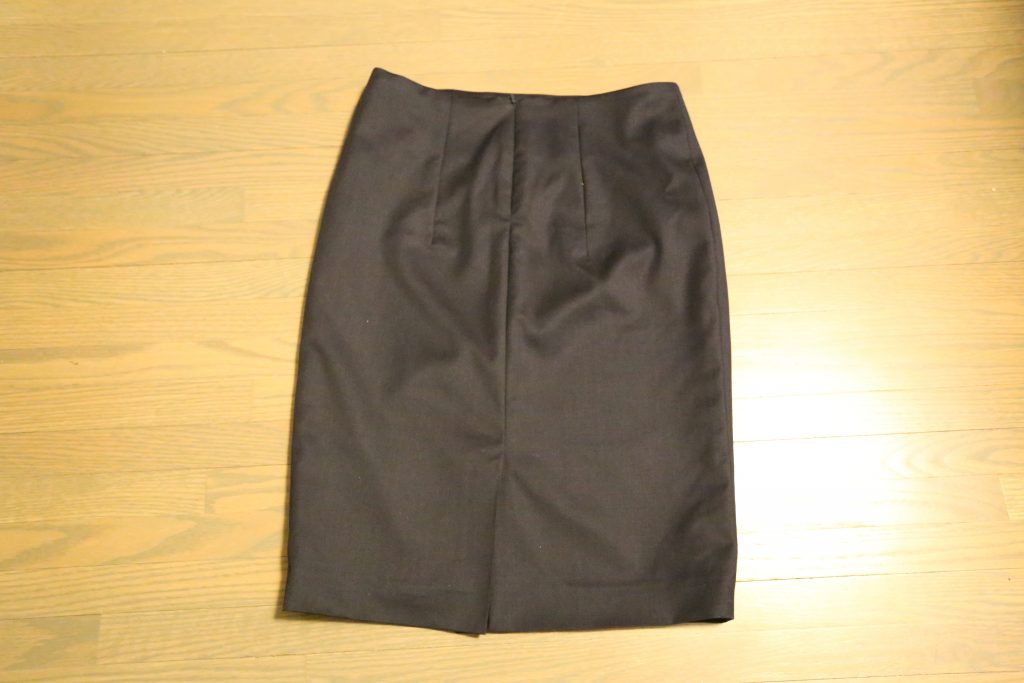
Step eight – do a final press. You should definitely have been pressing each seam as you completed it, so this final press should just be the waist and any final pressing to make the garment lay flat and look polished. And voila! A gorgeously lined vented skirt:


I hope you enjoyed this post! If you have questions, please let me know and I’ll do my best to answer them. Comments welcome as well!