
Hey hey, party people! I just had to use that intro….my new favourite vlogger starts all her videos with that line and since I’ve binged watched them this week, the line is stuck in my head. 🙂
I have had an interest for several years now to work on fashion sketching and fashion illustration. I have purchased several amazing books on learning to draw for fashion design, but I got too busy – sewing, blogging, teaching, learning photography, and learning to sketch on top of a 40-50 hour a week job was definitely overly ambitious. However, since I’m designing my first collection for a charity fashion show right now, the need to sketch resurfaced. I was searching around the internet for reviews of markers for fashion illustration, and I stumbled upon Zoe Hong. Zoe is a fashion designer and did have her own line, but now she teaches in fashion design schools in the US (not sure exactly where but definitely West Coast) and she has a substantial YouTube Channel. Her videos focus specifically on fashion illustration. You guys, she is AMAZING. If you have any interest whatsoever in fashion illustration, go check out her videos!! There are over 100 and she posts several times a week. Talk about ambitious. 🙂
Okay, back to the actual topic of this blog post. As you know, I teach three classes at Darrell Thomas Textiles. One of them is the Fitted Skirt class, where you learn to make a pencil skirt with a facing. Students often ask me how to fully line the skirt, but there simply isn’t time in the class to go that far. I promised a few of them that I would write this post as a tutorial, and finally here it is.
PLEASE NOTE: In this post I am starting with a completed skirt that is the end result of Darrell’s 101-3 class. If I were making a lined skirt from scratch, I would do the steps in a different order to make it easier to assemble. This post is specifically geared to adding a lining to an already completed skirt, so please bear that in mind when comparing my tutorial to any others you may find out there on the internets…. thank you.
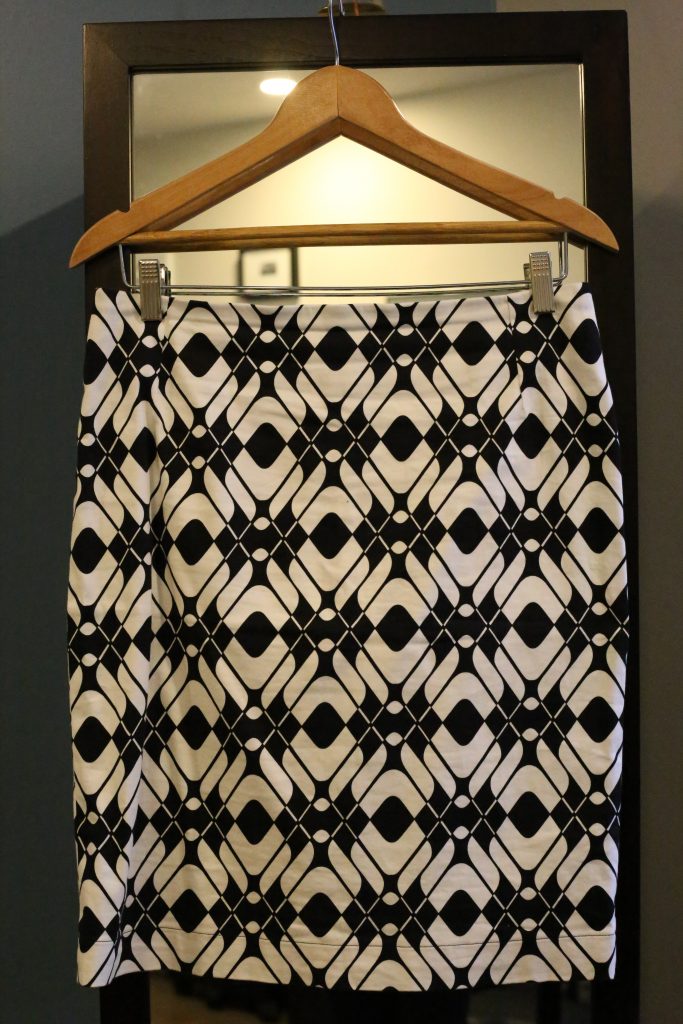
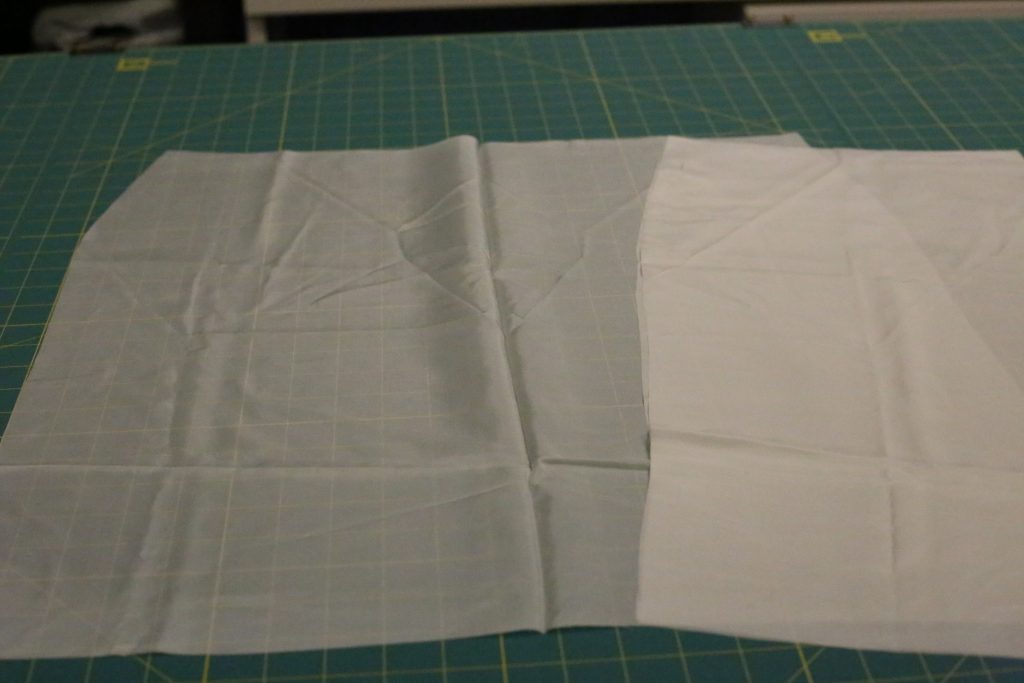
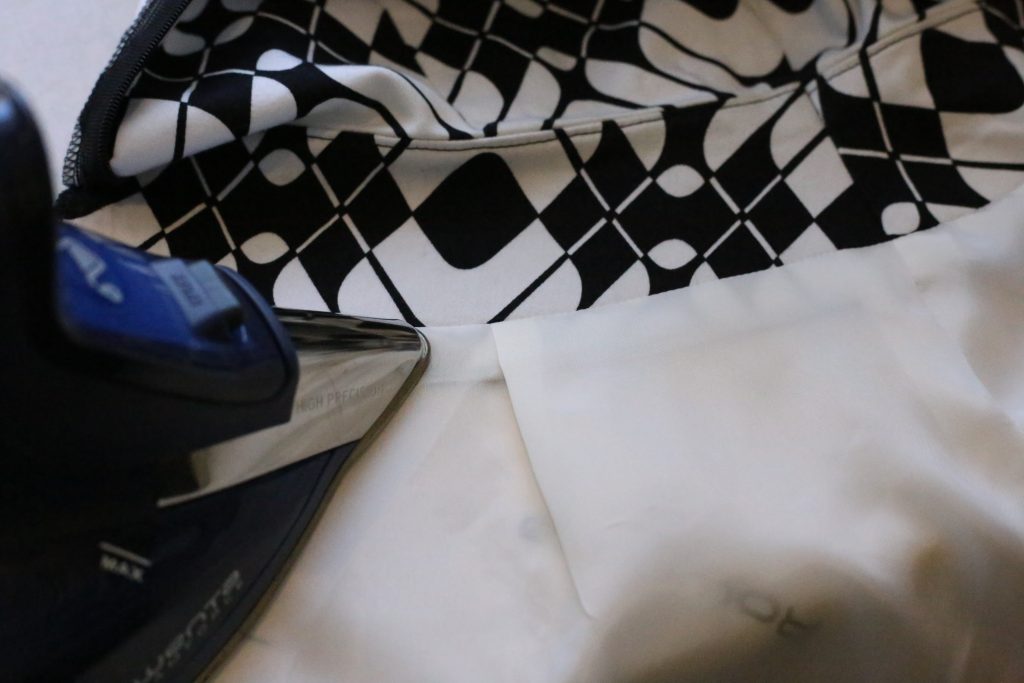
So! We are starting with a fitted skirt that has no waistband, invisible zipper at the back:
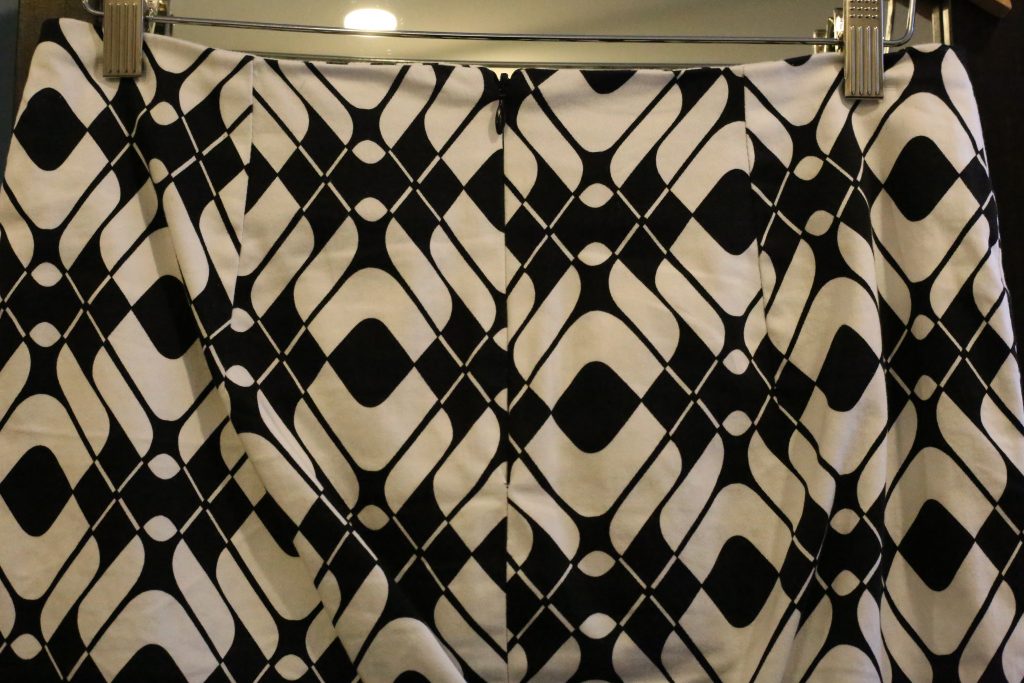
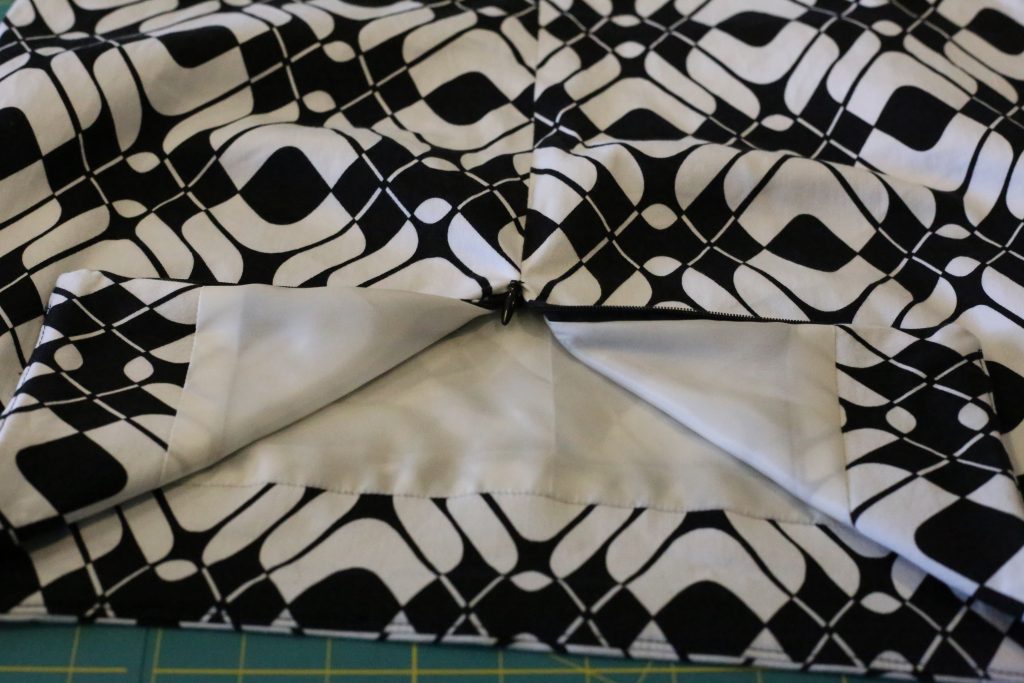
Opening up the zipper, we see the facings:
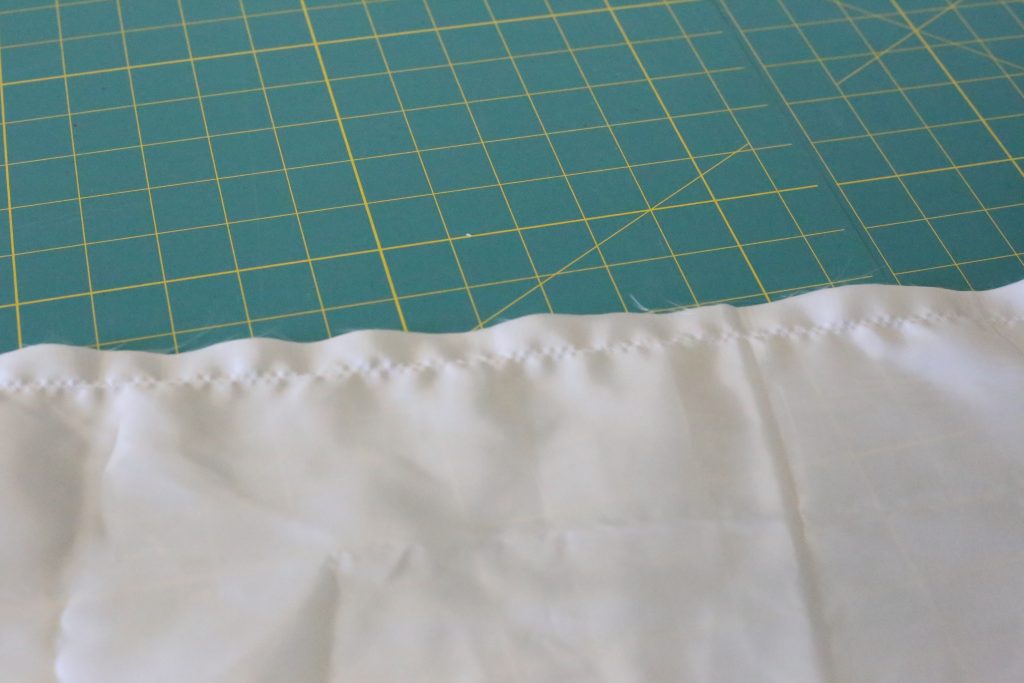
Step 1: Detach the facings from the zipper tape by unpicking your seam:
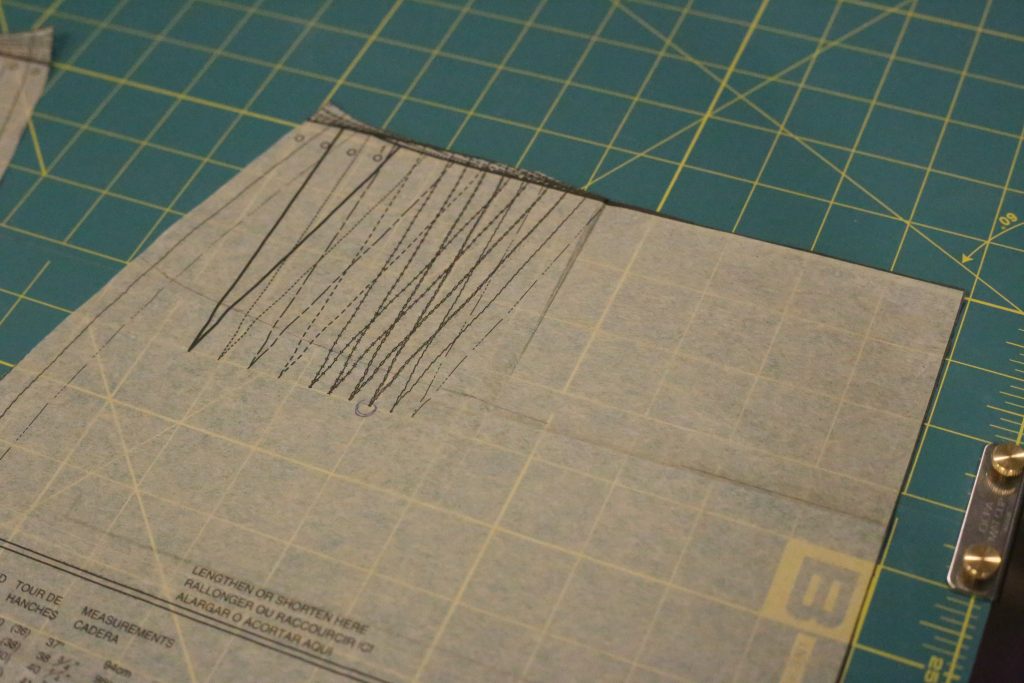
Step 2: Grab your pattern pieces for the skirt back and skirt front. There should be a line at the top of each piece which you used to trace your facing patterns (3 inches down from the top of the skirt):
Using your quilting ruler, draw a line 1.25 inches above the facing line. This is to accommodate seam allowances for attaching the facing and lining.
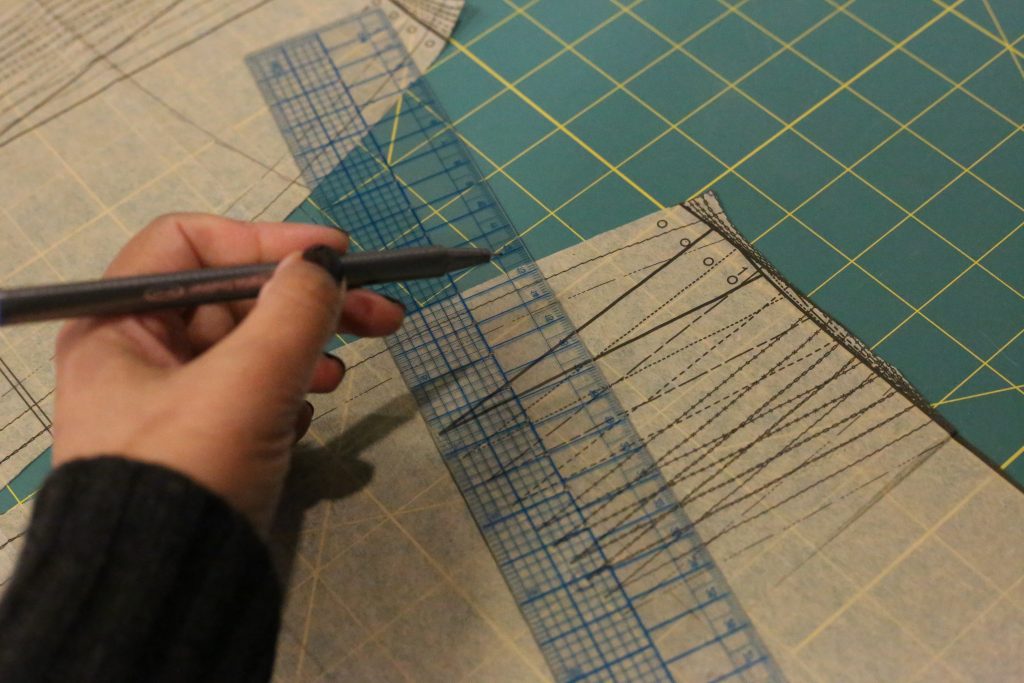
Do this to both pattern pieces.
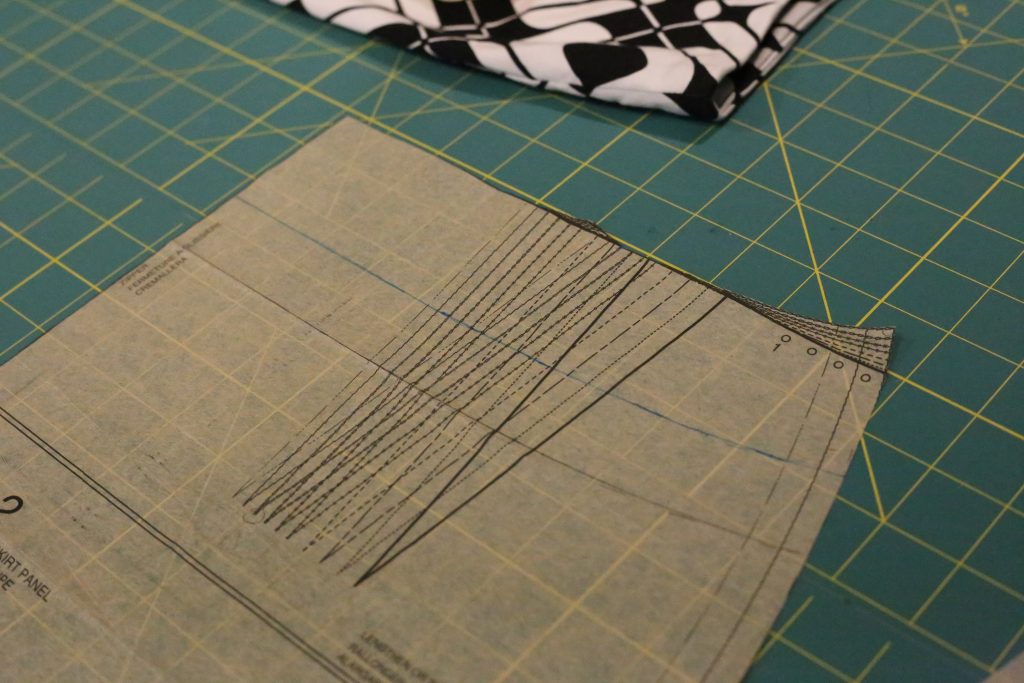
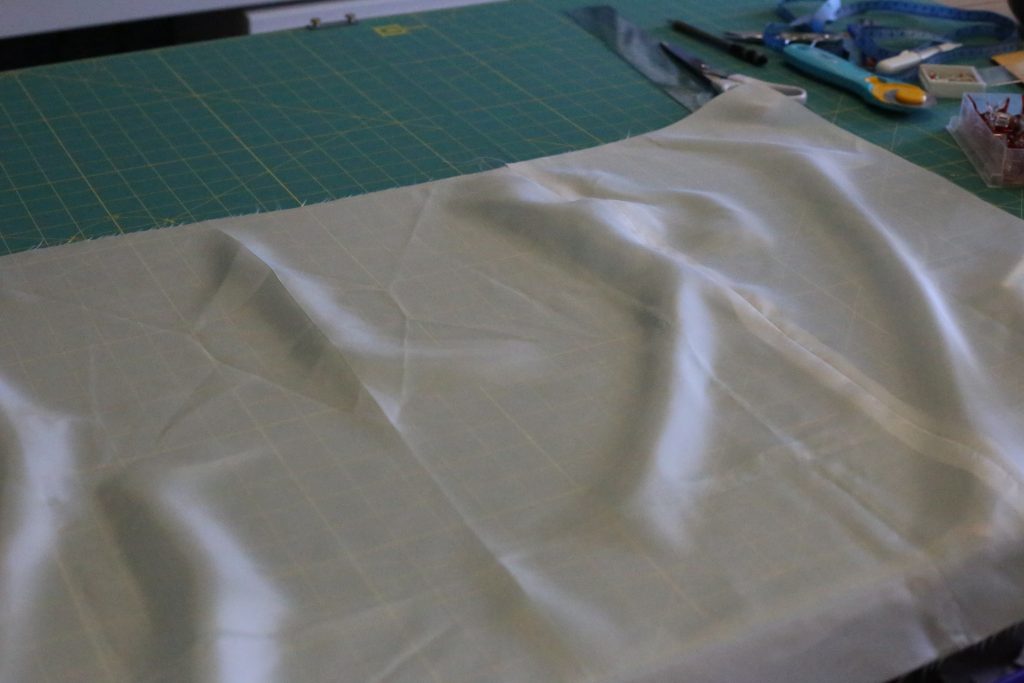
Step 3: Cut out your lining material using the newly formed “lining line” at the top and using the lining cut line at the bottom:
Sides of the lining follow the same pattern edges as the skirt. Don’t forget to cut your front lining piece on the fold!!
You can use tracing paper to make an actual facing pattern, but I just used my tracing wheel to trace the lining line at the top. I didn’t even use chalk paper, as the tracing wheel makes little indents on the lining fabric itself that are visible and easy to use as cutting lines. If you look really closely at the picture below, you will see them (I promise):

By the way, don’t worry about the darts. Typically, rather than putting darts into a lining you put pleats instead, to allow ease.
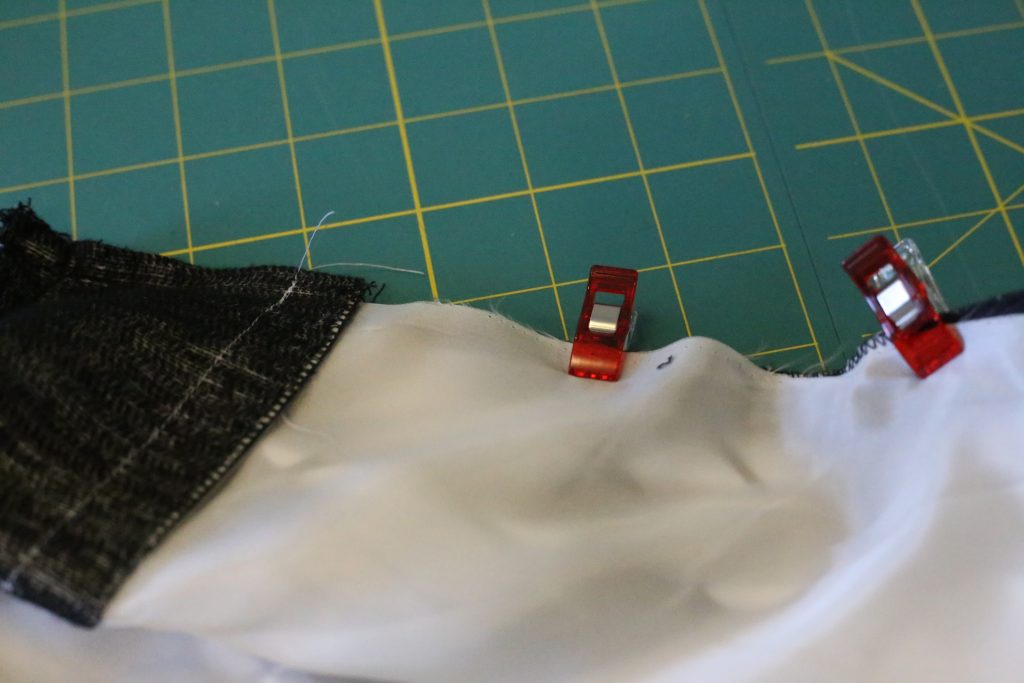
Step 4: Now that you have cut out your two back lining pieces and one front lining piece, sew the side seams to attach the backs to the front. Right sides together! Always right sides together!
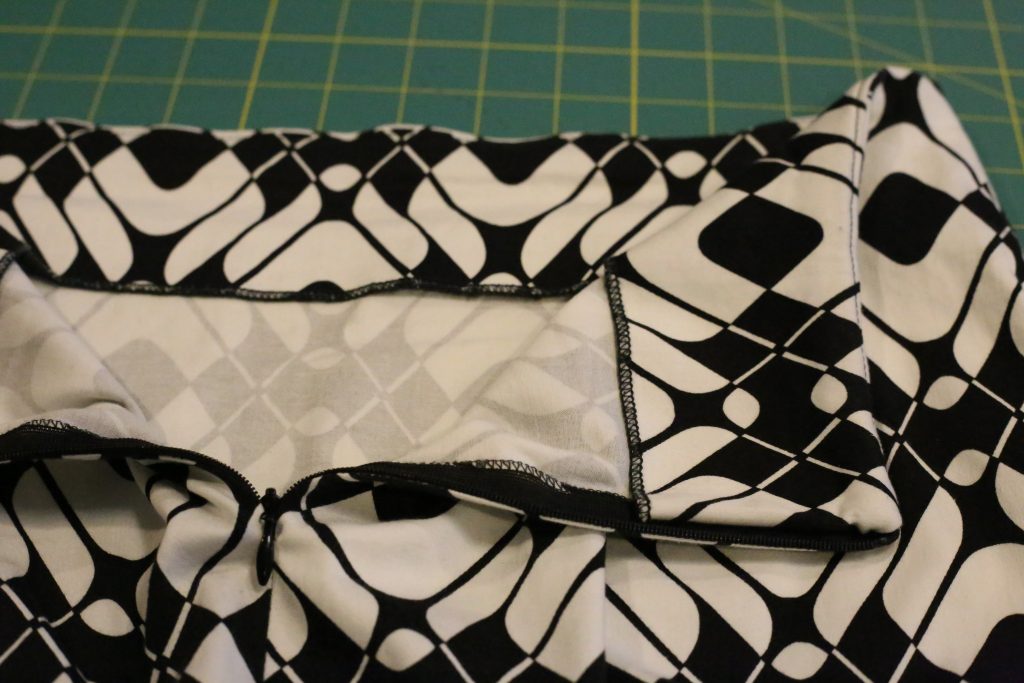
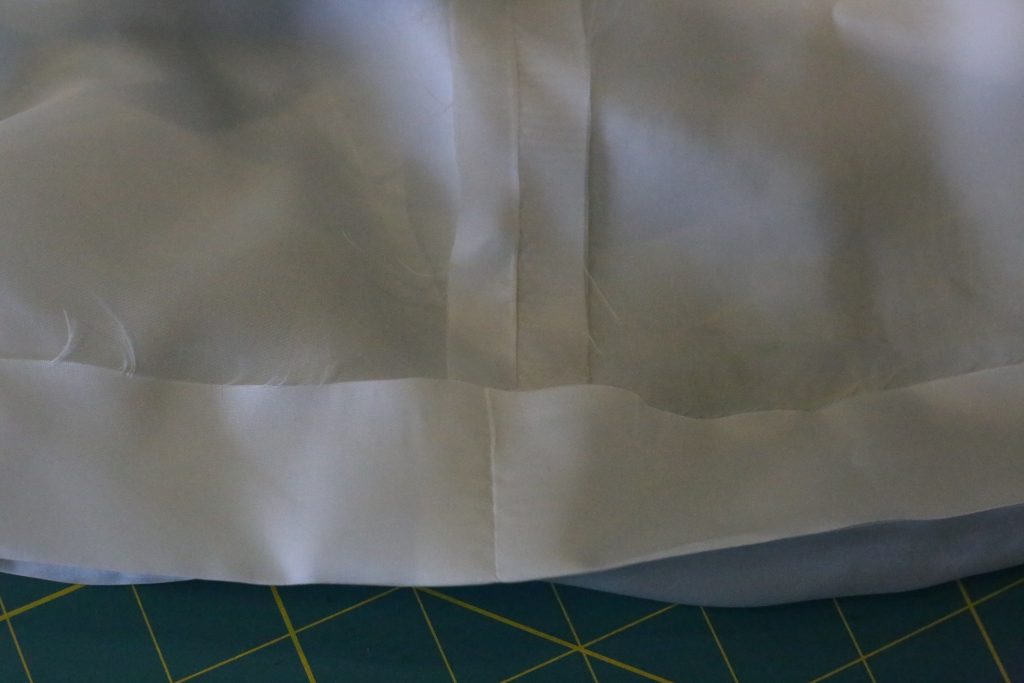
Step 5: Pin the top of your lining unit to the bottom of the facing. Right sides together! ALWAYS RIGHT SIDES TOGETHER!! Start by matching the side seams and the ends. If there is any fullness in between, create little pleats. Then sew, using your pattern seam allowance (in this case, 5/8″).
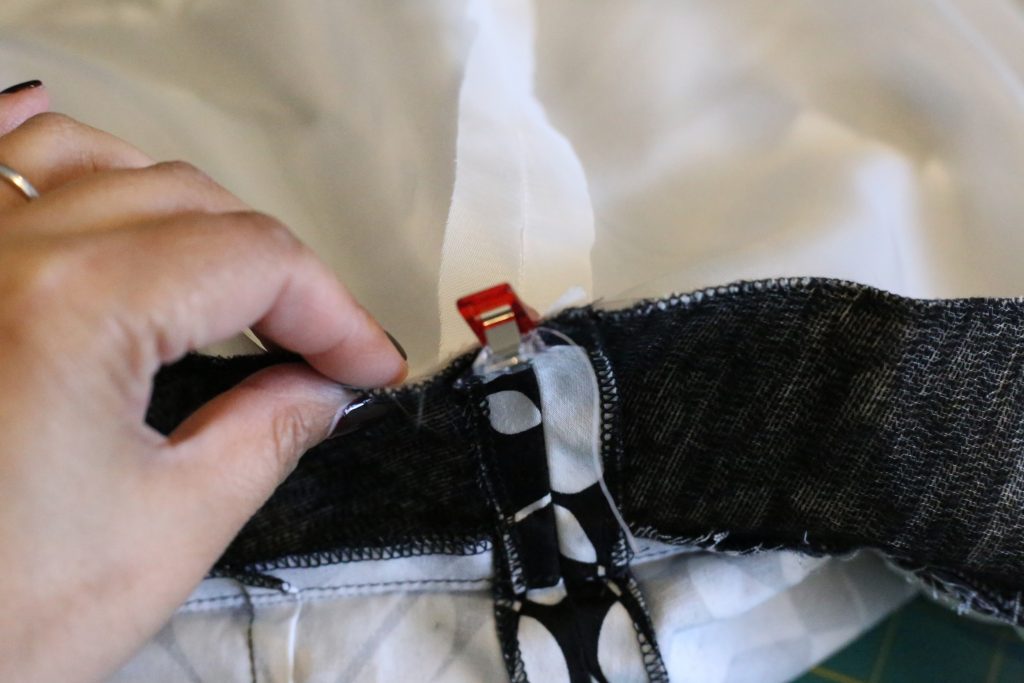
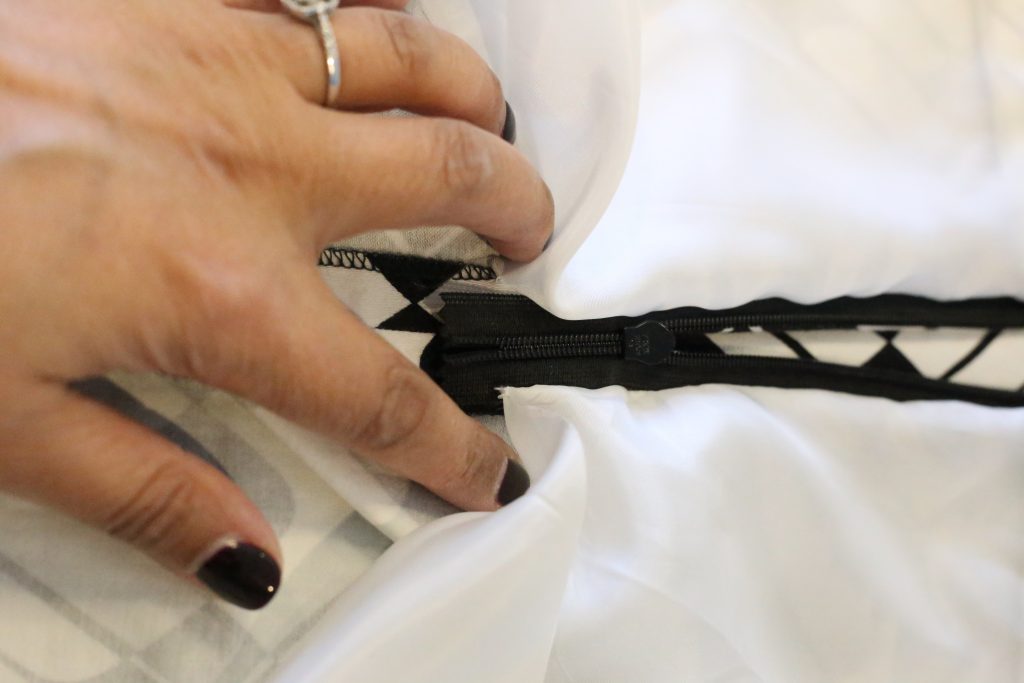
Step 6: Now we want to reattach the facings and a bit of the lining to the zipper tape. Start by matching up the facings with the back seam. Have I mentioned you should put right sides together?
Just as you did when you tacked down your facings, sew 1/8″ or 1/4″ in from the zipper, in the seam allowance. This time, sew until you are JUST PAST the bottom of the zipper stop (i.e. if the zip is open all the way, sew the facings down just a bit past that point).
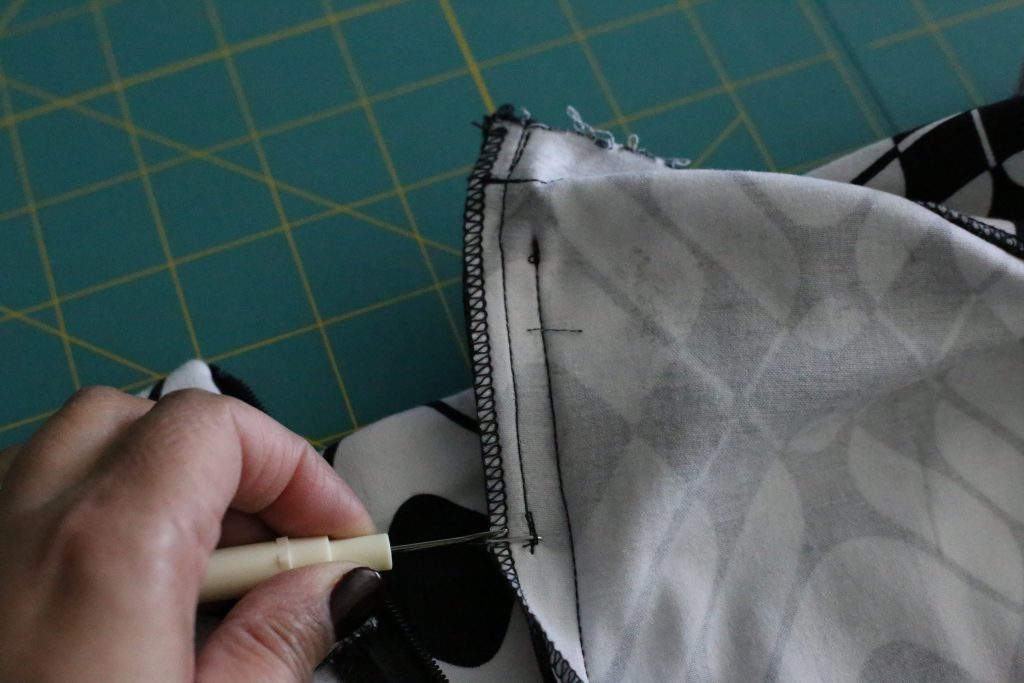
Step 7: This might feel a little awkward, but you are now going to pin your back facing pieces right sides together and sew them together, starting where your other stitching ended (above) and going all the way to the bottom. Do your last 1-2-3 press and you are one step away from completion!!
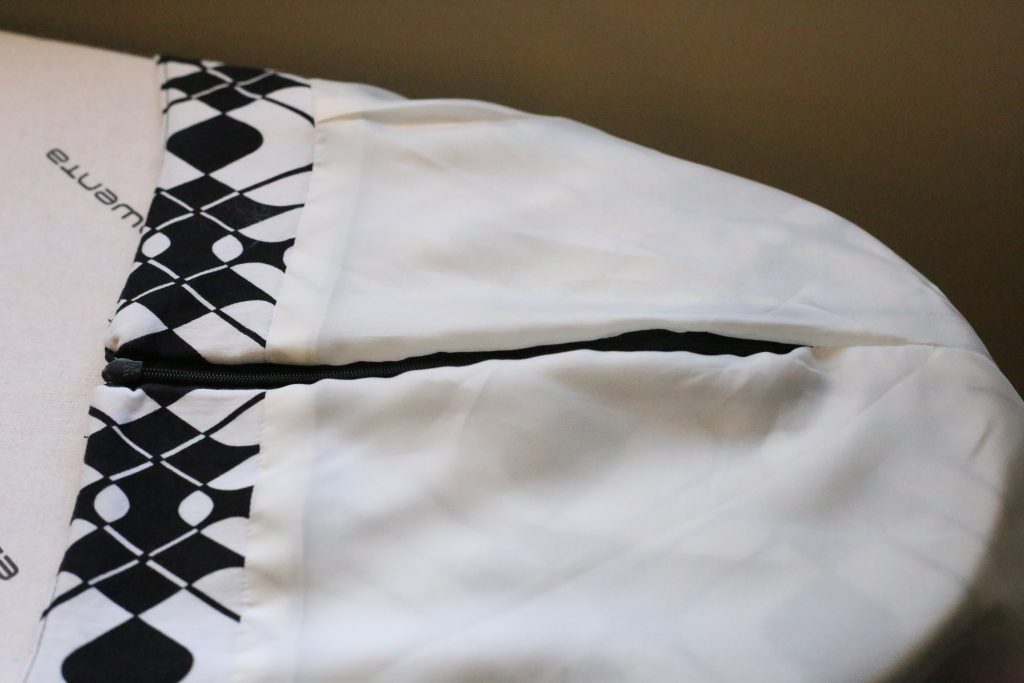
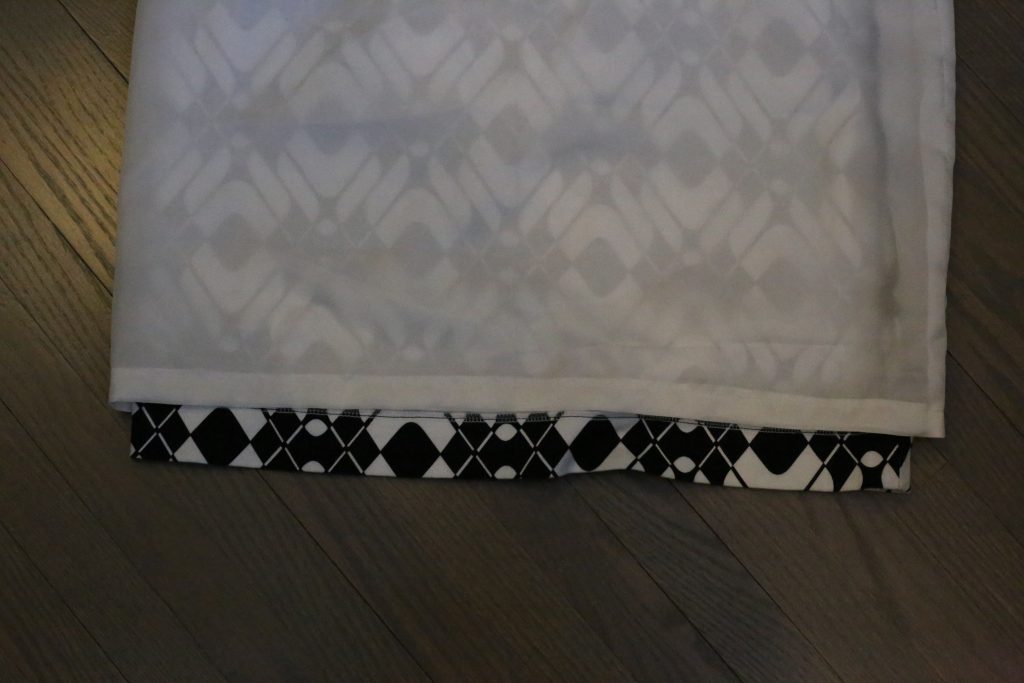
Step 8: Last step! You need to finish the hem of your lining. There are many ways you could do this. You could undo your skirt hem and “bag it out” so your lining and skirt are attached. I tend not to do this with skirts, so I either finish the lining using serging and a single turn-up, or a double-turn up. In this case, I did the latter. I pressed up 1.5 inches, then tucked the raw edge into the pressed fold and pressed again. Same thing as turning up 3/4″ and turning up again 3/4″.
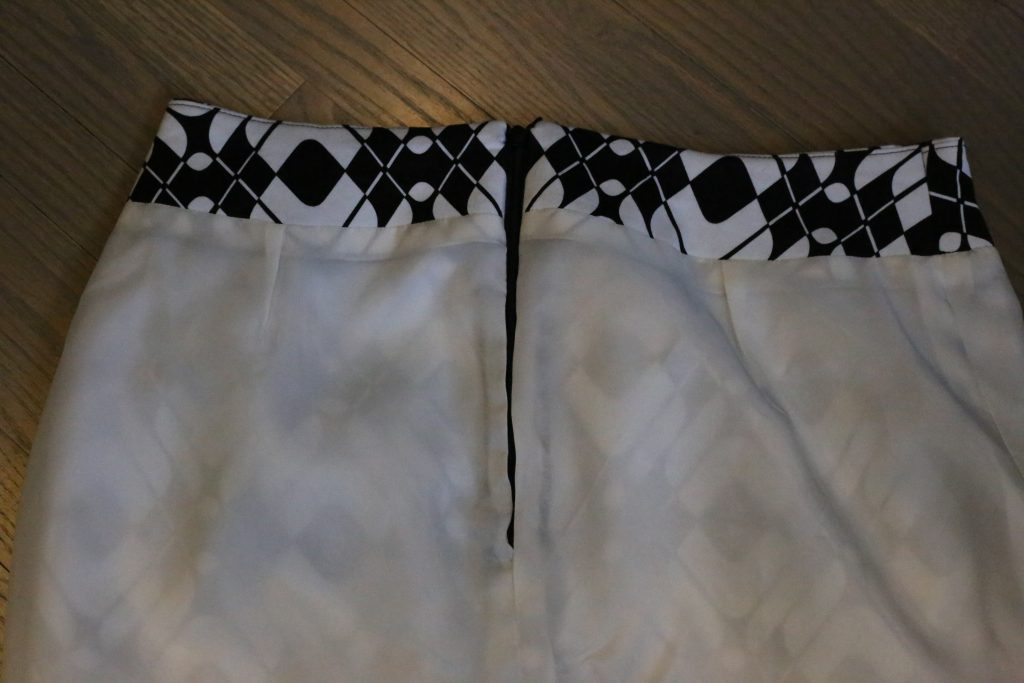
And voila!! You have a beautifully fully lined skirt!
I hope this has been helpful! Former 101-3 students, please let me know if this was easy to follow and if you have any questions. Also I would love to see your lined skirts – post them on my Facebook page, or post on Instagram and let me know by using @shespokeclothing in your post!
Hi Anokhee,
I just bought lining fabric for my skirt today! It will not be the skirt I made in your class but a new one I am planning to make to match the jacket I completed a week ago in Darrell’s class. So I understand that the steps will be slightly different but this gives me a very good idea how it should all work together. Thank you for such timely post and wish me luck!
Inna
P.S. I am now addicted to the Great British Sewing Bee thanks to you 🙂 Too bad there are only four seasons.
Hi Inna, sounds awesome! I’m sure you will have no trouble at all with that lining. 🙂 I would love to see photos of your outfit so please do post it somewhere and send me a link. P.S. Yes, I love love love GBSB and really hope they make a 5th season!! Did you know they published two GBSB sewing books which come with patterns?! You can buy them on Amazon; I have them and they are really well written…