
I love classic, tailored clothes. For years my wardrobe was full of two-piece suits, wool coats, dress shirts and structured dresses. Of course, at that time I was in corporate sales so the style fit my life very well. In recent years my career has caused my wardrobe to become quite a bit more casual. But now that I’m sewing again, it’s my goal to bring back the tailored wardrobe – made by me of course!
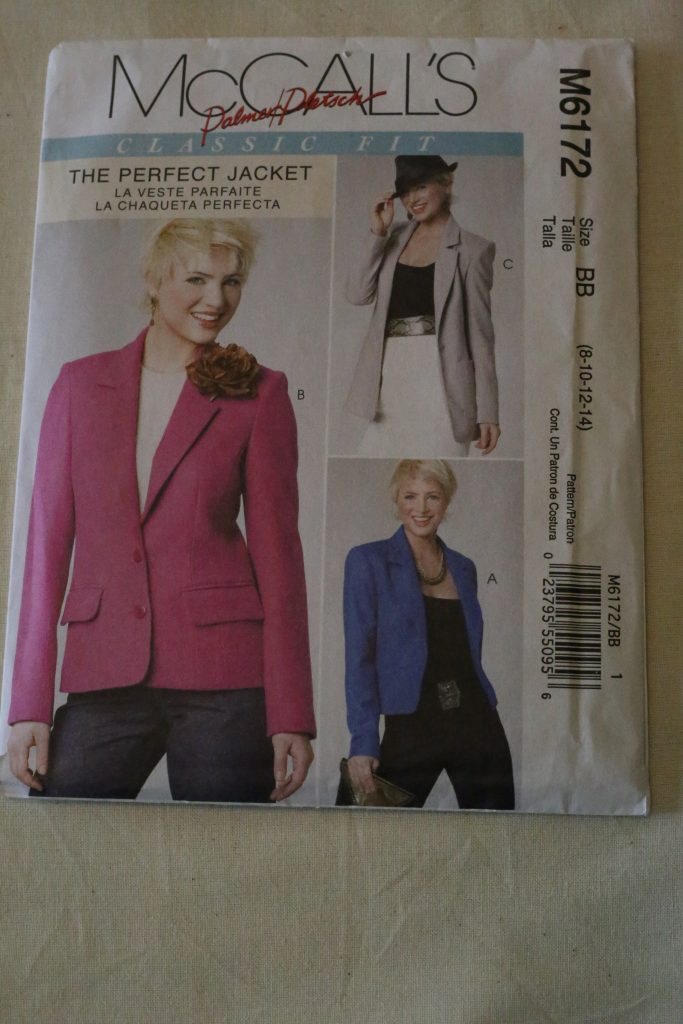
I’ve made a few coats already, but this is the first time I am tackling a classic blazer with a notched collar and lapel. I decided to use McCall’s M6172 by Palmer & Pletsch. I’ve read lots of great things about this particular pattern, and upon reading the instructions I was very pleased to find plenty of information about fitting and pattern alterations as well as “pro tips” to make this blazer as polished as possible.
The first step after prepping the pattern pieces was to make a muslin. For those who are new to sewing, a muslin (or toile, in Europe) is a trial version of your garment made out of inexpensive fabric. In my mind this is a mandatory step for a tailored garment, and I make muslins for pretty much every garment I make – the only exceptions being knits and garments I’ve made before.
Since a muslin is made for fitting purposes, you don’t normally apply collars, closures (buttons, zippers), or hems. Occasionally I will put a collar on a coat muslin for practice purposes, or to see if I want to change the shape, but in this muslin I did not. After fitting the muslin, I marked the required adjustments and transferred them to my pattern.
The fabric I am using for this blazer is a gorgeous black and white checkered wool from DTT. I originally bought it to make the Cordova jacket from Sewaholic, but I decided my waist isn’t quite ready to take on a peplum. Ha.
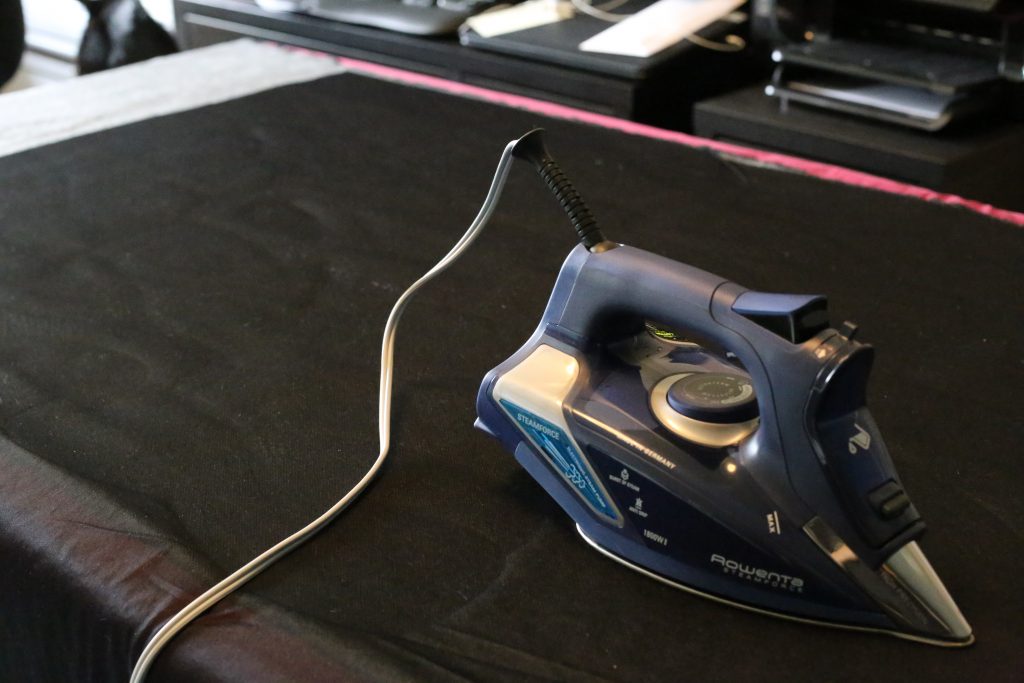
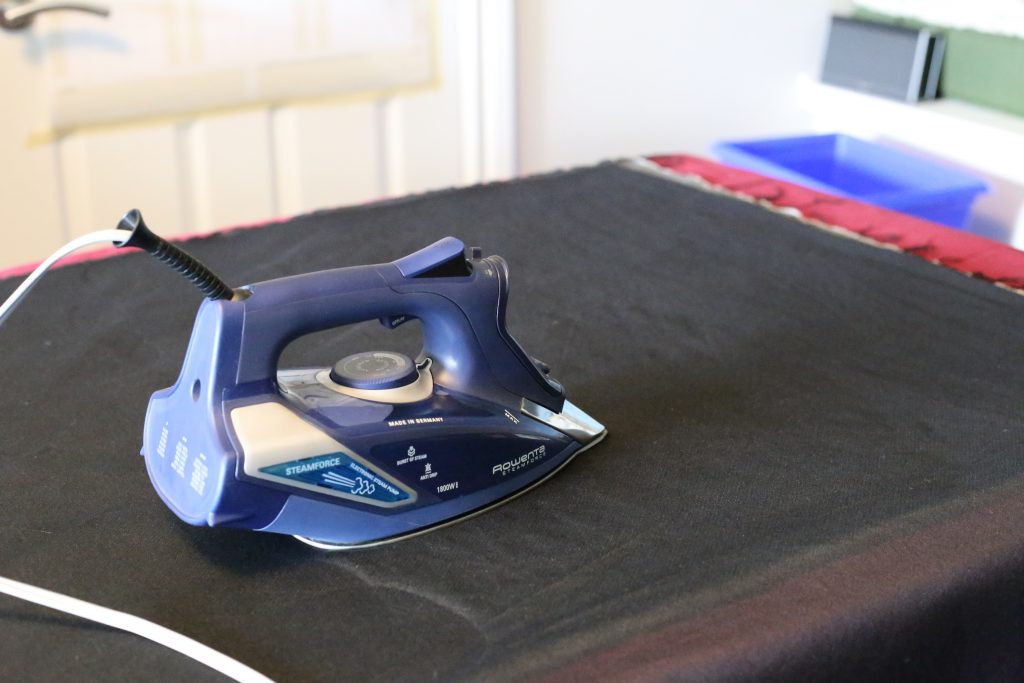
The only thing about this fabric is that I find the weave a tiny bit loose, which gives the fabric more drape than I like in my blazers. To solve that problem, I interfaced the entire thing! I laid out old towels on my cutting table, covered it with a big cotton bedsheet, and used the whole thing as a makeshift ironing board. It took some time, but eventually I got the whole yardage interfaced and it cost me nothing.
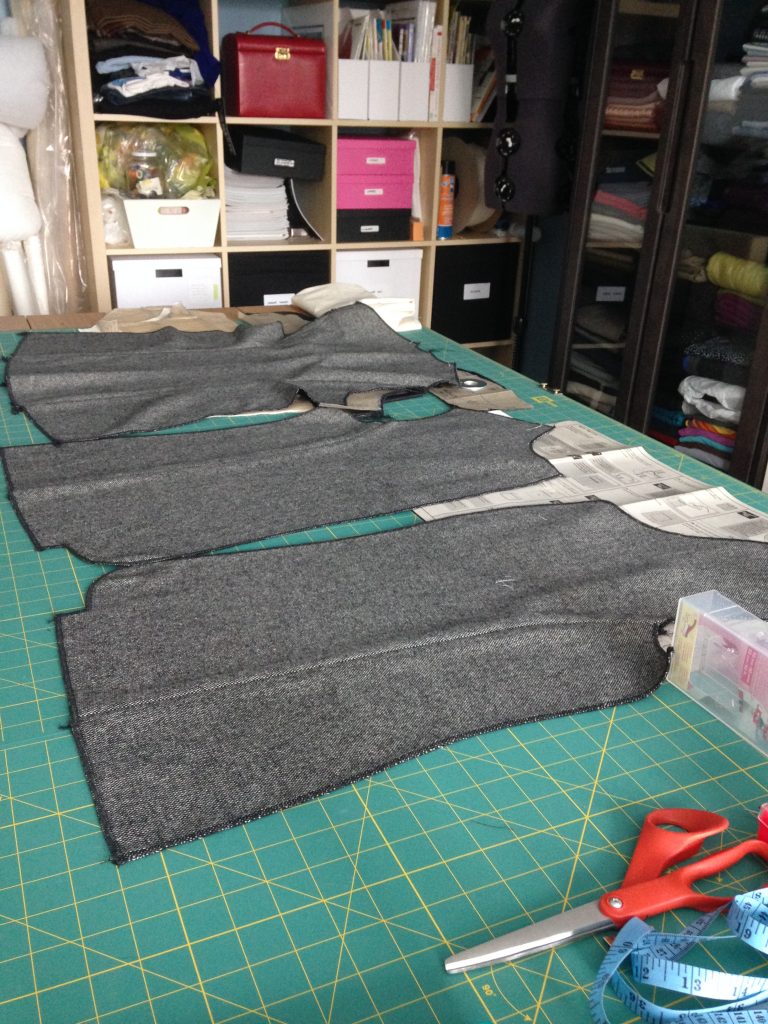
Next, I cut and serged all of my pieces. Since I interfaced the fabric I probably could have eliminated the serging, but I wanted to be extra sure my fabric wouldn’t fray. Plus I loves me a good serging session. So therapeutic. 🙂 Finally, I started assembling various sections of the coat – fronts to side fronts, centre back together, and back to side backs.
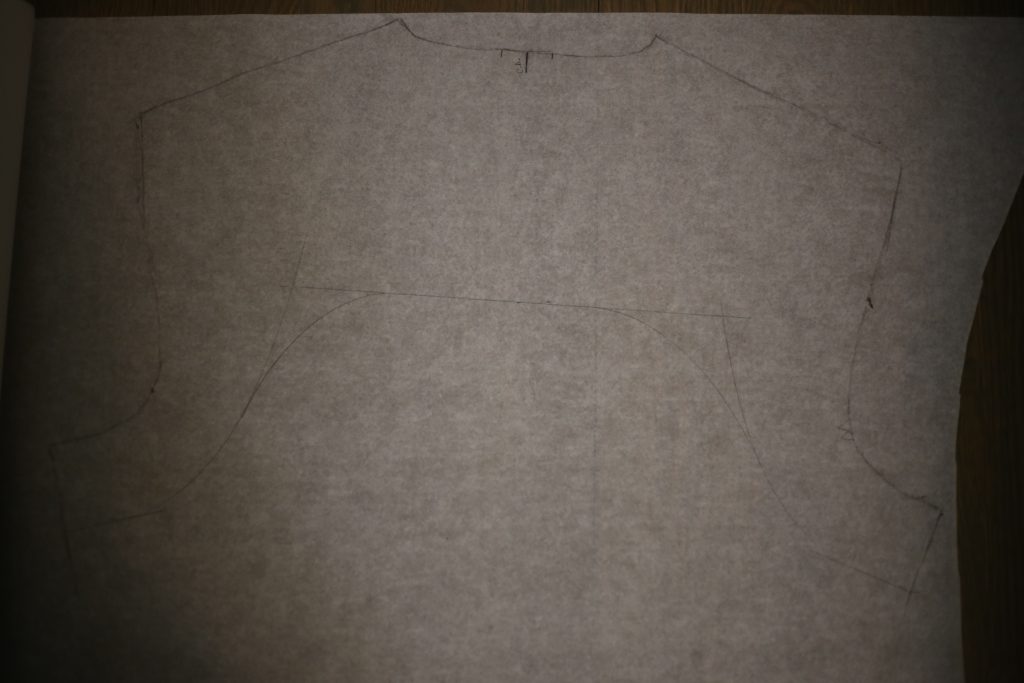
Before I sewed the fronts to the back, I decided to tackle a “couture” step and add a back stay. A back stay is intended to add strength to the shoulder and back area and to help the jacket from stretching out over time. Again, with this fabric having rather a loose weave I thought this would be a good idea. (Tasia from Sewaholic has an awesome blog post about making a back stay – check it out!) Below is a picture of my drafted back stay pattern:
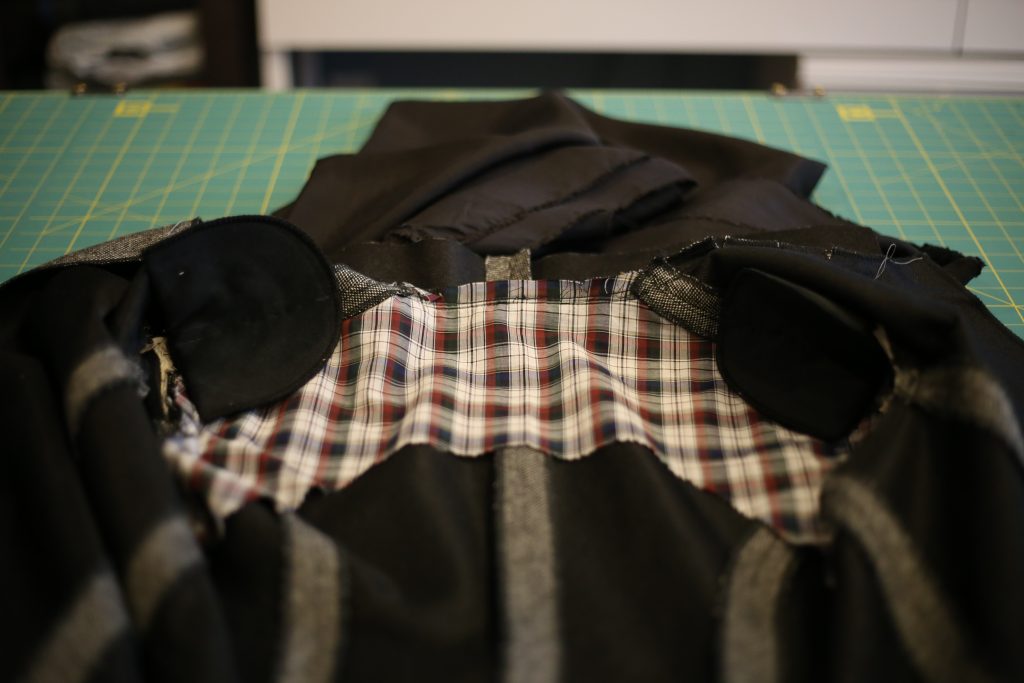
I decided to cut it out of some leftover cotton shirting fabric. I don’t know if you can see it in the picture, but I used my pinking shears for the first time on this piece. I didn’t want to add any extra bulk on the raw edges but I did want to make sure they were finished. One of the things I love about sewing: nobody will know this cute plaid is in my jacket except me!
Okay – that’s it for now. I’m saving the rest (sleeves, lining, collar and reveal) for part 3 of this series. For part 2, I have decided I’m going to cut open a store-bought men’s blazer so we can compare techniques and craftsmanship to mine. Yay – deconstruction!
Have you made a blazer? Any tips or tricks you want to share? I’d love to hear them!