
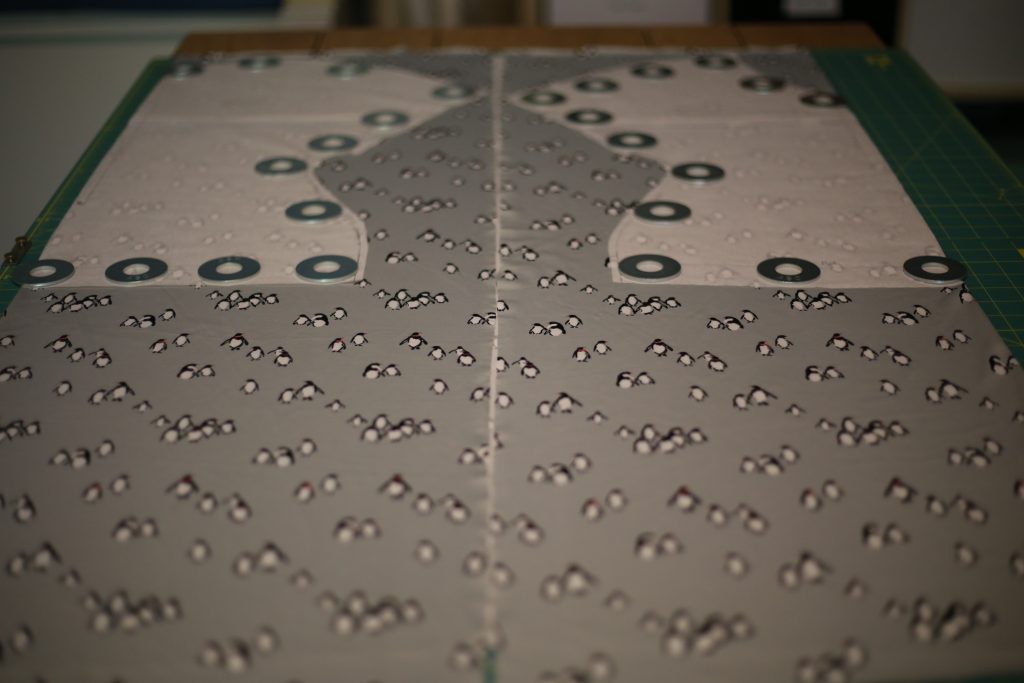
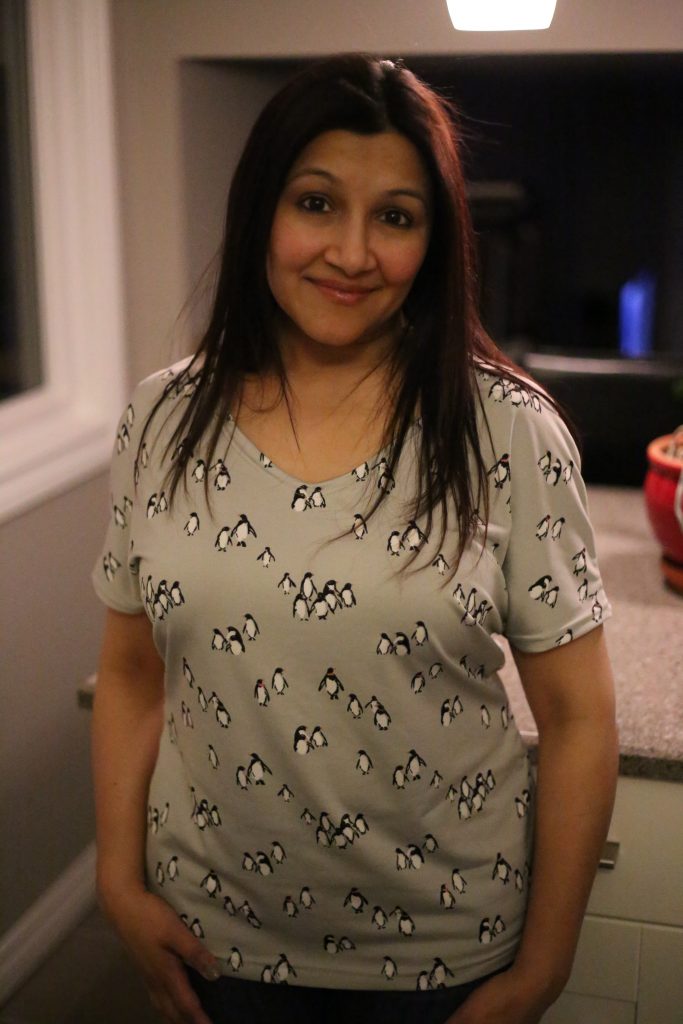
Yup, you read right. This top is made of a knit fabric with penguins on it. Aren’t they so cute?! I also have kitty fabric standing in the wings… both courtesy of Darrell Thomas Textiles.
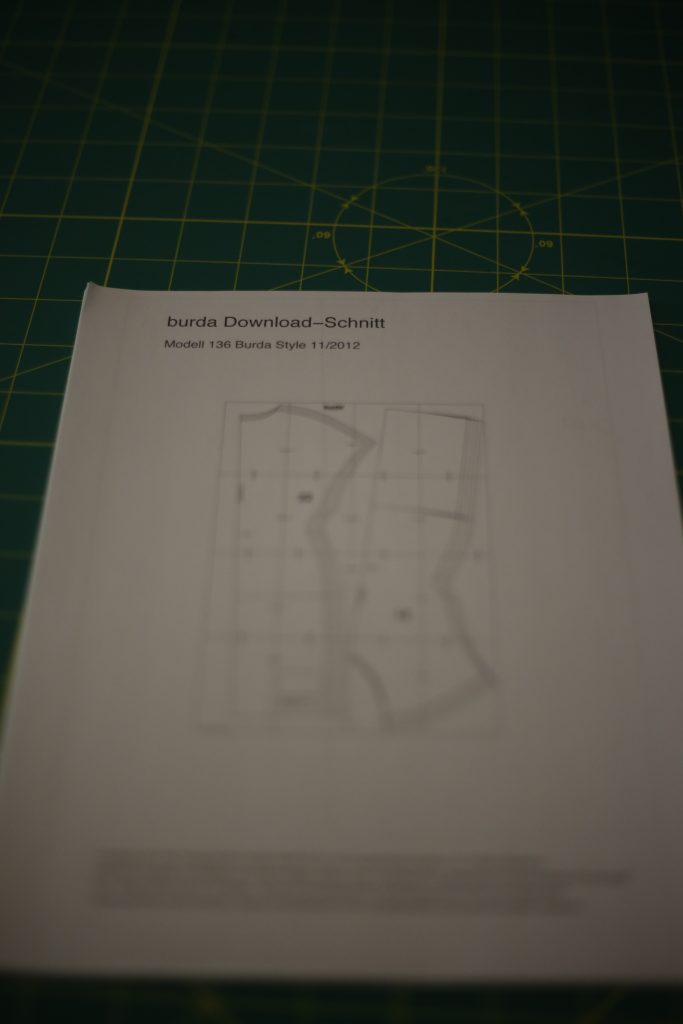
Since so many of my makes this year are going to be highly tailored pieces like coats and dress shirts, I thought I’d throw in a few super fast and easy pieces. Nothing like a little instant gratification to keep you motivated. I haven’t made many knit tops before and I really didn’t want to do set-in sleeves, so I agonized over which pattern to use. Ultimately I chose the “Chill Top” from Burda, pattern 136 in the November 2012 issue of their European magazine. This is the same pattern as the Chill Dress – you simply use a different cutting line at the bottom. I love versatile patterns!
This is a pattern I purchased online (I think as part of one of their knit “packs”), which gives me an opportunity to show you how to work with digital PDF patterns.
Step 1: Print just the page that has the test square on it. Every digital pattern has a test square on one page. This allows you to make sure your printer settings are correctly scaling (or not scaling) the pattern. It’ll look something like this:
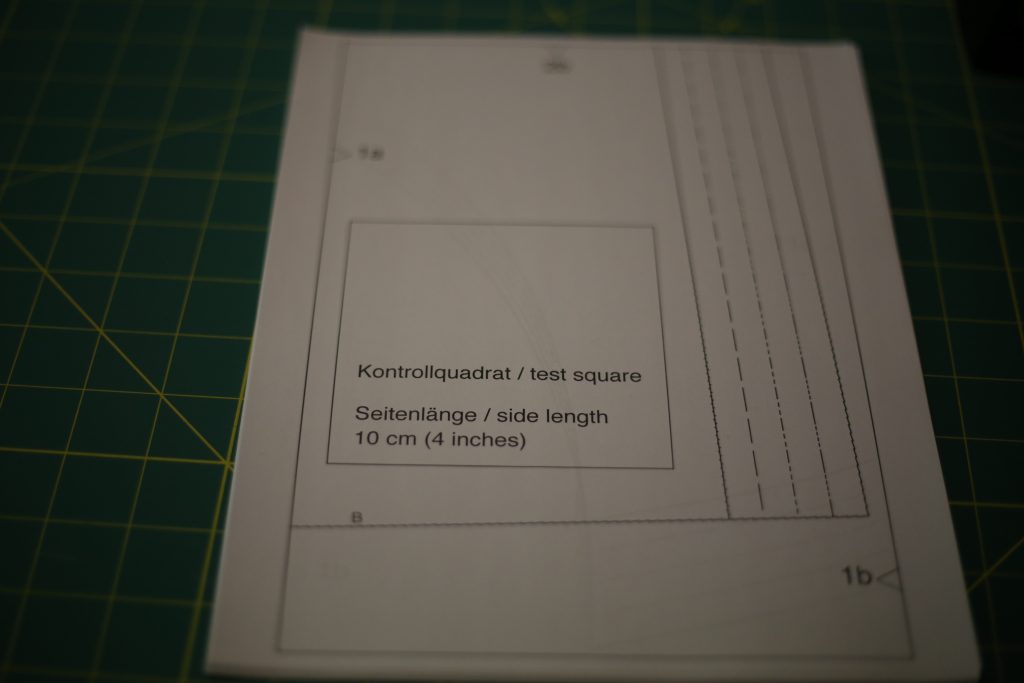
Step 2: Use a ruler to measure the test square. It should be within a 1/4 inch of the stated measurement (in the example above, it should be 4 inches). Technically I guess it should be the exact measurement, but I have yet to print a digital pattern that came out exactly to the measurement it was supposed to be. A tiny bit of variance won’t cause much issue.
Step 3: Once you have adjusted your printer settings (if necessary), print all pages of the PDF file. Make sure you print single sided!!!
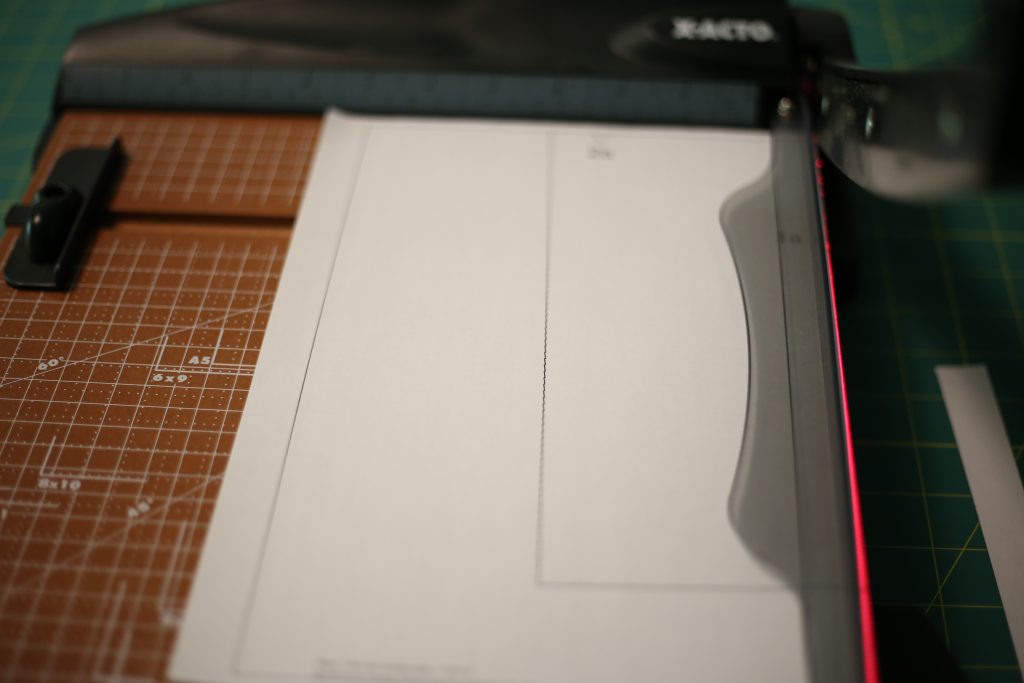
Step 4: You’ll now have a stack of paper with various sections of the pattern printed on each page, all surrounded by a big rectangle. Now the fun part: you have to cut along the rectangle! Pattern companies know that most home printers will not let you print right to the edge of a page. There is a “no man zone” in which anything you try to print will simply disappear. To avoid endless cursing by sewers everywhere, they print each pattern piece within a buffer zone surrounded by this rectangle to account for varying printer margins.
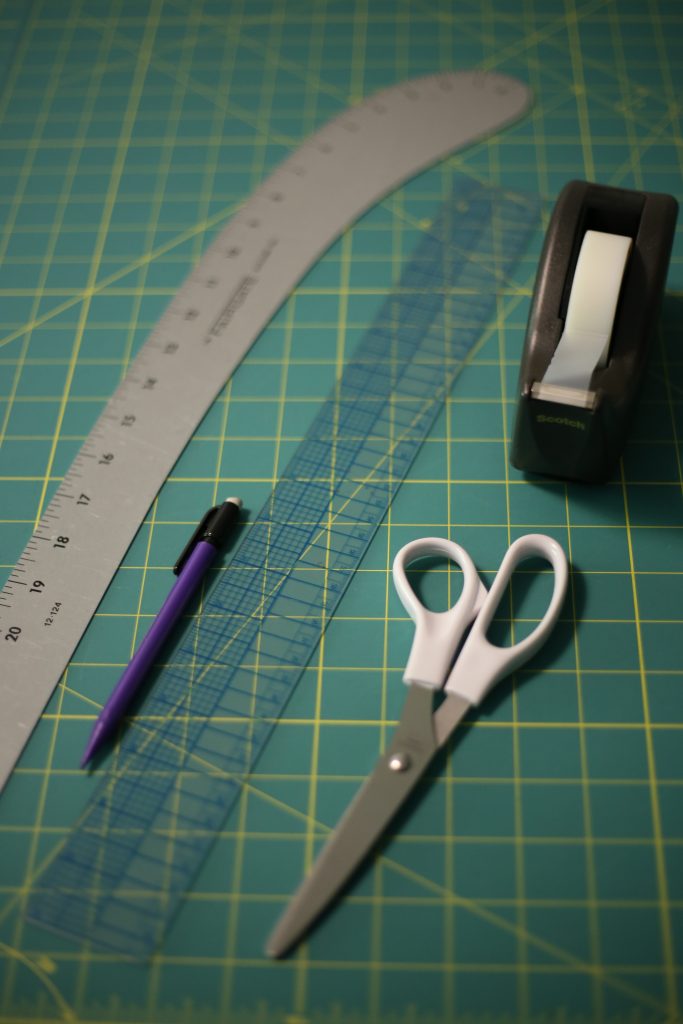
Since I own quite a few digital patterns, I’ve invested in a pretty nice paper trimmer from my local office supply store. Mine actually has a laser so you know EXACTLY where the slice is going to be! This is much faster and more accurate than scissors. (After you have finished cutting out 30-40 rectangles, you won’t need any more convincing from me.)
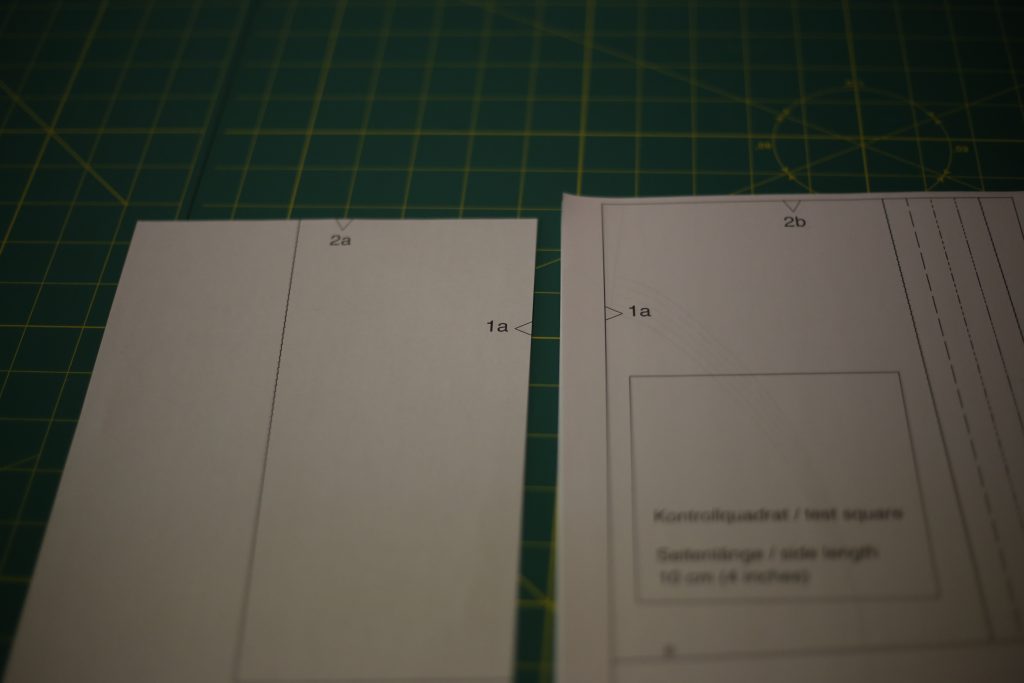
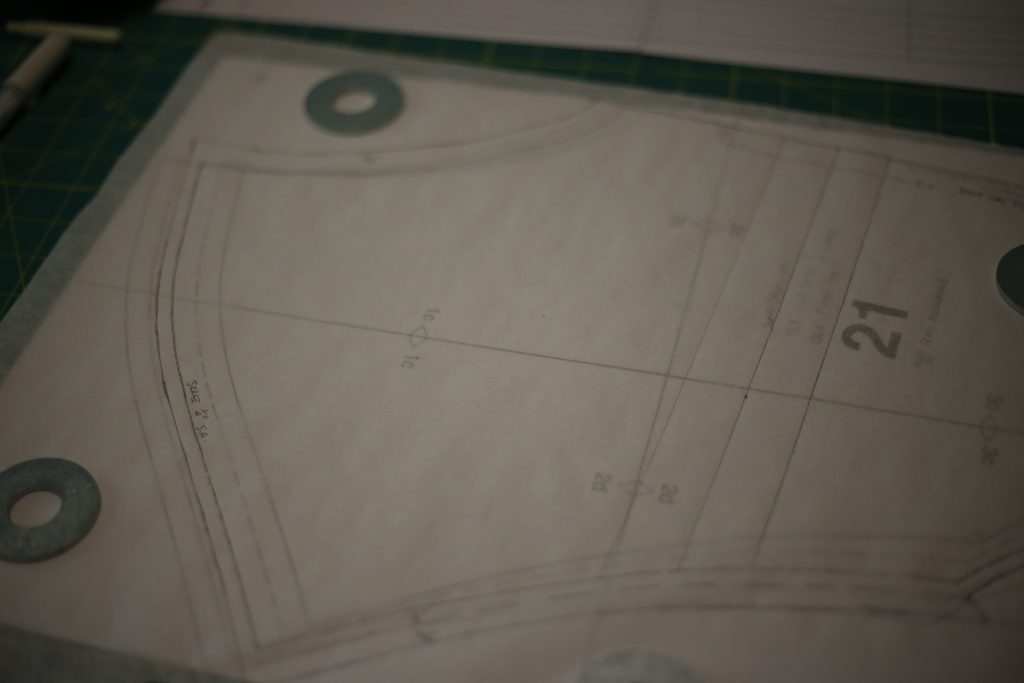
After trimming each rectangle out of the piece of paper, you should have pieces that look like the rectangle on the left, in the image above. On the edges of the rectangle you will have some form of “notch”. In the case of the Burda patterns, they have little triangles with a letter-number combination. These tell you how to line up the rectangles.
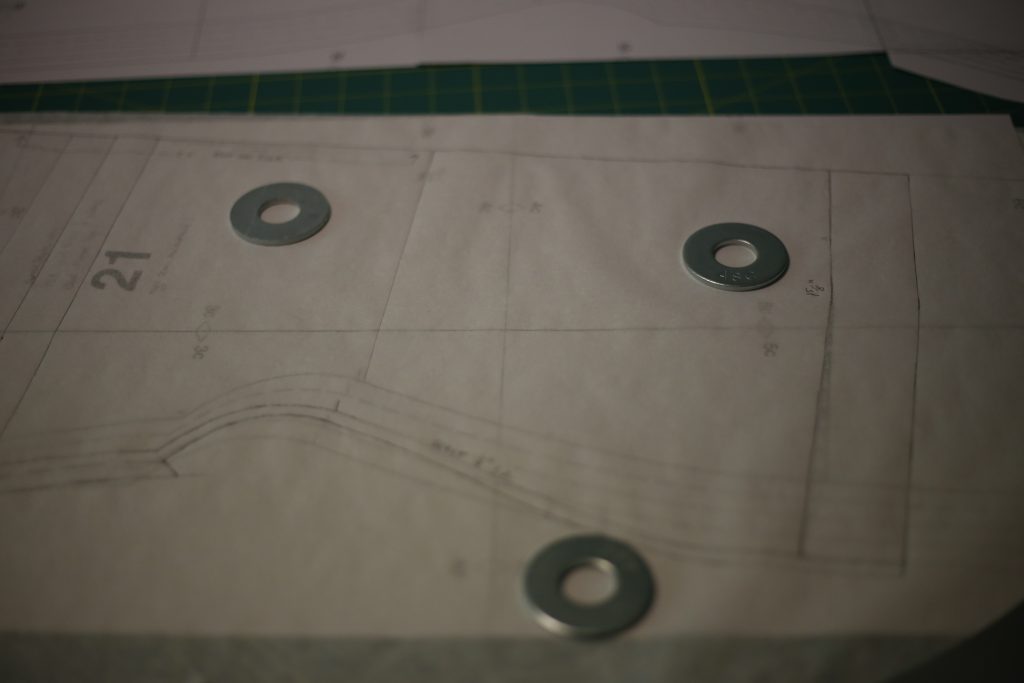
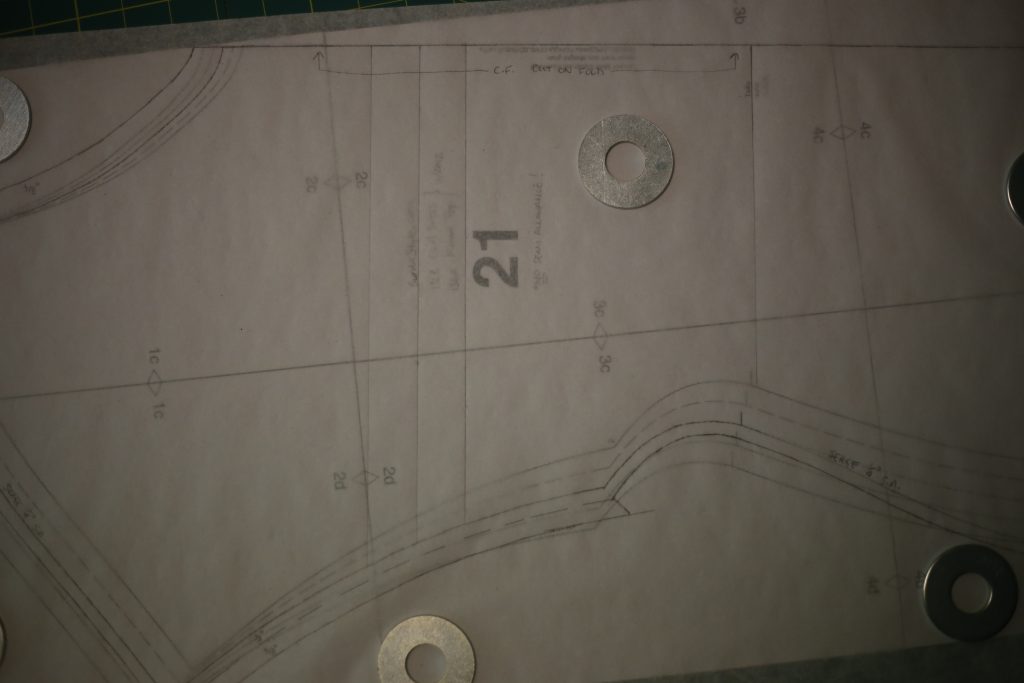
Step 5: On a nice big table (or clean floor), tile all of the pattern pieces so the notch number-letter combinations match. It’s kind of like a jigsaw puzzle: you will see garment pattern pieces emerge from the chaos of lines and curves. The PDF file should include an overview page which shows the layout of the rectangles and the final pattern pieces. If you are struggling to visualize your end goal, use it!
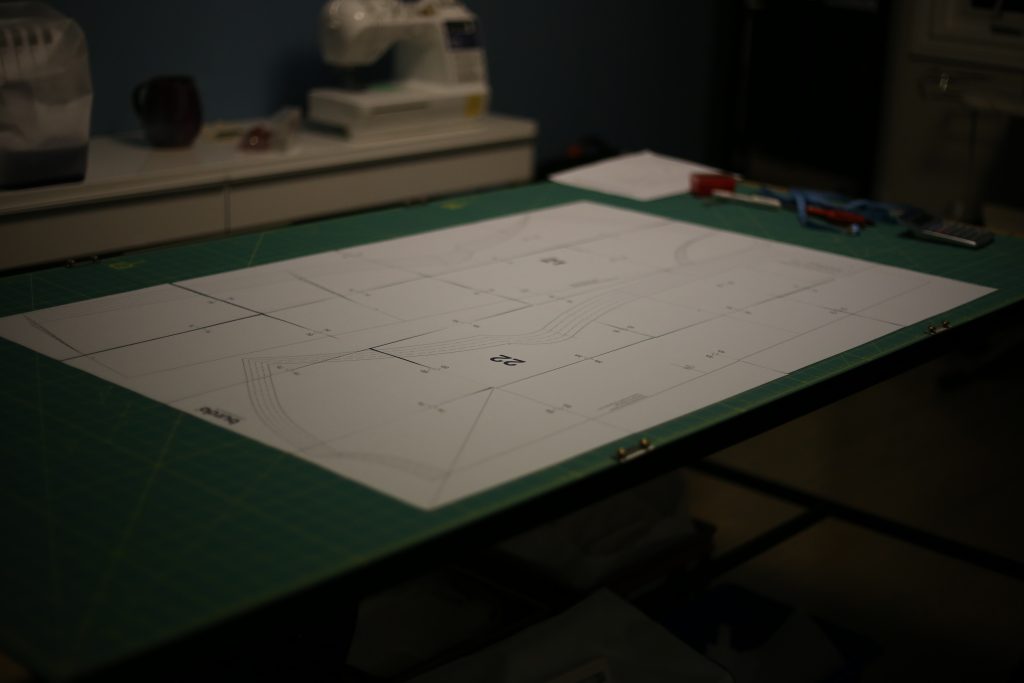
Step 6: Get out that Scotch tape and start taping your rectangles together!! BE AS ACCURATE AS YOU CAN at this stage…it will really help when it comes time for tracing.
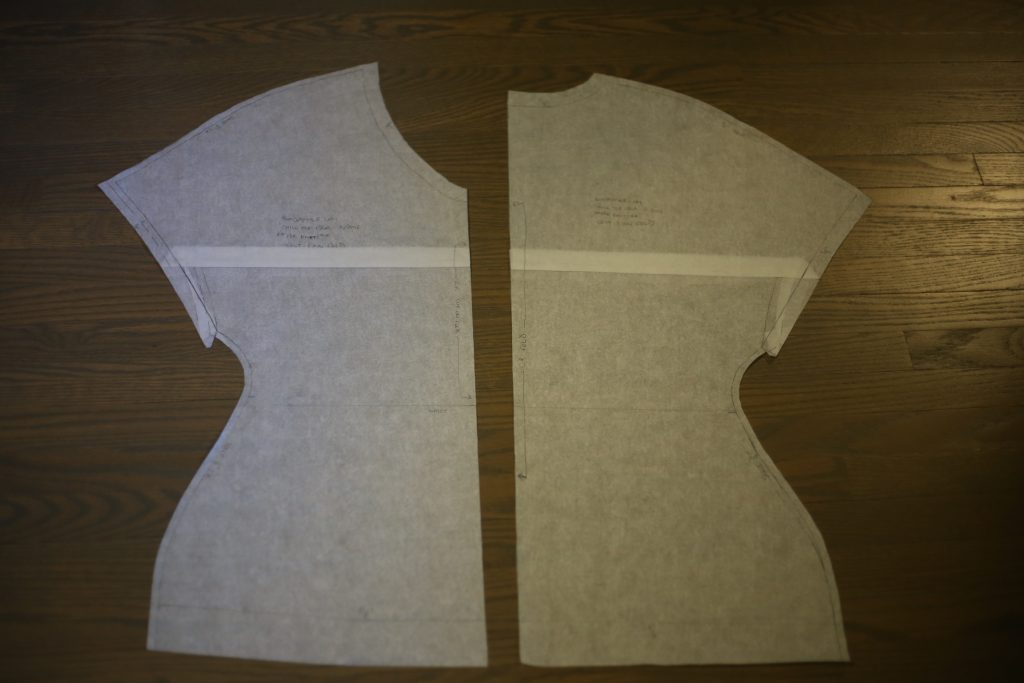
Step 7: Wait…what? Whaddya mean tracing?? Sorry folks…the fun hasn’t ended yet. Most digital patterns DO NOT INCLUDE SEAM ALLOWANCE!! Therefore, once you’ve got your pattern pieces all taped together, you now need to somehow add the seam allowance. You could do it right on the paper pattern before cutting it out, but they don’t always leave enough space between pattern pieces to allow for this. Plus, working with thick taped together printer paper isn’t everyone’s preference when it comes to pinning on your fabric. I always take my tracing paper (just a roll of medical exam table paper), trace the pattern, and then add my desired seam allowances. This also makes it easier when you have to adjust the pattern for any sizing alterations (or in my case, torso shortening alteration).
Since I assembled this top using my serger, I only added 1/4″ seam allowances. (Why add more when it’s just going to get cut off by the serger?!) I planned to do the hems and neck finishing on my coverstitch, so for those I added 5/8″ seam allowances. Note that I have written the seam allowance measurements on the pattern! I’ve also copied over the pattern info and all other pattern markings.
Step 8: Last step of pattern prep! Cut out all of your pattern pieces with your newly added seam allowances. A special thanks goes to my trusty patternmaking tools:
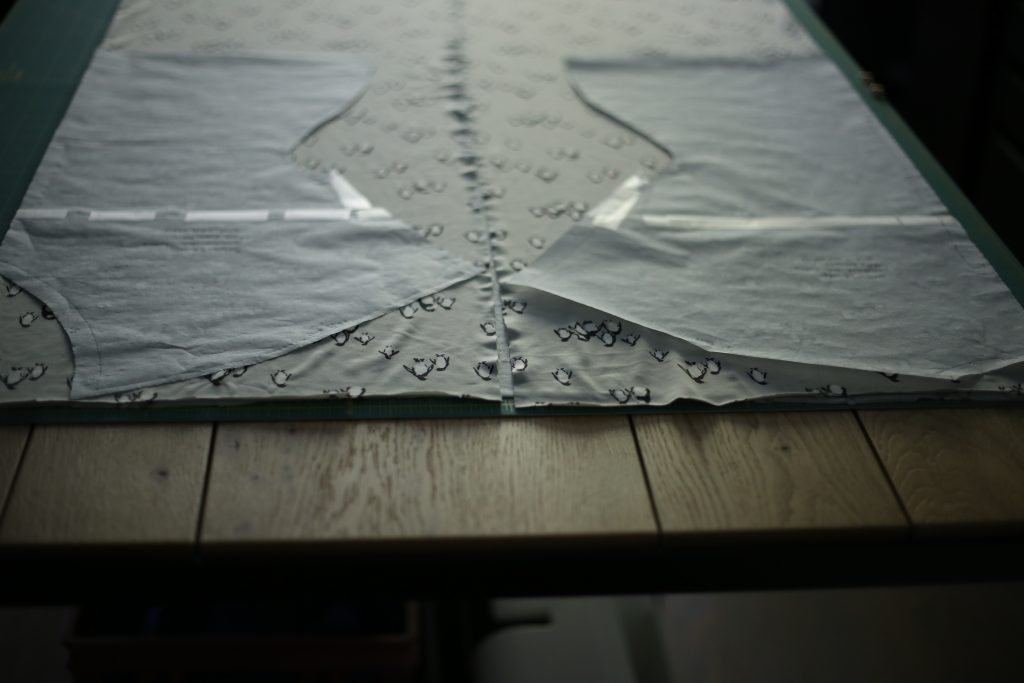
From here, things were a breeze. There are only two pattern pieces, one front and one back, both cut on the fold. I laid out my fabric so both ends met in the middle, giving me two fold lines.
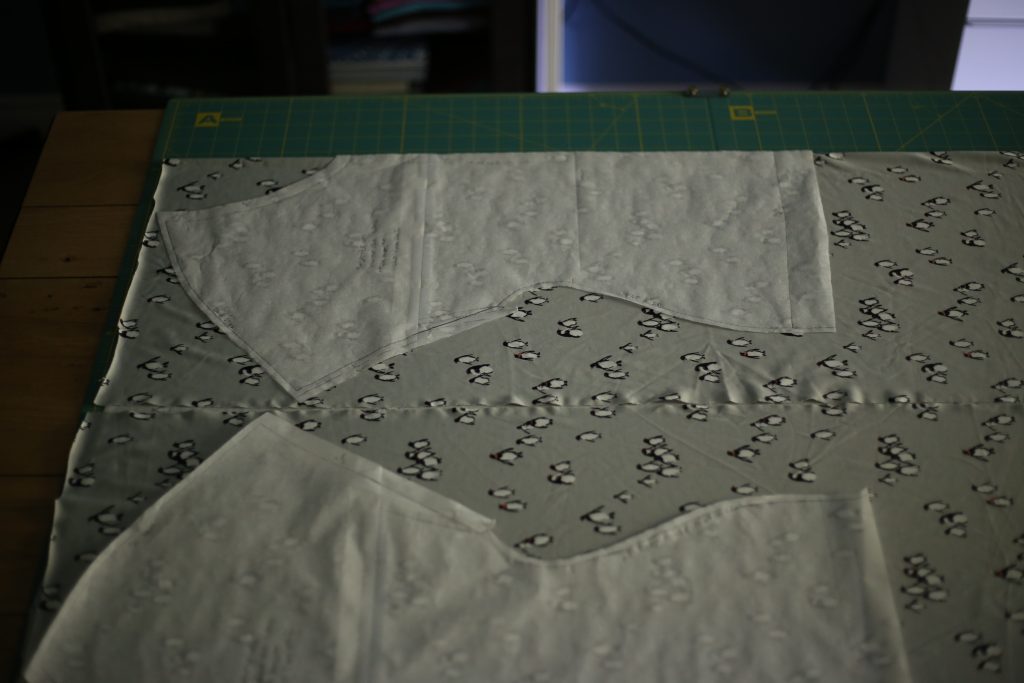
I use my rotary cutter for most fabric cutting, and it’s ideal for knits. Simply lay down those pattern weights and roll – no need to worry about your fabric stretching or curling as you cut!
It is common to reinforce certain seams like shoulder seams in knit garments so they don’t stretch out over time. Since this is a fairly stretchy knit, I stabilized the shoulders by sewing “stay tape” along with the seam finishing. I don’t actually use stay tape. I save selvedges when I’m cutting out nice woven fabrics like cotton lawn, batiste or silky fabrics like Bemberg lining, and I use the selvedges as stay tape! This is great because a) it’s free and b) I end up with a big collection of different colours, so I can pick something that matches my fabric.
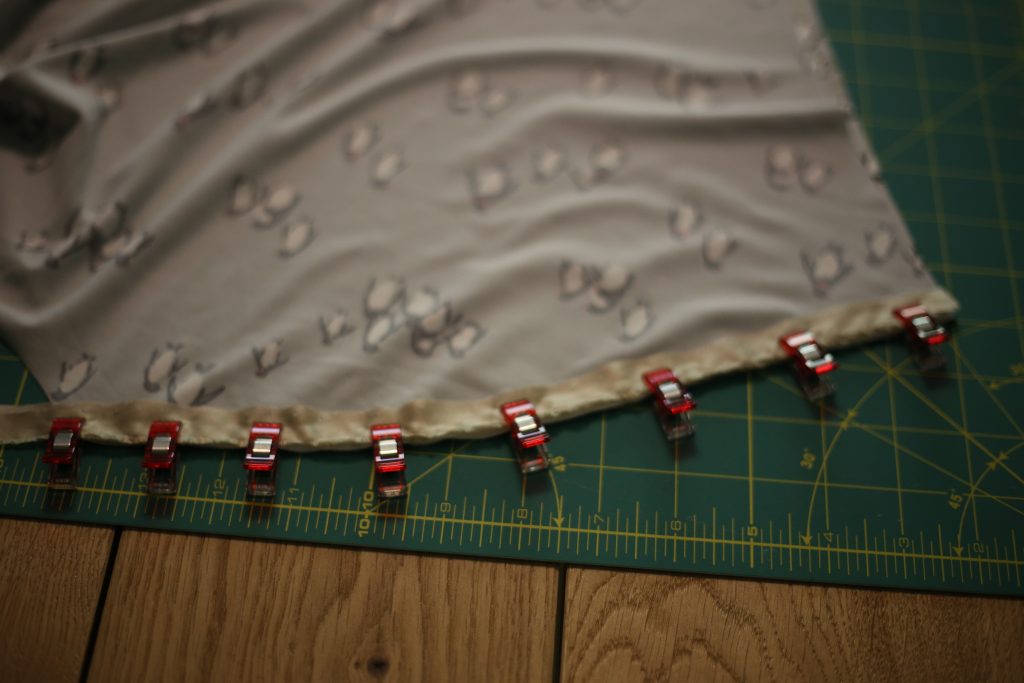
I sewed this all in one fell swoop on my serger. You need to have your serger threaded with all four threads if you’re going to use it for seaming and finishing in one step.
Once the shoulders were attached, I sewed the side seams and did a fitting.
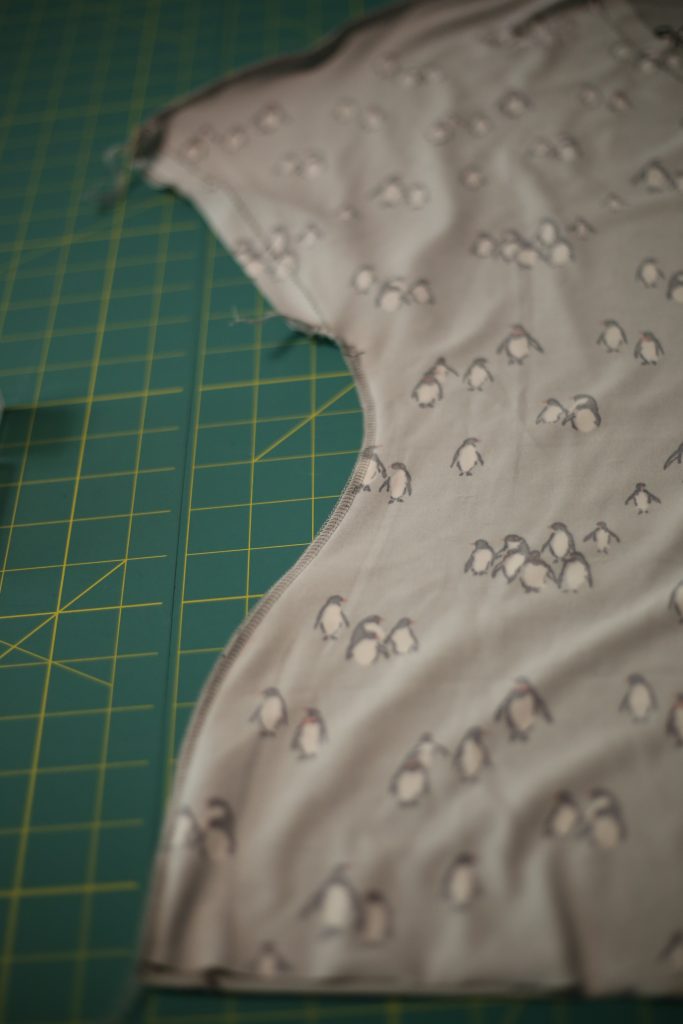
I should have known just by looking at the top at this stage that the hip area was going to be too loose. Once I put it on and confirmed that to be the case, I trimmed down the seams at the hip area so the top would fit more snugly.
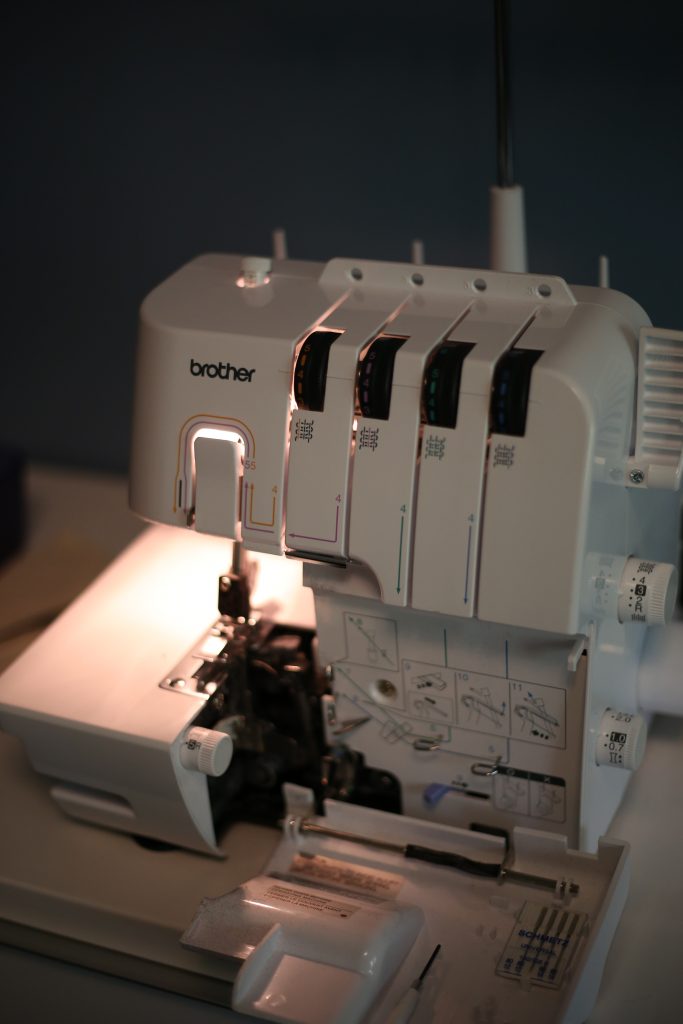
So, now comes the sad part of the story. I have had a Janome CoverPro 1000 coverstitch machine. I attempted to use it on this top for the sleeve hems, neck and bottom hem. It was only the third time I had tried to use this machine since I bought it. The first two times I nearly threw the thing out the window because despite hours of fiddling with settings, scouring the internet for tips and taking it into the dealer, I could not get the tension right. The stitch would look great, but as soon as I stretched the seam I would get “tunneling” between the two rows of stitches and it wouldn’t settle back into a flat row of seams. I had shelved the machine for months (I haven’t sewed knits in a while) and thought a fresh start would help. It didn’t. So after almost throwing it out of the window for a third time, I took my top to someone for help and they quickly sewed up some beautiful cover-stitched hems with a Baby Lock coverstitch machine. And the Happy Ending is….guess who got themselves a brand new Baby Lock coverstitch machine for Christmas?! So excited to use it on my next knit project and show you the results!!
And there you have it. The Penguin top, made in only slightly more time than it took me to write this blog. Do you have any favourite knit top patterns? I’d love to know what people are making these days!
Hi Anokhee! Very cute top! I kept checking your blog since my last class with you in the fall and I am so glad to see the new posts finally.
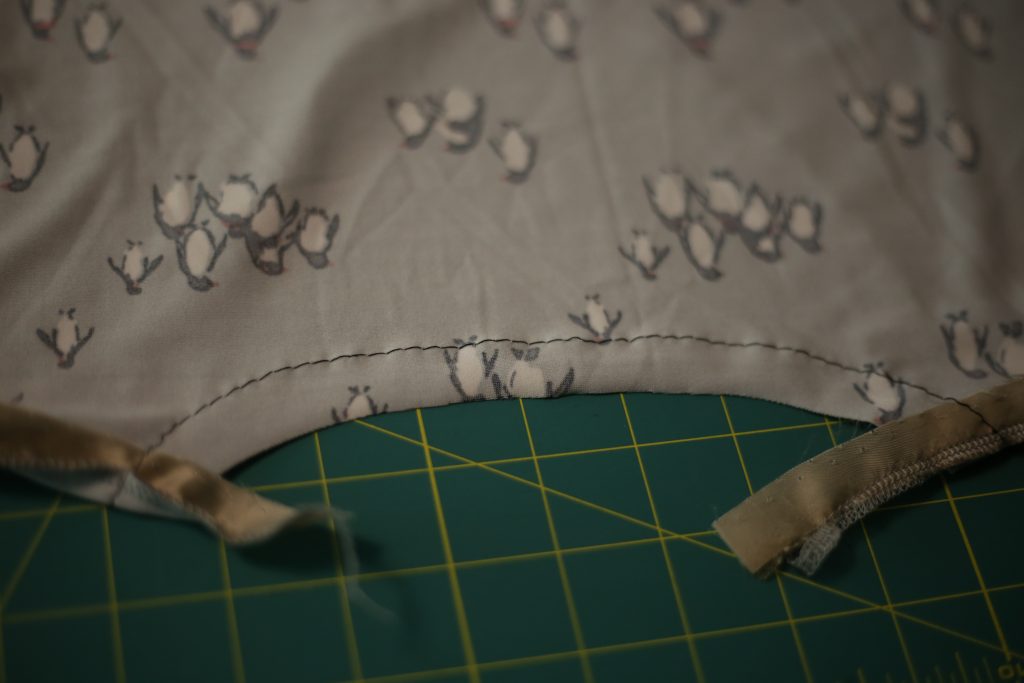
I am curious how that cover stitch works on the V-neck. Does the fabric stretch that much or did you need to make some cuts? Would like to see the photo of the V-neck more closely and from the inside as well.
Thank you for all your great tips! Looking forward to another class or at least more posts.
Inna
Hi Inna, so nice to hear from you!! In this particular case with the rounded V neck, I didn’t need to make any cuts. There is a bit of a technique to stretching the curve as you sew so that it’s not necessary. Great tip regarding showing the work from the inside! I will do that on my next knit garment, especially because I’ll want to show off my new machine. 🙂
I am still planning (one of these days) to design a new class! Stay tuned, as it is on my list for March/April!