
This past Saturday, I hosted my first Sewalong at Darrell’s! It was more of a sewing circle than Sewalong actually, because everyone brought a different spring garment that they were working on. We all had a blast and I can’t wait for the next one! If you would like to attend, keep an eye on the Darrell Thomas Textiles Facebook page or mine.
I managed to finish a pair of pants (trousers?) at the session, so I thought I’d share a bit about them and also my recently completed silk bias top. It’s actually a very fitting post (blah – no pun intended) since both of these garments are based on classes offered at Darrell’s store.
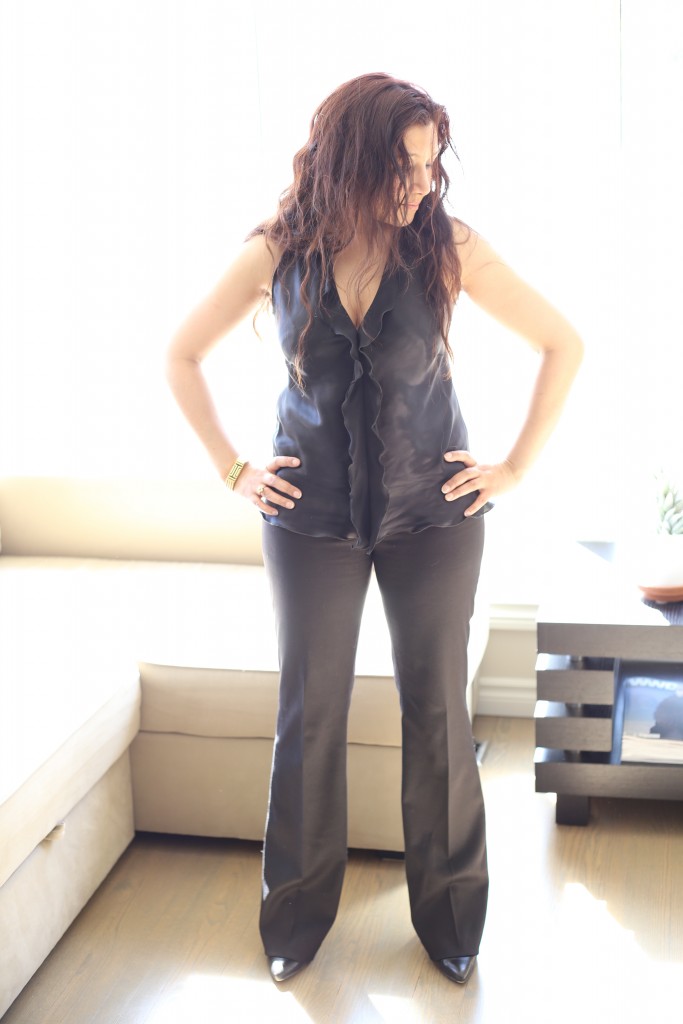
Let’s start with the pants. (They don’t have a waistband, fly front or belt loops, so I think trousers might be a bit misleading. Let’s go with pants.) These are made from a stretch wool, and there is actually quite a bit of stretch – 9% Lycra. Because of my slightly larger hips and butt and skinny chicken legs, I tend to wear pants with stretch so that I can get some definition up top but don’t end up with swaths of fabric below. I decided to go with a boot-cut-pushing-flare for the width, as this is my favourite fit of pant legs. I’ve been wearing this style for years, trends be damned. I just find it balances my figure well. What are your thoughts on pant styles for different figures?
Darrell Thomas Textiles – I’m going to start referring to it as DTT ’cause it’s less typing – offers a pant fitting class in which Darrell teaches the tricky aspects of fitting ladies crotches. Honestly, I know people are intimidated by pants but this is the only thing about pants that is difficult. Once you’ve figured out how to deal with the common crotch fitting issues (short or long crotch, waist to hip/butt ratio, fullness or flatness in various places), you can whip up a pair of pants in an afternoon. Everyone that took this class ended up with a custom pant pattern with a perfect fit and a significant amount of knowledge on what to look for when fitting pants.
So I had my pattern from last year which is awesome, but the pattern was based on a non-stretch fabric. I really wanted to use this Italian stretch wool from my stash, so I used a combination of common sense and an existing pair of pants from my wardrobe to make a new pants pattern for stretch fabric.
Here are the two pants front pattern pieces side by side:
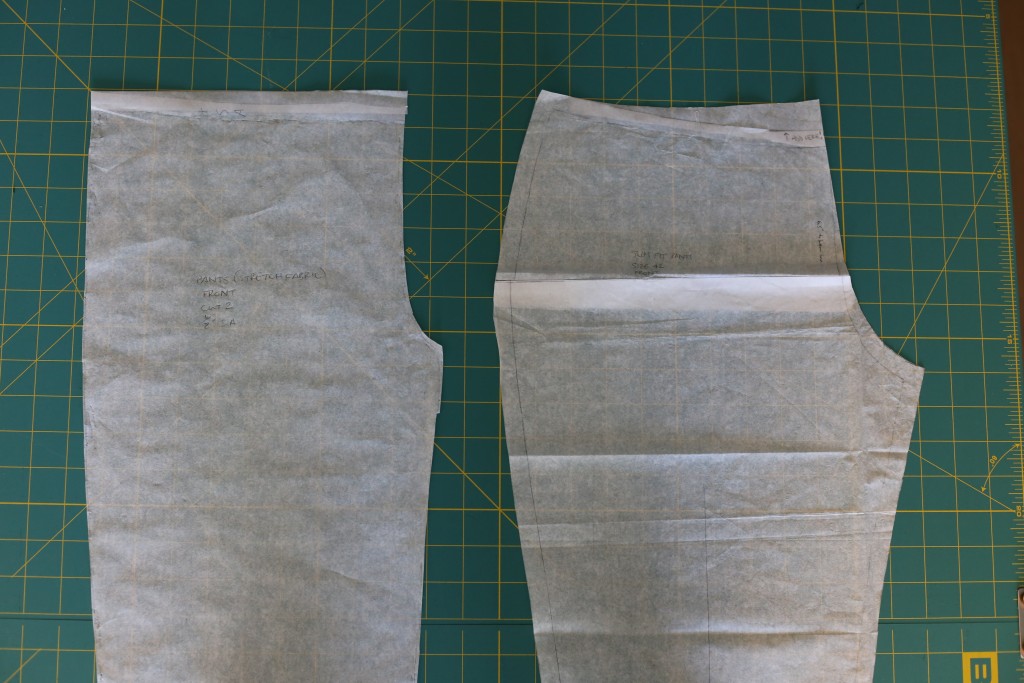
You can see the significant difference in hip width. The stretch fabric pattern (left) almost looks like it’s designed for someone with no hips! The crotch curve is also shallower. But as you can see from the finished garment, the sizing is correct.
And now the pants back pattern pieces:
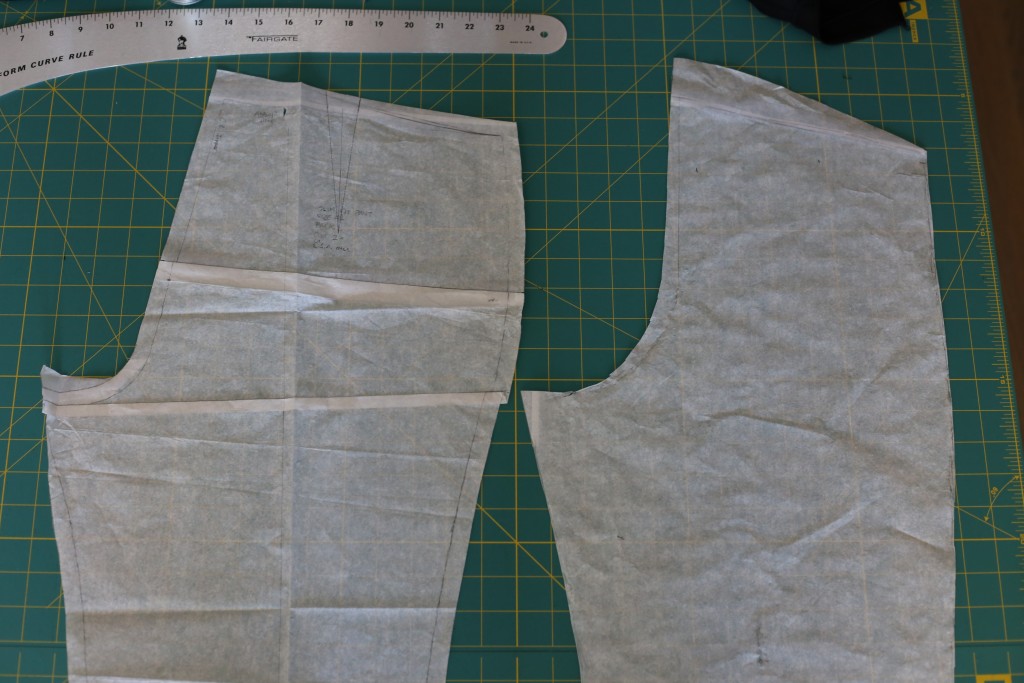
There is a bit more going on here. First, the butt curve (the J-shaped part) is deeper on the stretch fabric pattern (right). This might seem counter-intuitive, but notice how much narrower the hip width is on the stretch pattern. Without adding to the butt curve, these pants would pull far too much across the butt.
Next, notice the excess paper I added to the waist on the stretch fabric pattern? This is actually because I followed the measurements of my ready-to-wear pants from my closet. The back comes up higher on these pants than on the pants from Darrell’s class, and I like that style element so I decided to add it to the new pattern.
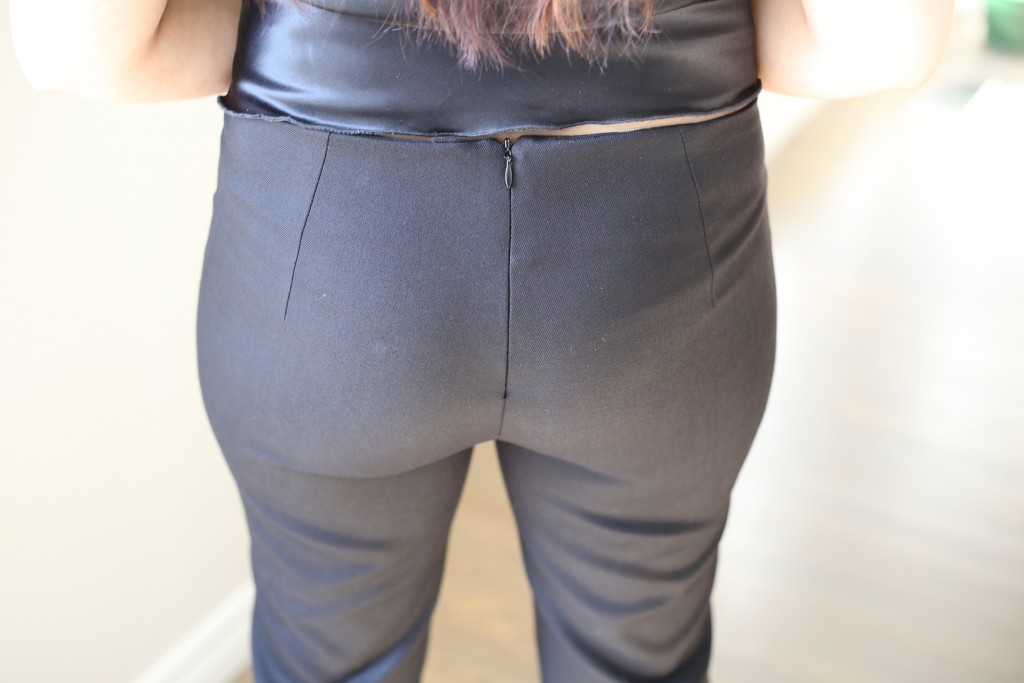
In both pants pieces, you will see that the waist seam curves significantly upwards towards the centre back. This is to accommodate my big butt. Yup, baby got back and that thing needs lots of excess fabric. (Sir Mixalot would approve.)
After drafting the new pattern I cut the front and back pieces plus a front and back facing. I serged all the pieces before assembling in this order: inner and outer leg seams, invisible zip in the centre back, remainder of crotch seam, facing, hems.
Just one note on the hem. In the past I’ve used the blind stitch setting on my sewing machine because I’m not a huge fan of hand sewing. However, it is difficult to get the blind stitch to truly be invisible when you use the machine. It’s not impossible, it just requires patience to find the exact needle position that will grab only a few threads and not go all the way through to the right side of the pants. At the Sewalong on Saturday, a fellow sewer convinced me to give hand sewing a chance and quickly reminded me of the catch stitch. Kenneth King does a lovely job of showing it on this Threads post. I did it, and I’m a convert! It’s elegant, invisible, and easy to do while sitting on the couch watching reruns of Project Runway. I’m going to force myself to spend more time on hand sewing because the best tailors and couturiers in the world do it and frankly, I want to be that good someday.
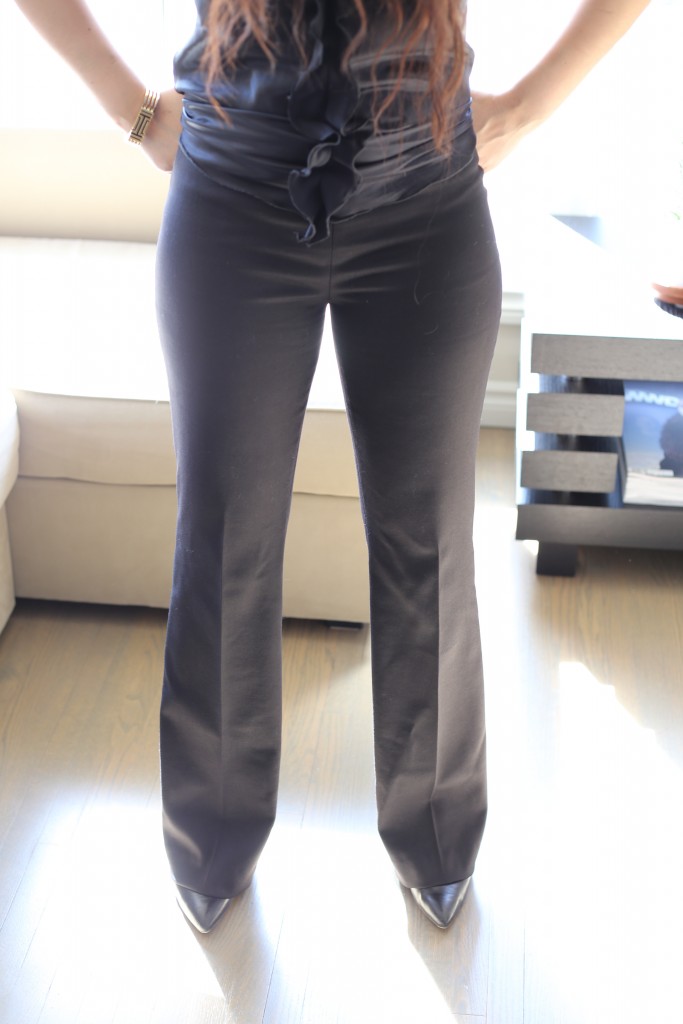
By the way, do you like the gold bracelet in the photo above? It’s actually a Tory Burch Fitbit bracelet which I got as a Christmas present last year. I love Tory’s aesthetic, and I love being able to wear my Fitbit to work without advertising to the world that I’m trying to get my lazy ass back in shape. Speaking of ass:
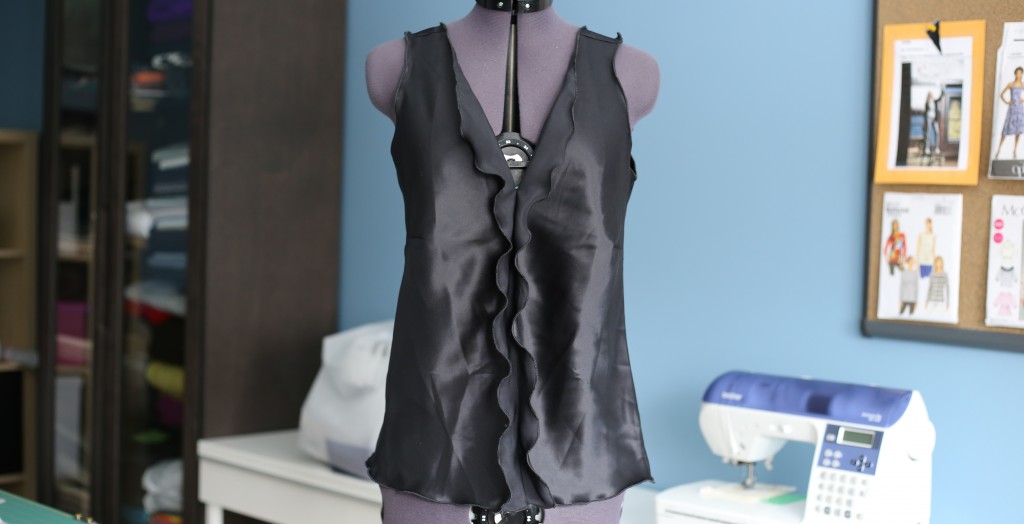
The second garment in this post is the bias-cut top, made of silk. This is also from a DTT class, and it’s also a self-drafted pattern! You bring in any basic tank top pattern to the class, and Darrell shows you how to fit it and how to add the v-neck and front ruffle to the pattern. This top has French seams at the shoulders and sides. I love French seams!! They are so beautiful and feminine. Grainline Studios has a great post on how to sew French seams here. (While you’re on the site, check out Jen’s amazing patterns! I can’t wait to make her Portside duffel bag and Linden sweatshirt.)
The “lettuce edge” was done using the rolled hem feature on a serger. You just stretch the fabric gently and evenly from both sides as you pull it through the serger, and voila – looks like lettuce! Again, this is a really feminine touch and a nice way to finish a delicate fabric like silk.
Next post is coming soon and will showcase yet another DTT class – stay tuned!! And as always, I would love to hear your feedback!